Table of Contents
- Preliminary Settings
- Installation and Configuration of OpenLiteSpeed Server
- Installation and Configuration of MariaDB
- Installation of Let’s Encrypt Certificate
- Installation of WordPress
Installing WordPress and Configuring OpenLiteSpeed Web Server on VDS with Debian 9/10/11
Detailed Installation Guide
Even for those trying to set up their own web server for the first time. Over 100 screenshots of commands and browser windows, more than 50 terminal commands with the ability to copy.
Configuration:
Virtual Dedicated Server (VDS) with 2GB RAM, 2 cores, and 20GB disk space
Operating System: Debian 11 (Bullseye), similarly Debian 10 (Buster) and Debian 9 (Stretch)
All operations are performed as root
Website Address: wp.autowp.site
PC: Windows 10
SSH Client: PUTTY and PUTTYGEN.EXE
FTP Client: FileZilla
As a result, we should obtain a fast, flexible, and secure server platform for deploying CMS WordPress.
Preliminary Settings
These operations are not mandatory if convenience and security are not a priority.
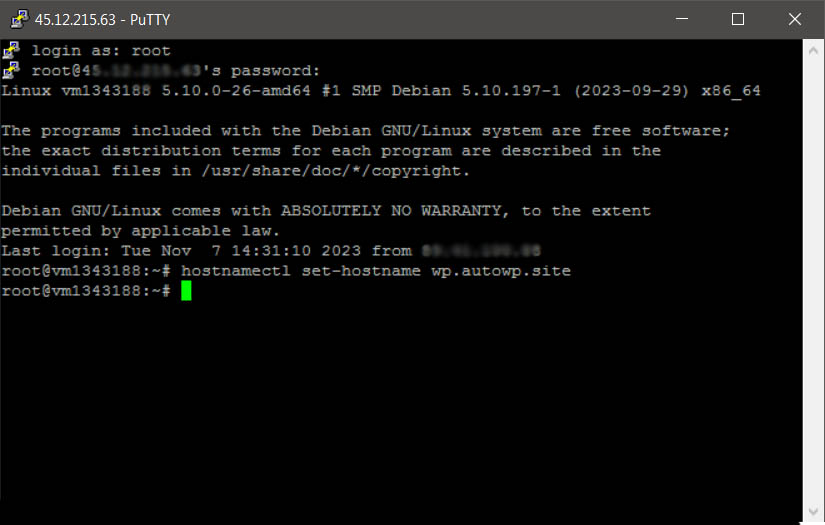
Let’s set the hostname
Let’s beautify it.
For this, we will use the following command:
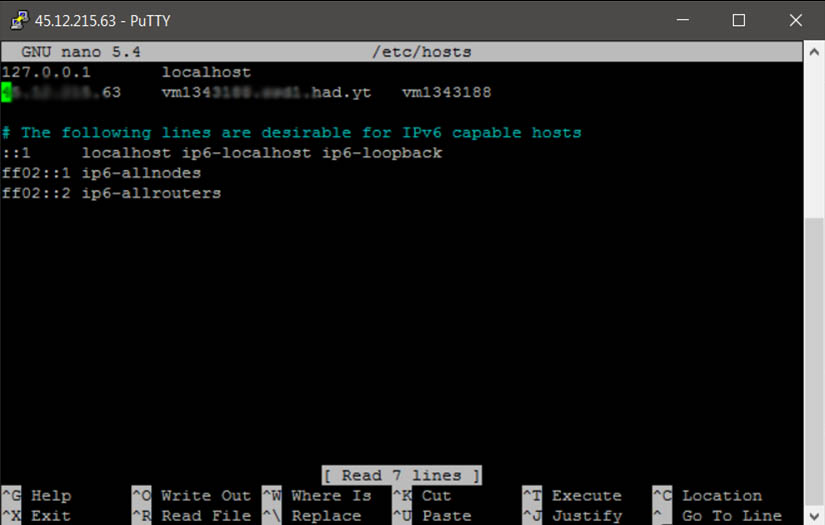
Next, edit the file `/etc/hosts`.
To do this, run the following command:
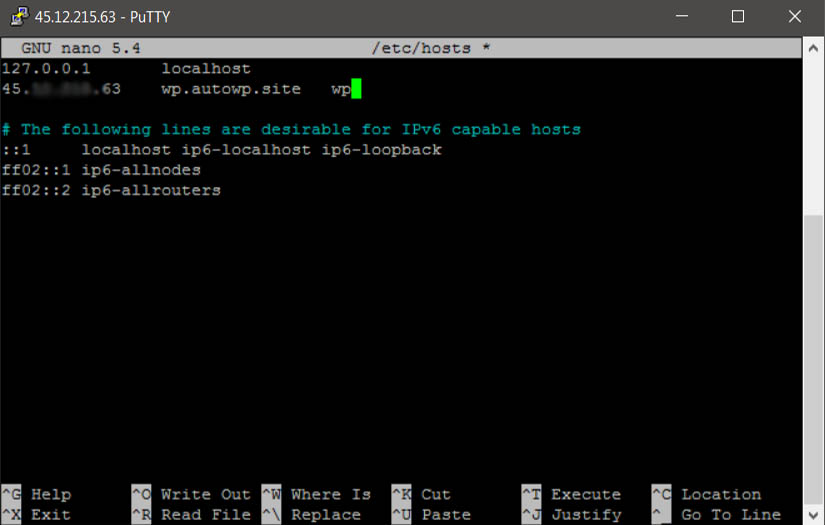
and replace the content of the line with the server’s IP address with the name of our website:
In my case:
on
Next, save the changes by pressing `Ctrl+O`, `Enter`, `Ctrl+X`, and to apply the changes, restart the server:
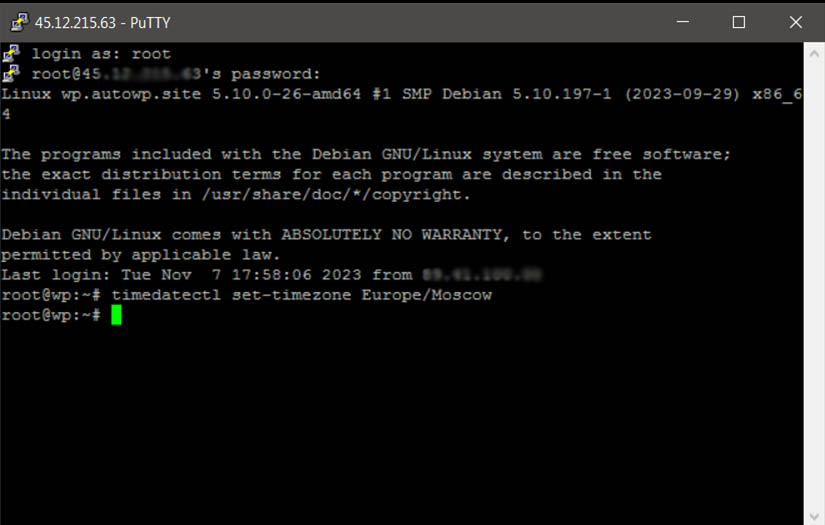
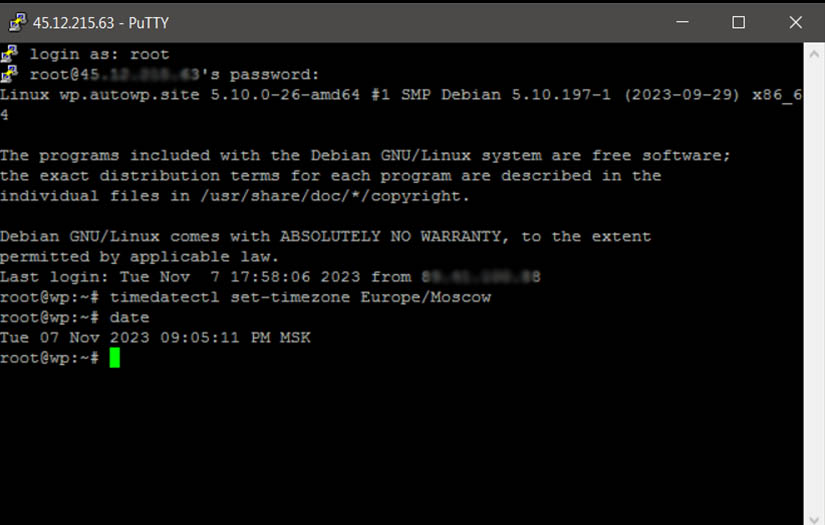
Now let’s set the server time.
and check it:
Set up SSH key authentication
We will need an SSH client – PUTTY and an FTP client FileZilla.
Open the PUTTY terminal and log into the server using the IP address and login password.
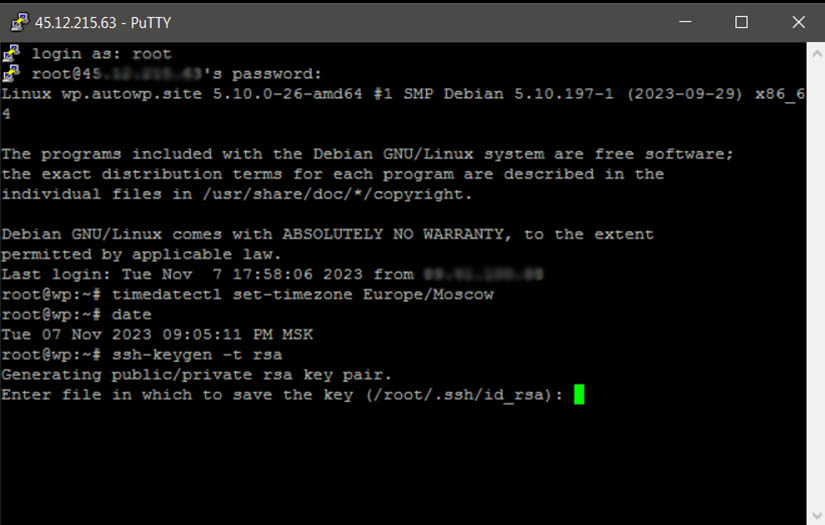
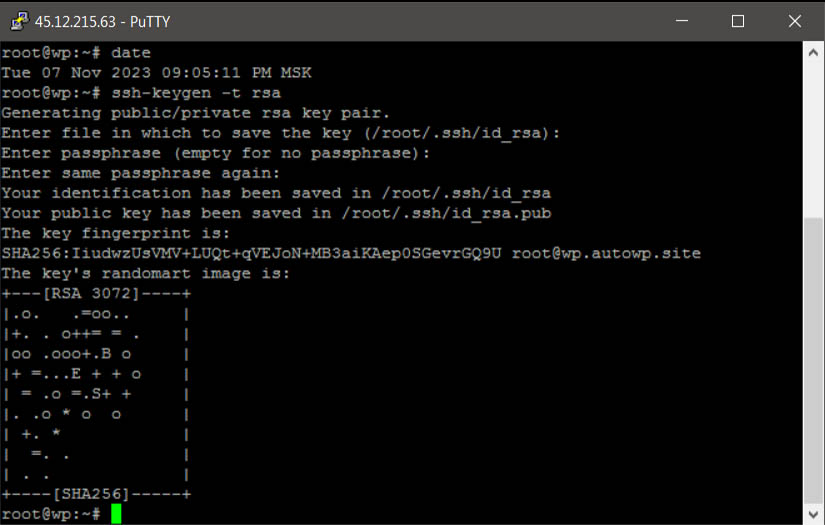
Generate SSH keys with encryption algorithm using the command:
On the next step, you will be prompted with “Enter file in which to save the key (/root/.ssh/id_rsa)”: simply press Enter to save the key in the default folder (/root/.ssh/id_rsa).
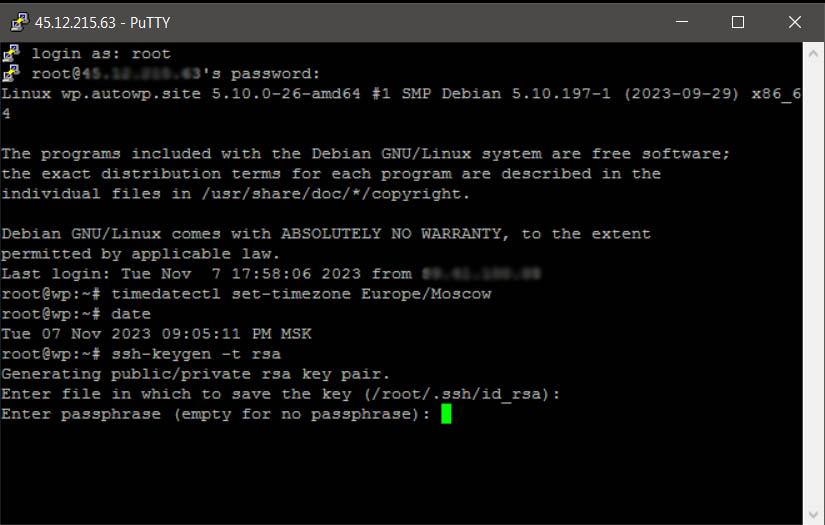
On the next step, you will be asked to enter a passphrase for the generated key: “Enter passphrase (empty for no passphrase)”. You can either enter a passphrase for added security or press Enter to leave it empty (no passphrase).:
In the next step, you will be prompted to “Enter same passphrase again.” Here, you need to re-enter the passphrase you set earlier (or leave it empty if you chose no passphrase):
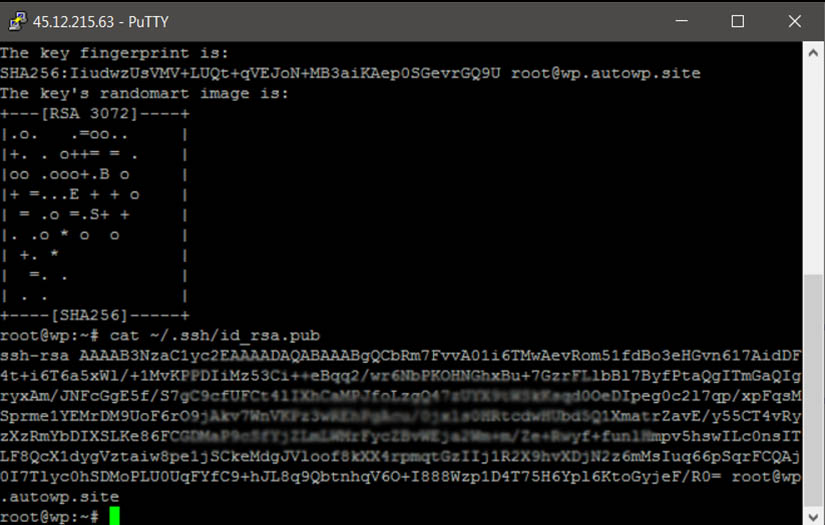
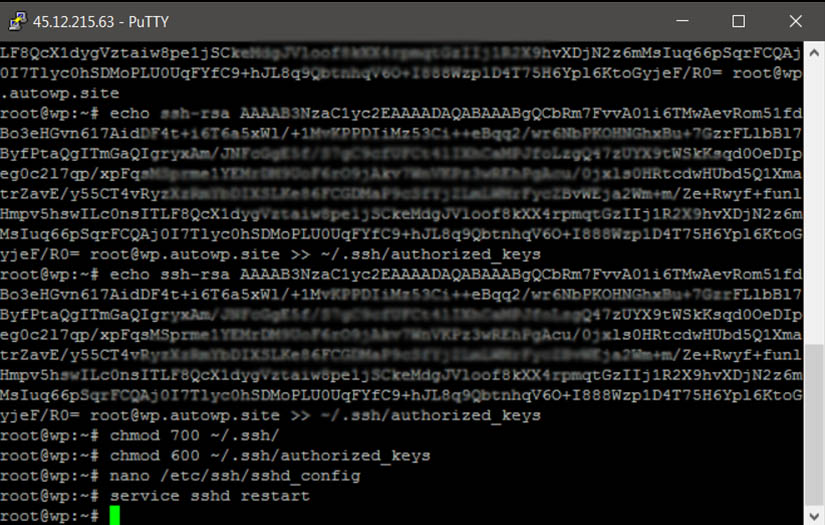
In the /root/.ssh/ directory, the generated keys are located: the public key id_rsa.pub and the private key id_rsa. Using FileZilla, download the keys to your PC into a previously created folder for keys. The content of the id_rsa.pub file needs to be added to the ~/.ssh/authorized_keys file on the server. To do this, display the content of the id_rsa.pub key with the following command:
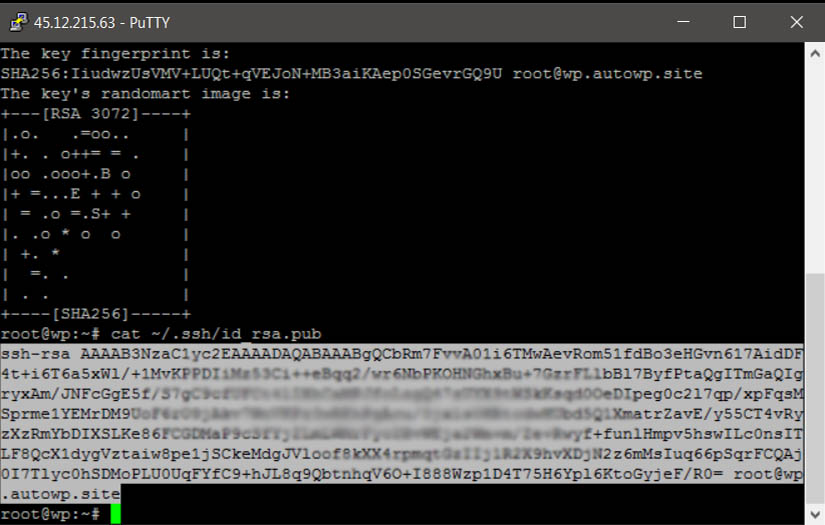
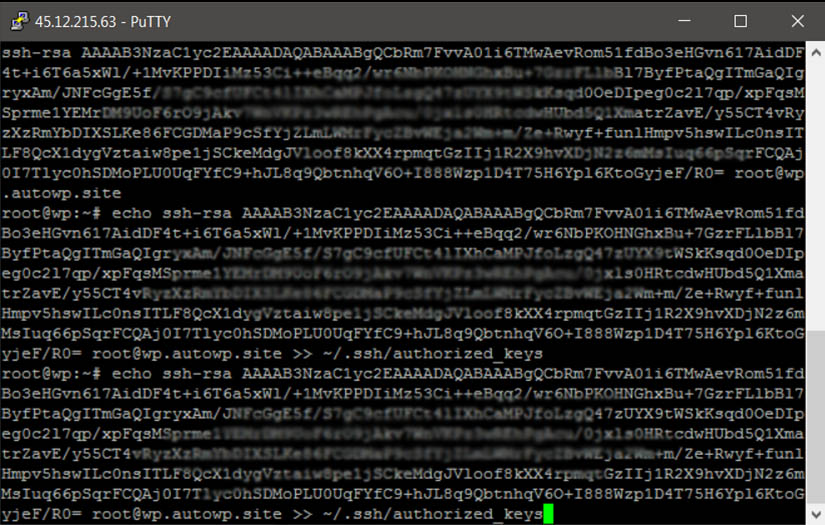
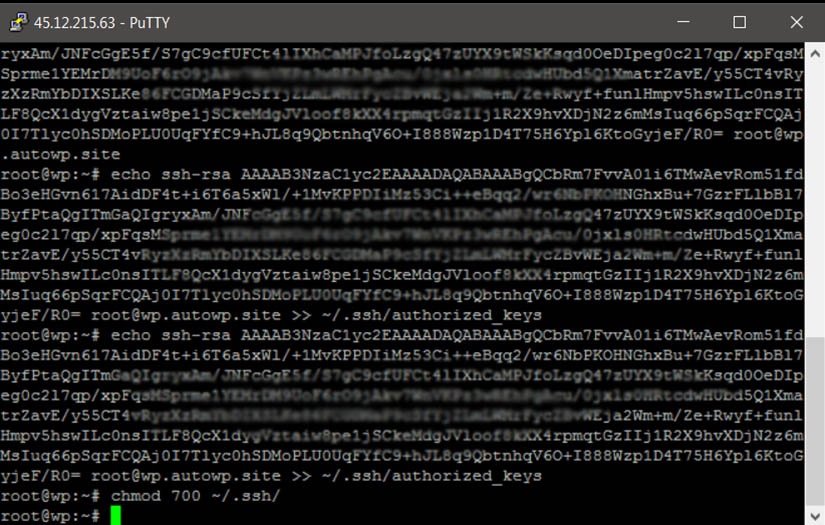
Next, you need to copy the content of the id_rsa.pub key by selecting the text (from ssh-rsa AAAA_here_is_the_rest_of_your_key_until_the_domain_name=) and paste it at the end of the authorized_keys file using the following command:
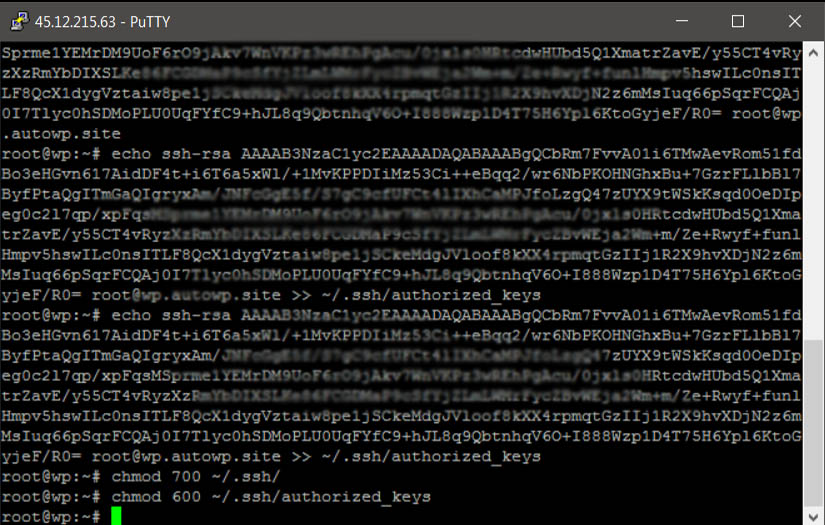
Set permissions for the folder:
and on the authorized_keys key:
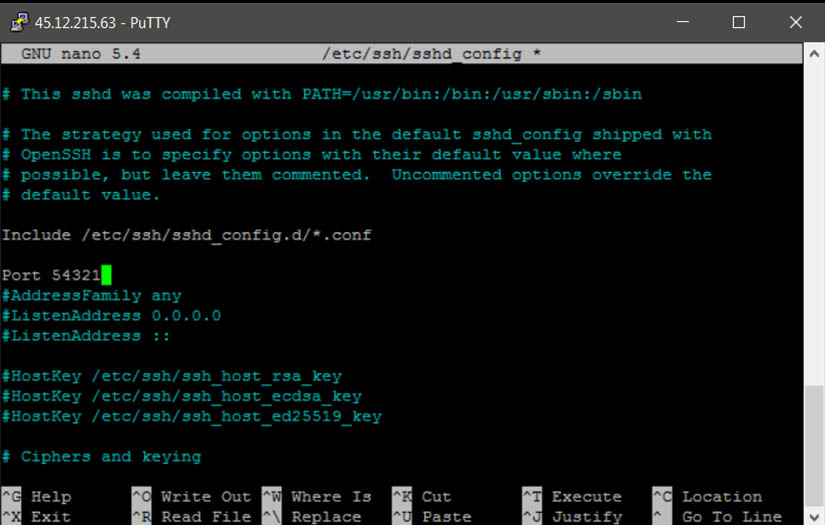
Next, you need to edit the `/etc/ssh/sshd_config` file:
Find the `Port` directive at the beginning of the file, uncomment it by removing the comment symbol at the start of the line, and set the value to `54321` (you can leave it as is if you want to keep the default port 22).
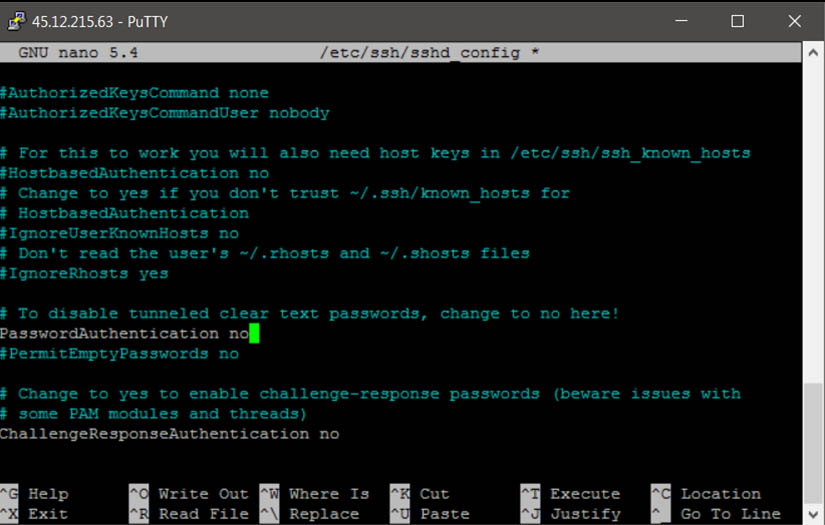
Find the `PasswordAuthentication` directive, uncomment it by removing the comment symbol at the start of the line, and set the value to `no`.
Save the changes and restart the SSH server:
Configure authentication on the server using PUTTY:
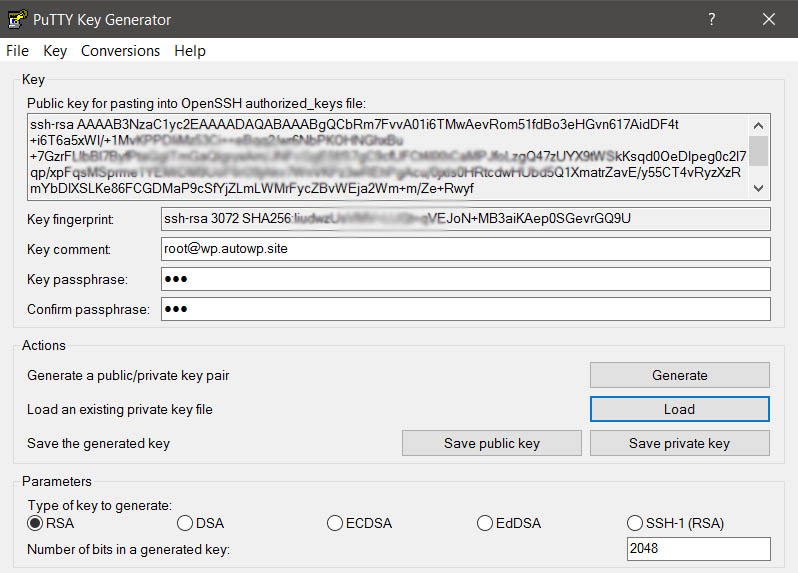
Open **PUTTYGEN.EXE** and load the private key **id_rsa** by clicking on **Load**, then select the folder with your keys. After loading the key, save it as a private key file **id_rsa.ppk** by clicking **Save private key** and selecting the folder where the keys are stored on your computer.
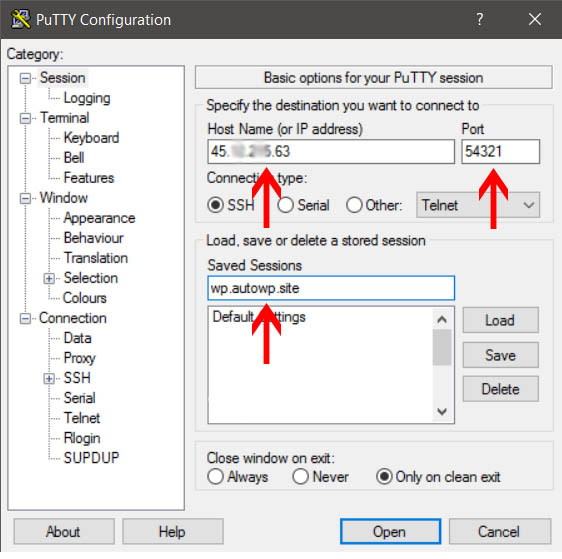
Next, open **putty.exe**, enter the server’s IP address, specify a configuration name, and set the port to **54321**, if you changed it in the **/etc/ssh/sshd_config** settings:
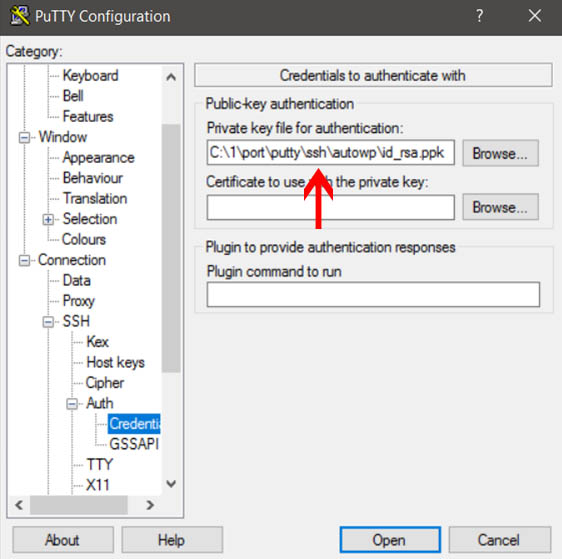
Then go to Connection → SSH → Auth → Credentials and specify the path to the id_rsa.pkk key:
and save the settings.
Now you can access the server using the SSH key. The configuration for the FileZilla FTP client is similar.
Installation and Configuration of OpenLiteSpeed Server
Web Server Configuration
Update the server:
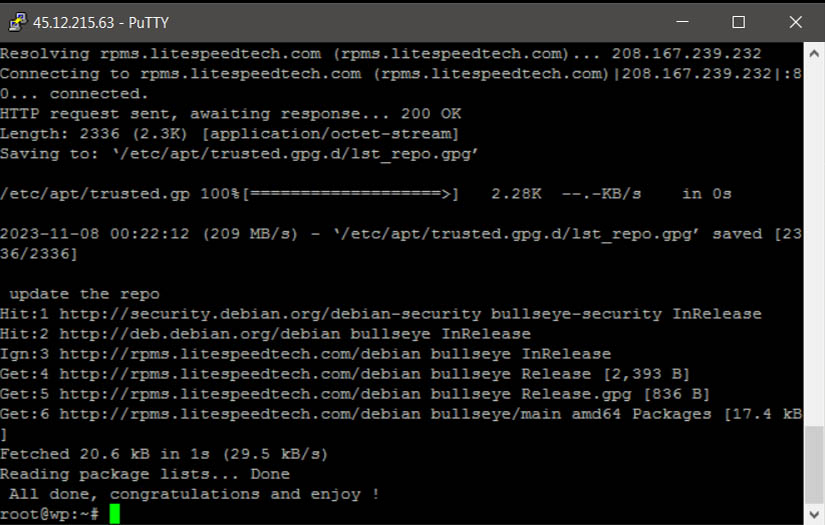
Add the OpenLiteSpeed repository:
and update again
Next, install the OpenLiteSpeed web server:
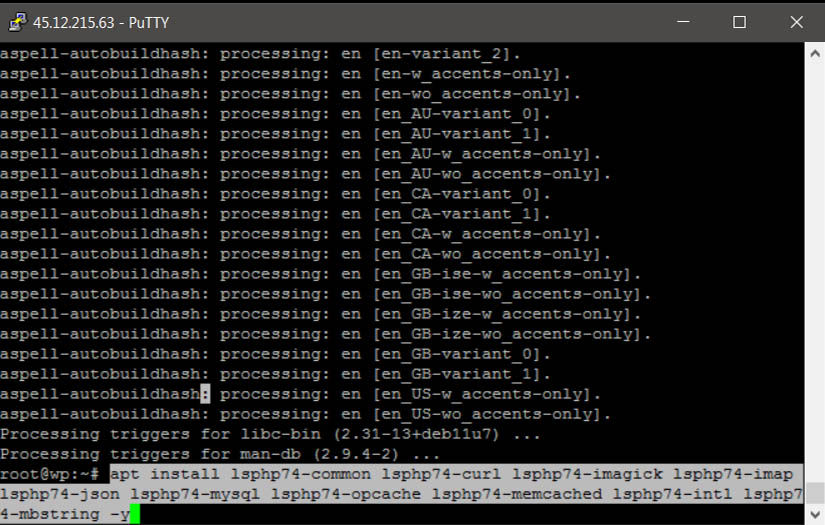
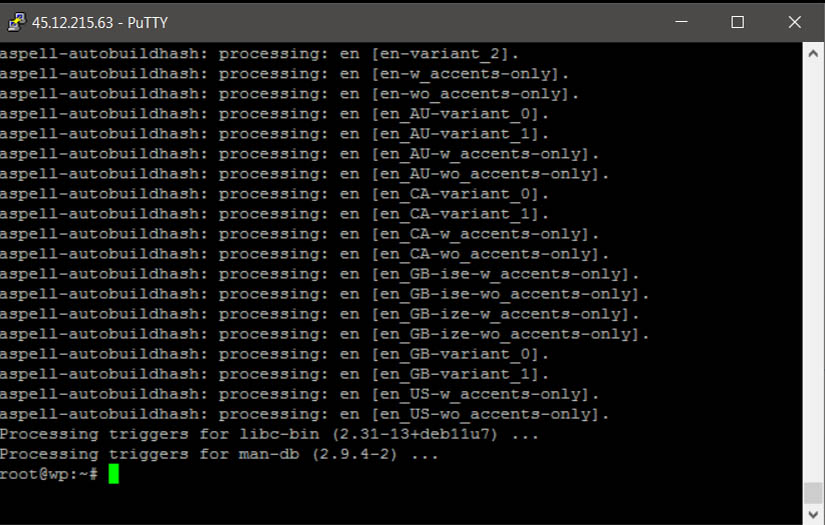
OpenLiteSpeed was installed with PHP 7.4. Now let’s add the missing modules to complete the setup:
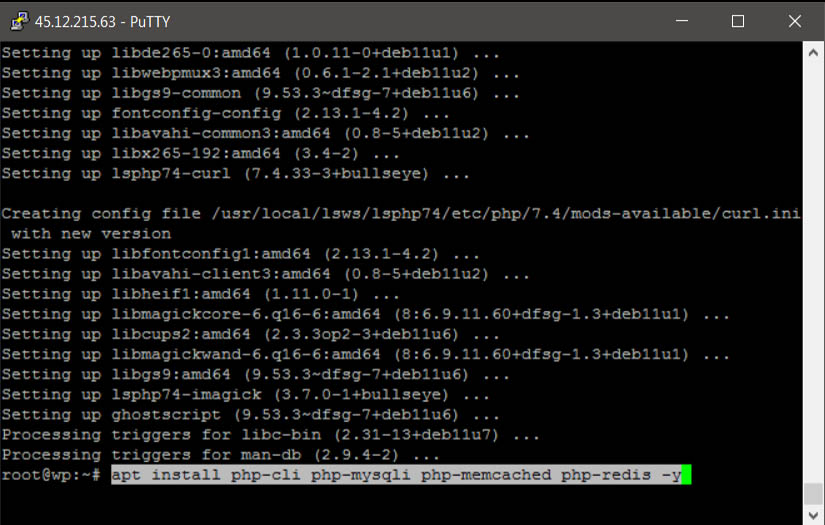
And also add additional modules for caching and managing WordPress via SSH:
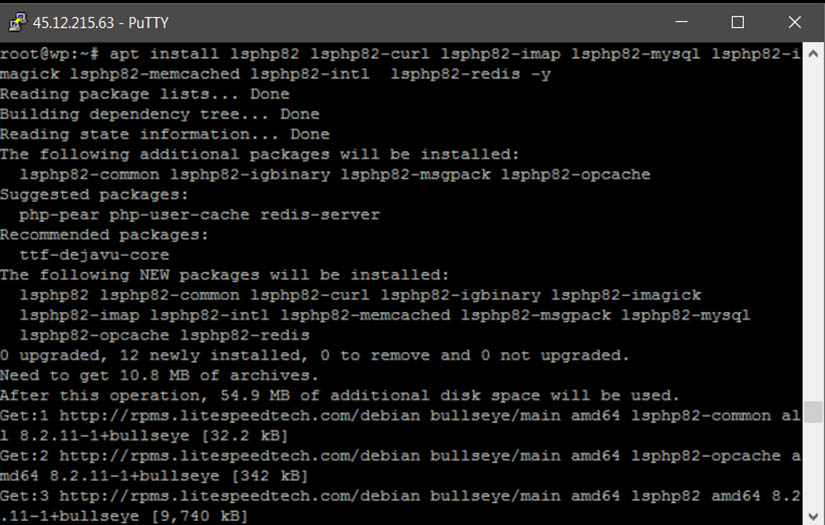
Add support for PHP 8.2 for more flexible configuration of OpenLiteSpeed Server:
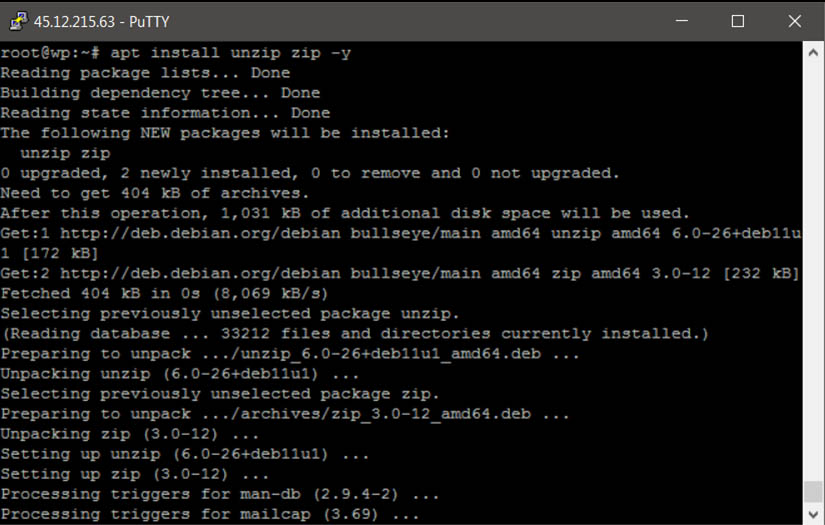
Add the ability to unpack zip files:
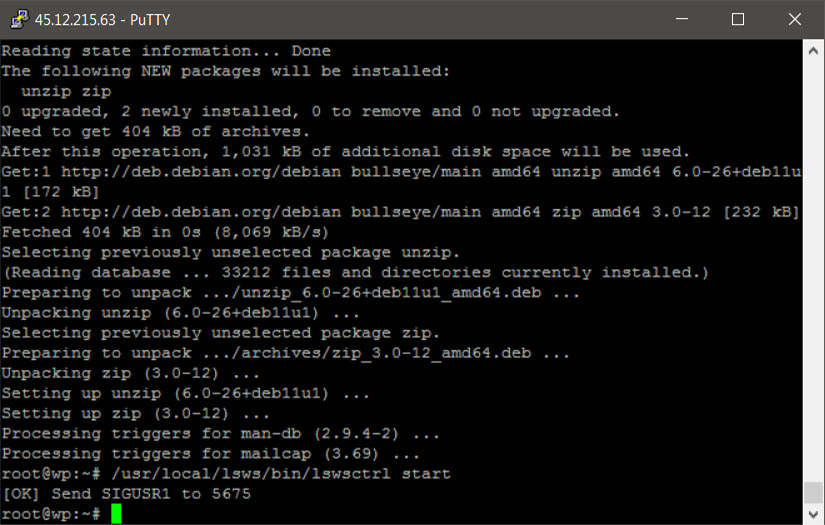
Start and restart our OpenLiteSpeed Server:
or
or
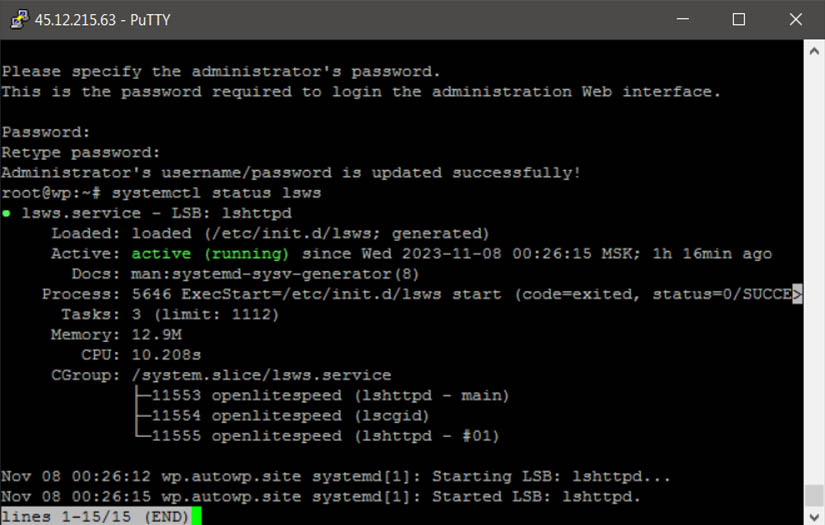
Check the server status with the command:
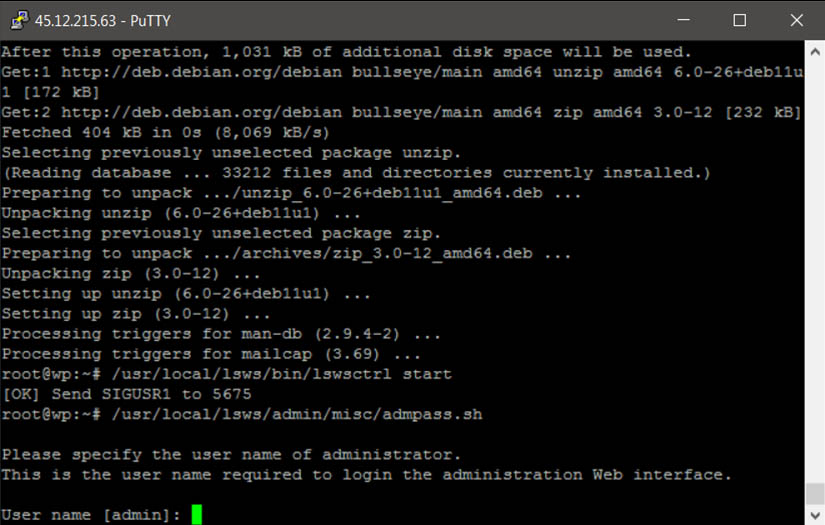
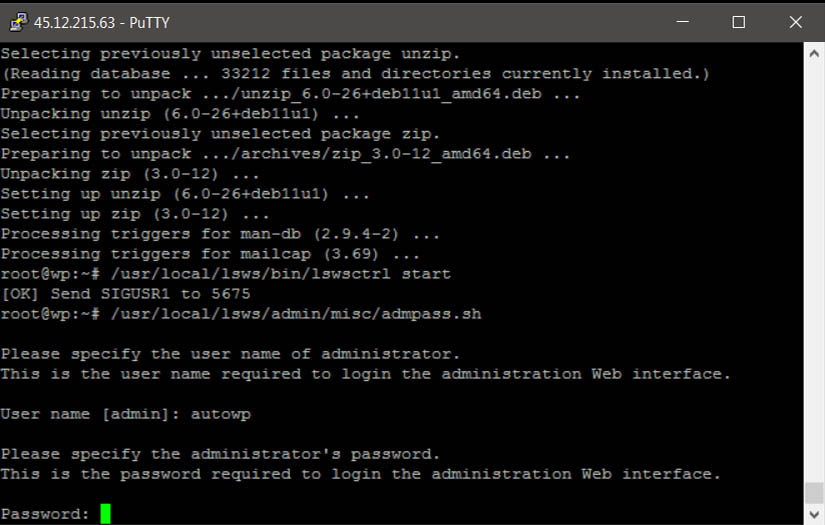
After successfully starting the web server, you can access the management panel, but first, reset the WebAdmin LiteSpeed password using the following command:
We will be prompted to enter the administrator’s username (User name [admin]): your login
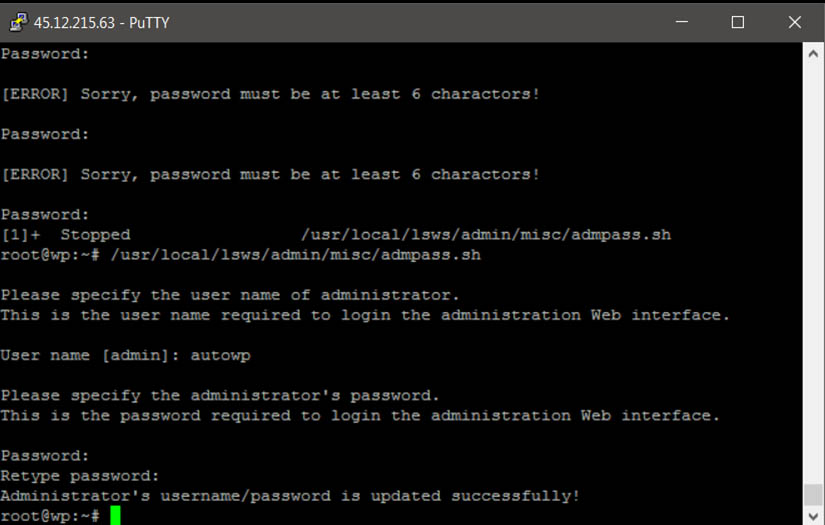
and password (Password): your password
and re-enter the password (Retype password): your password again
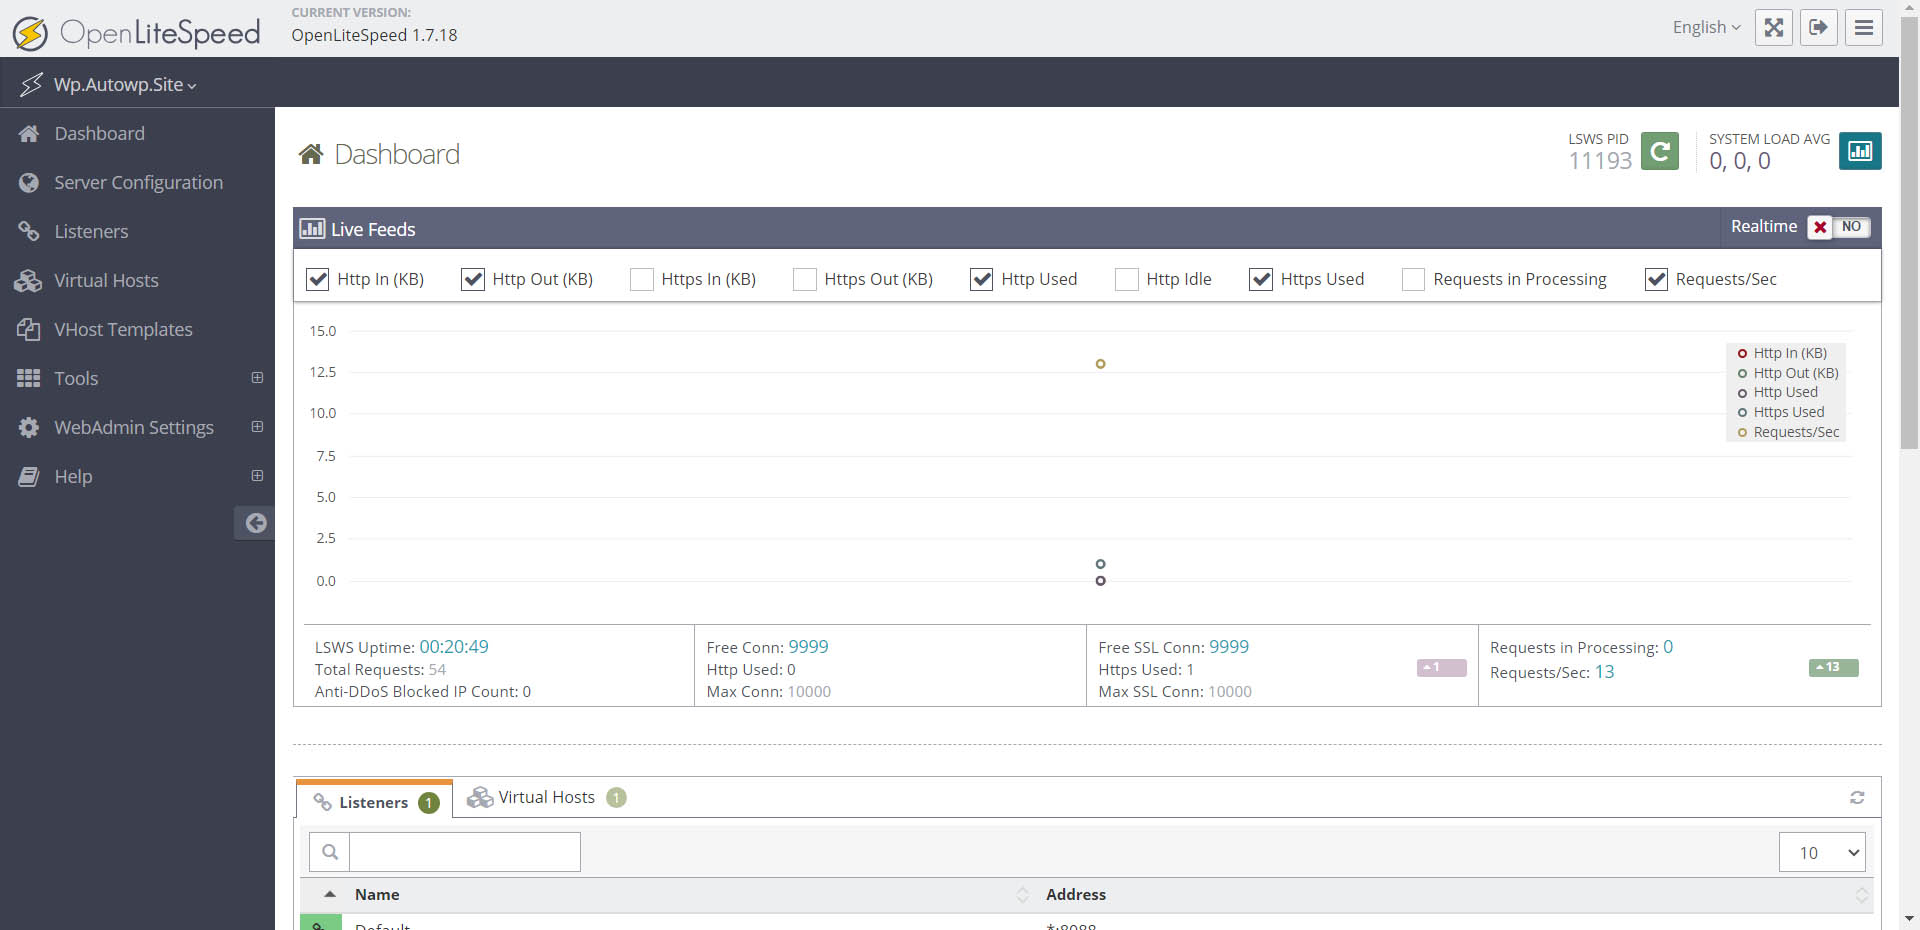
Now you can go to the login page: https://Your_IP_address:7080/login.php.
The warning about the insecure page can be ignored.
Enter your username and password, then proceed to the OpenLiteSpeed Server management page.
To set up a virtual host in OpenLiteSpeed
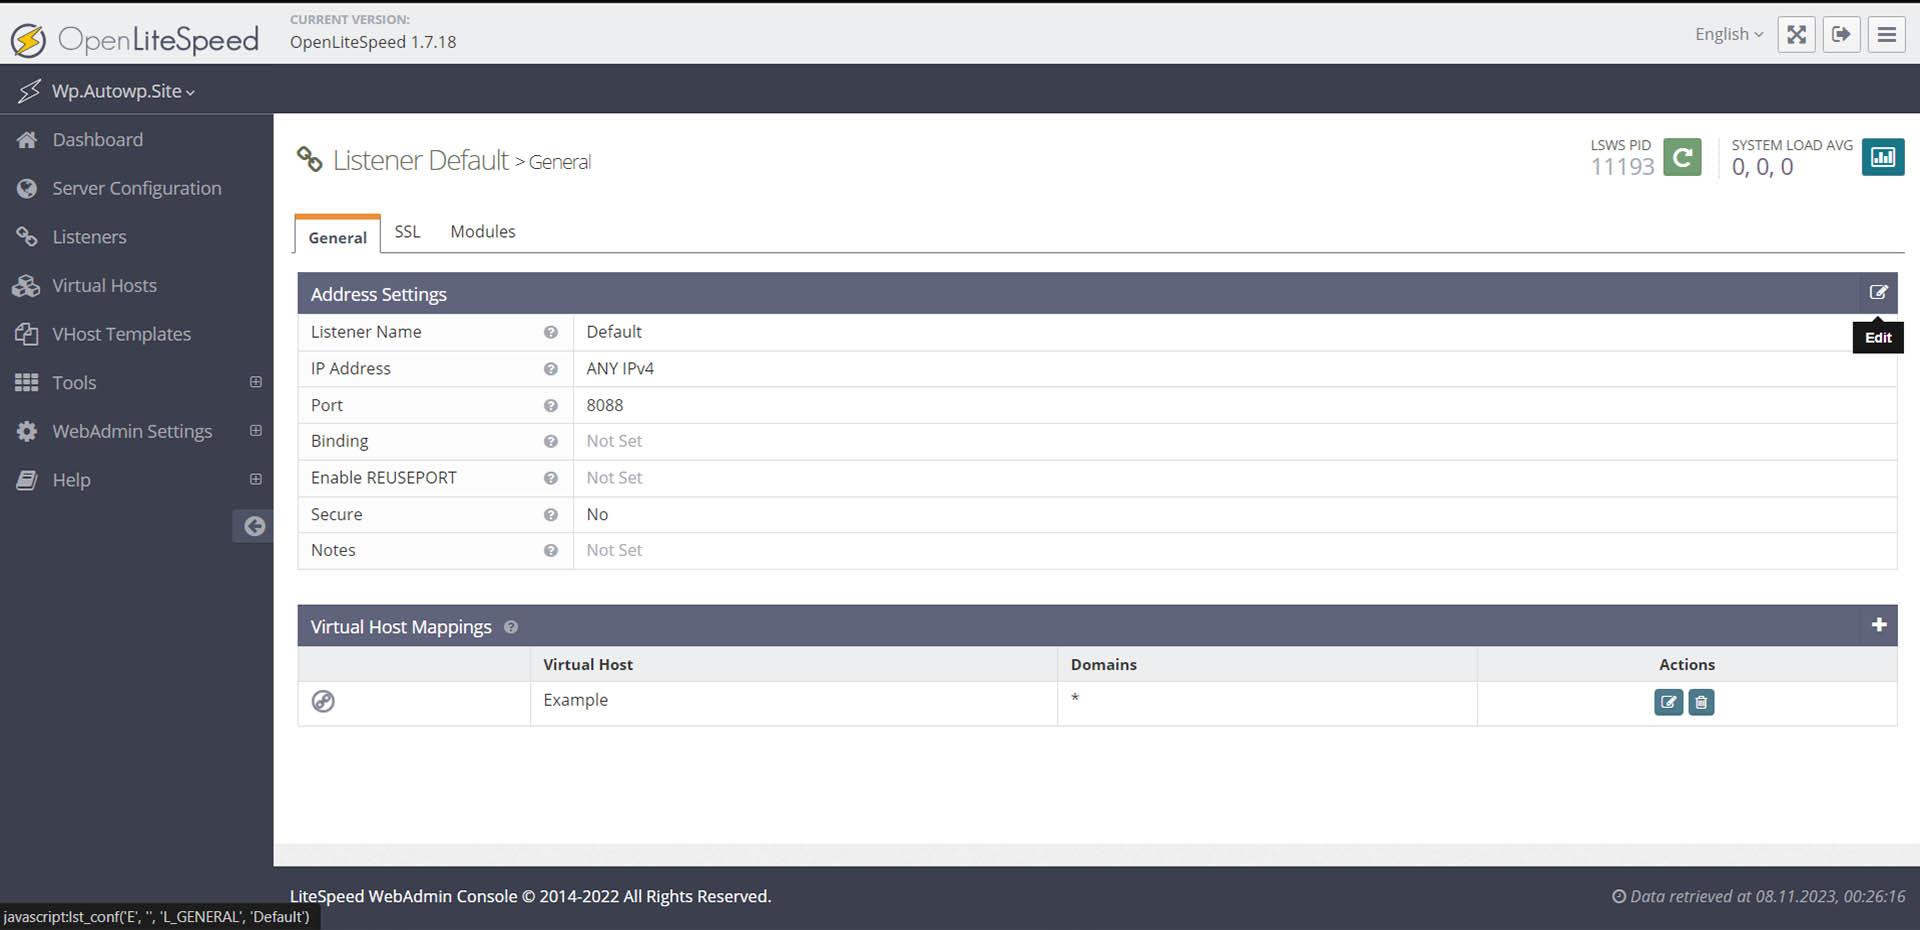
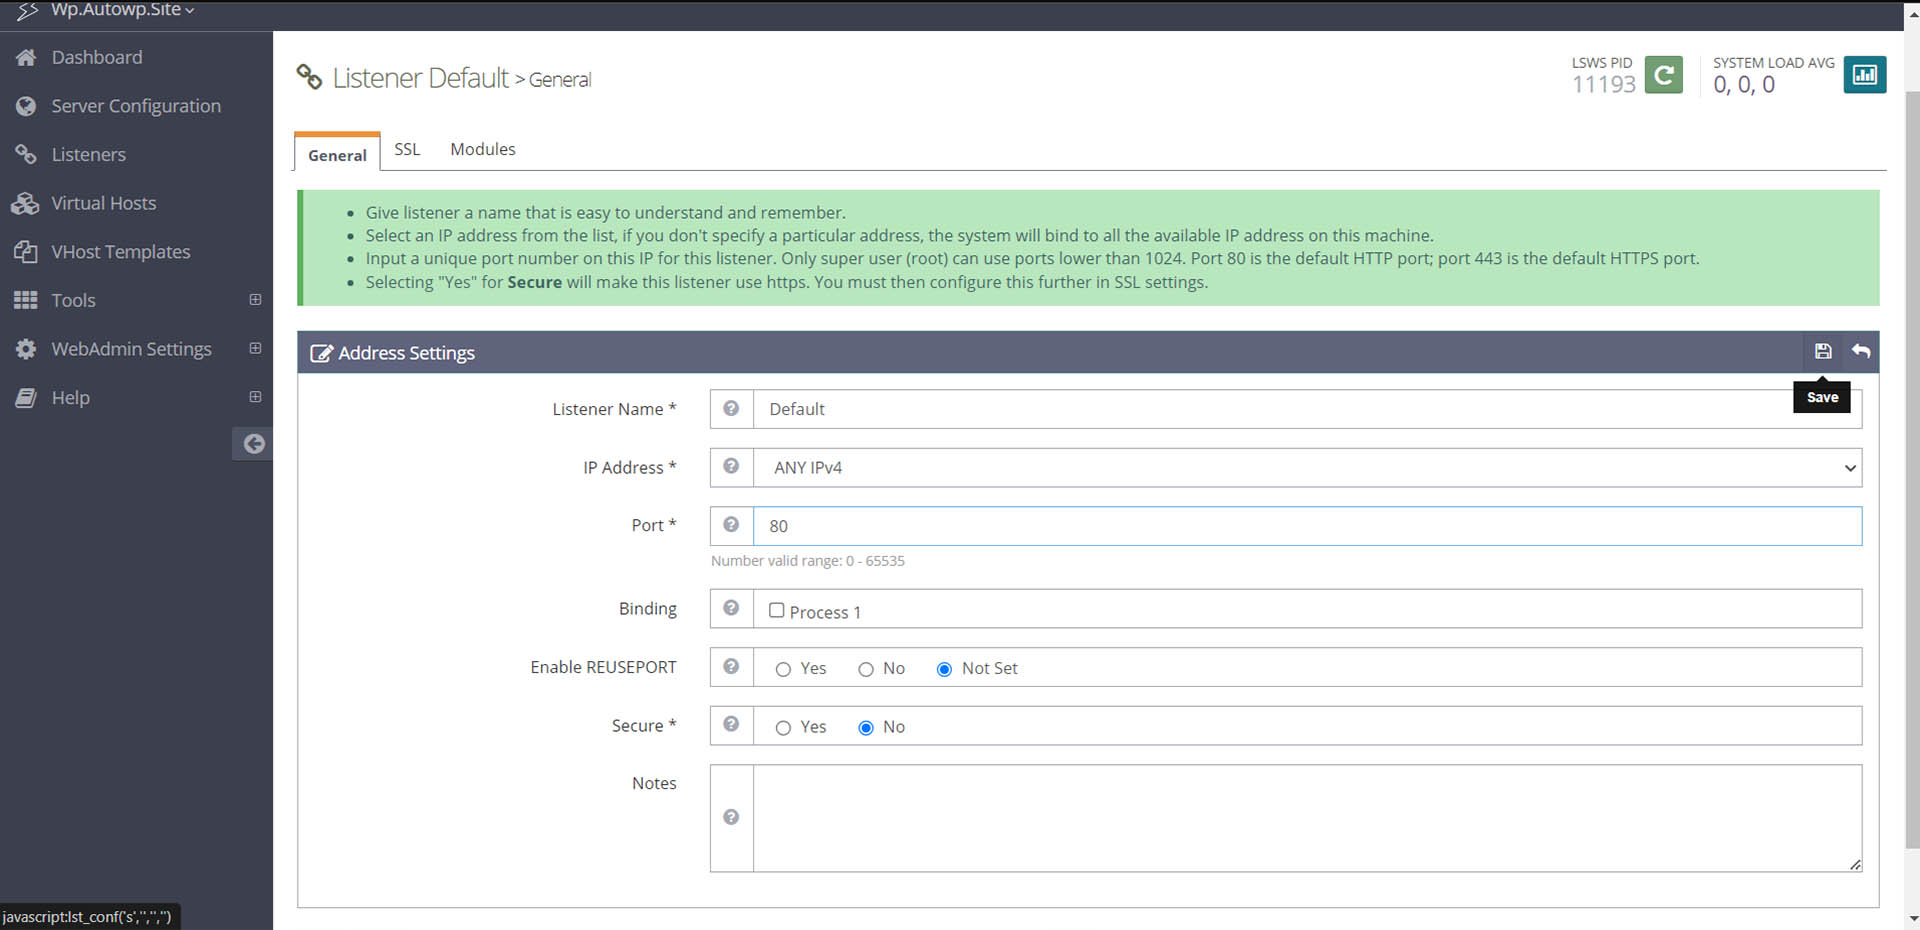
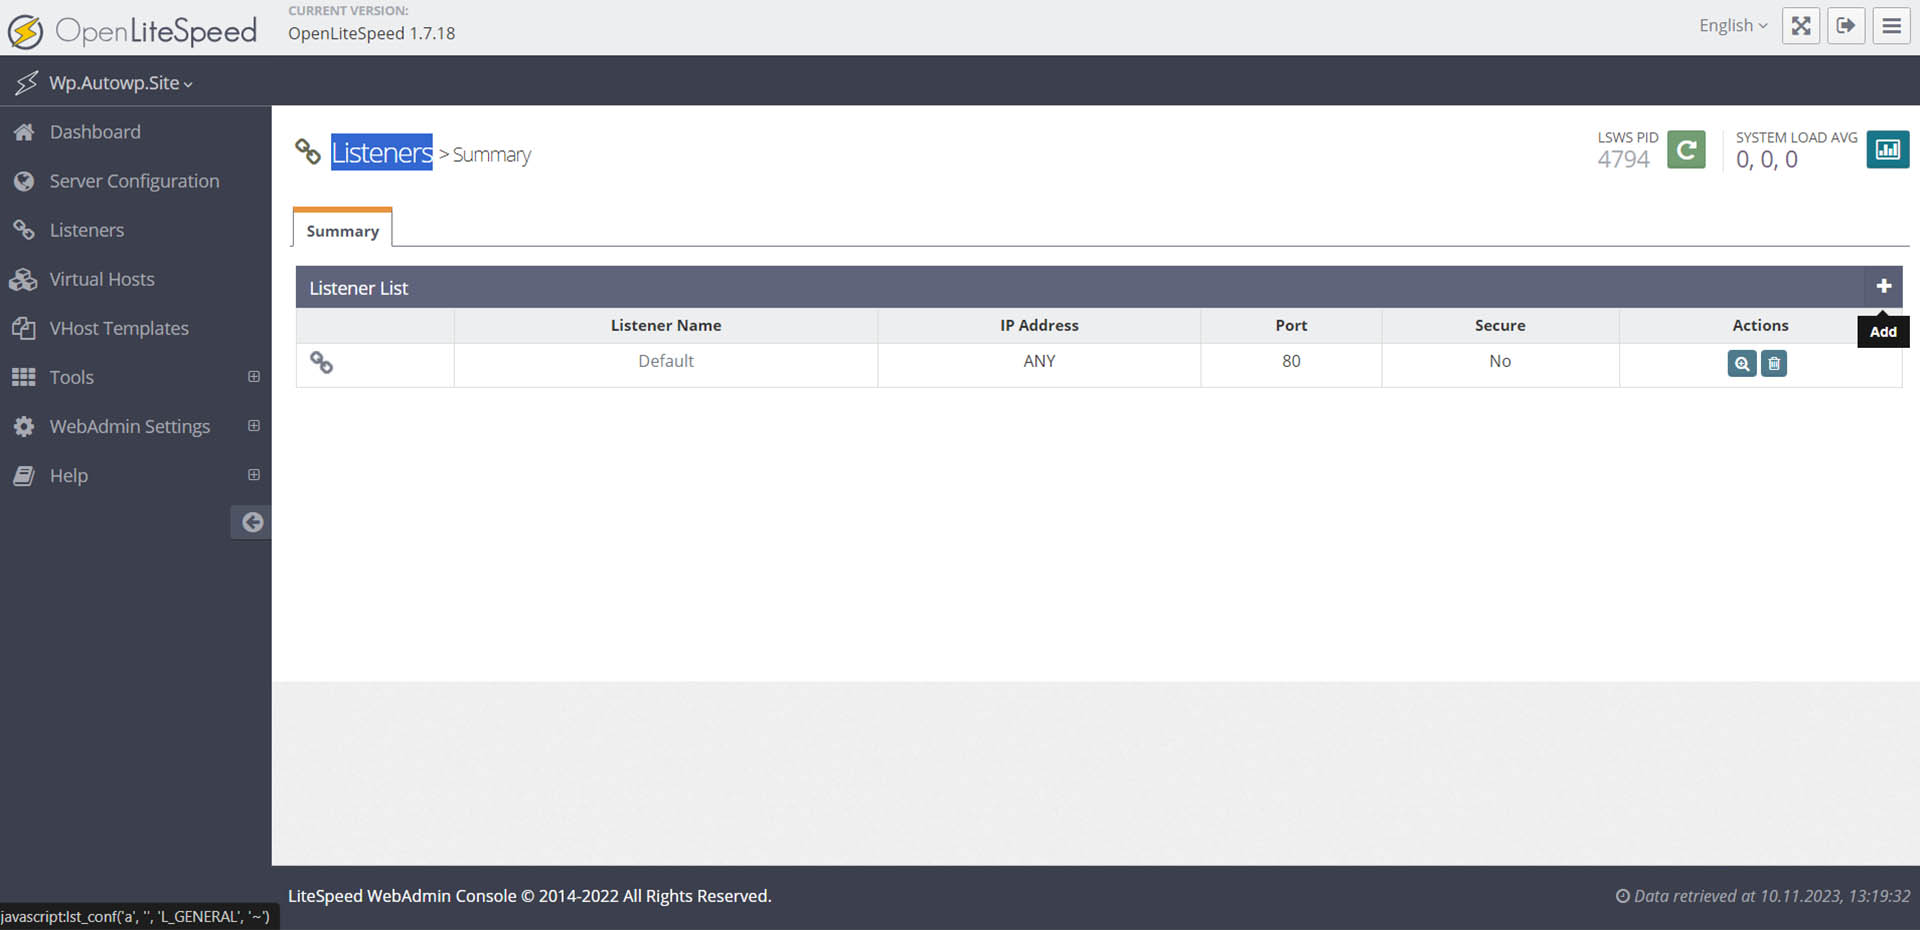
Let’s change the default port 8088 to the standard port 80. To do this, on the left panel, select ‘Listeners’ and click on the icon with the magnifying glass and plus sign. Then, click on the ‘Edit’ icon, change the port value to 80, and save the changes by clicking the ‘Save’ icon.
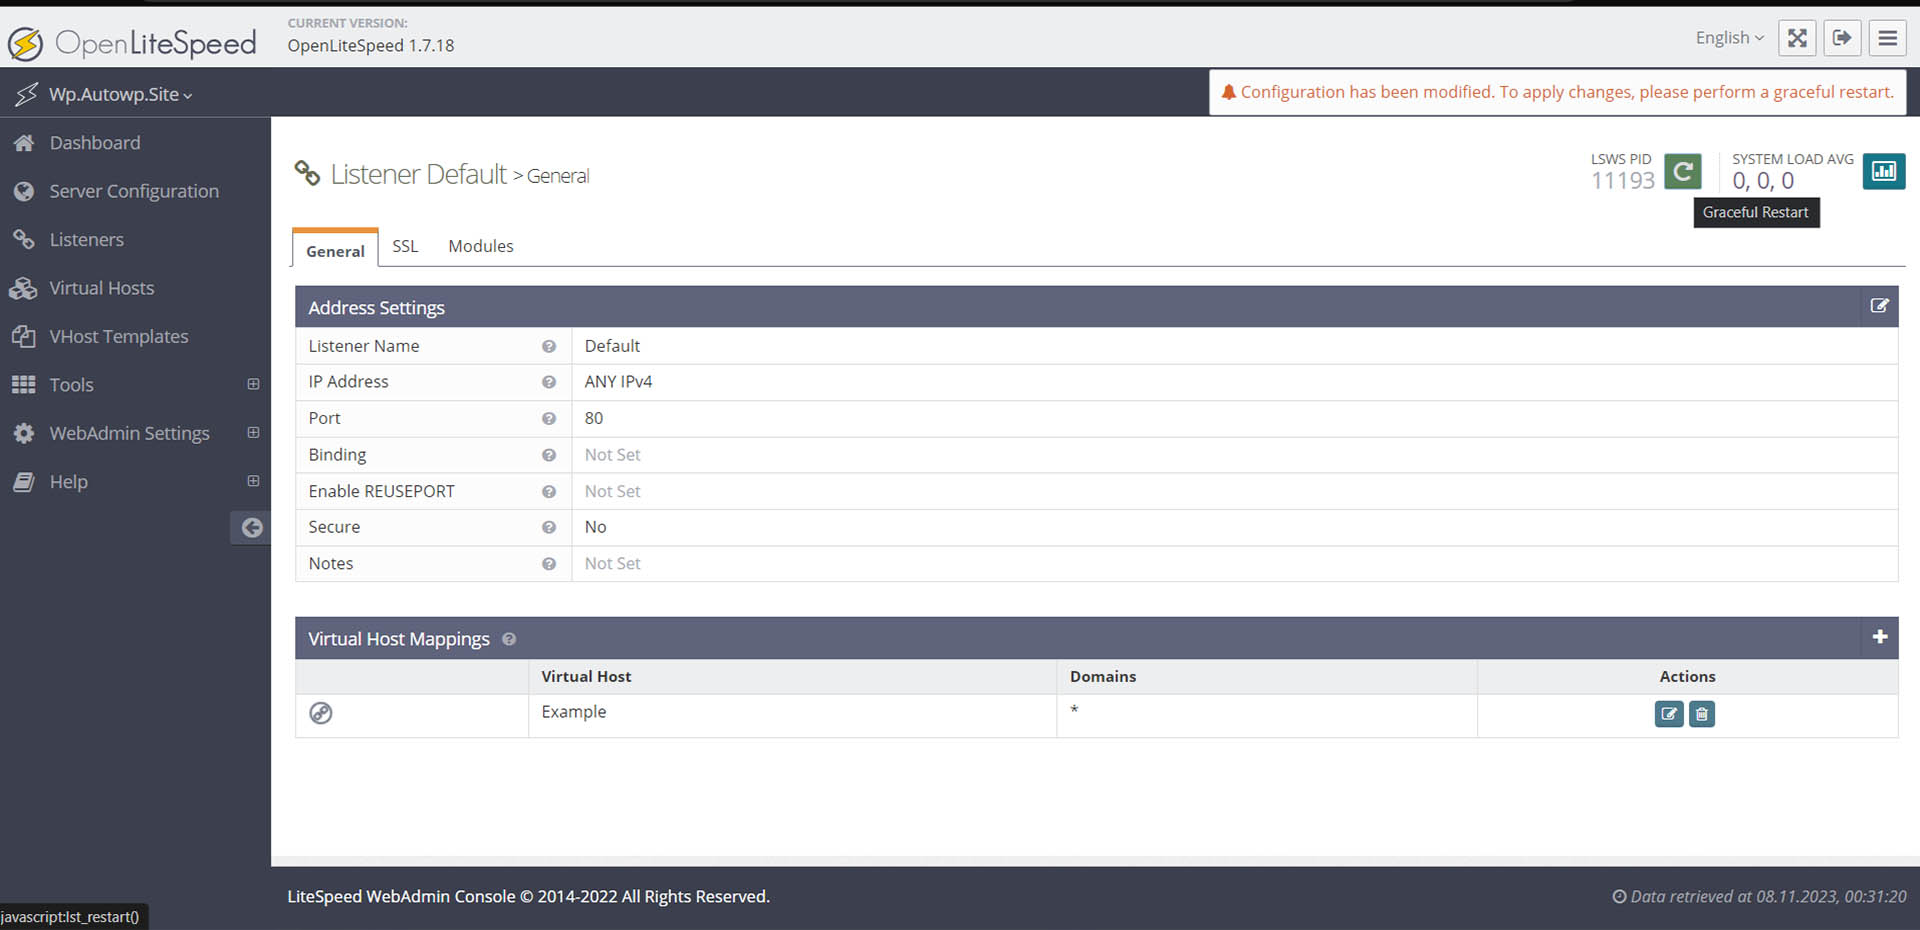
Next, perform a restart of OpenLiteSpeed by clicking the arrow button (Graceful Restart) in the top-right corner.
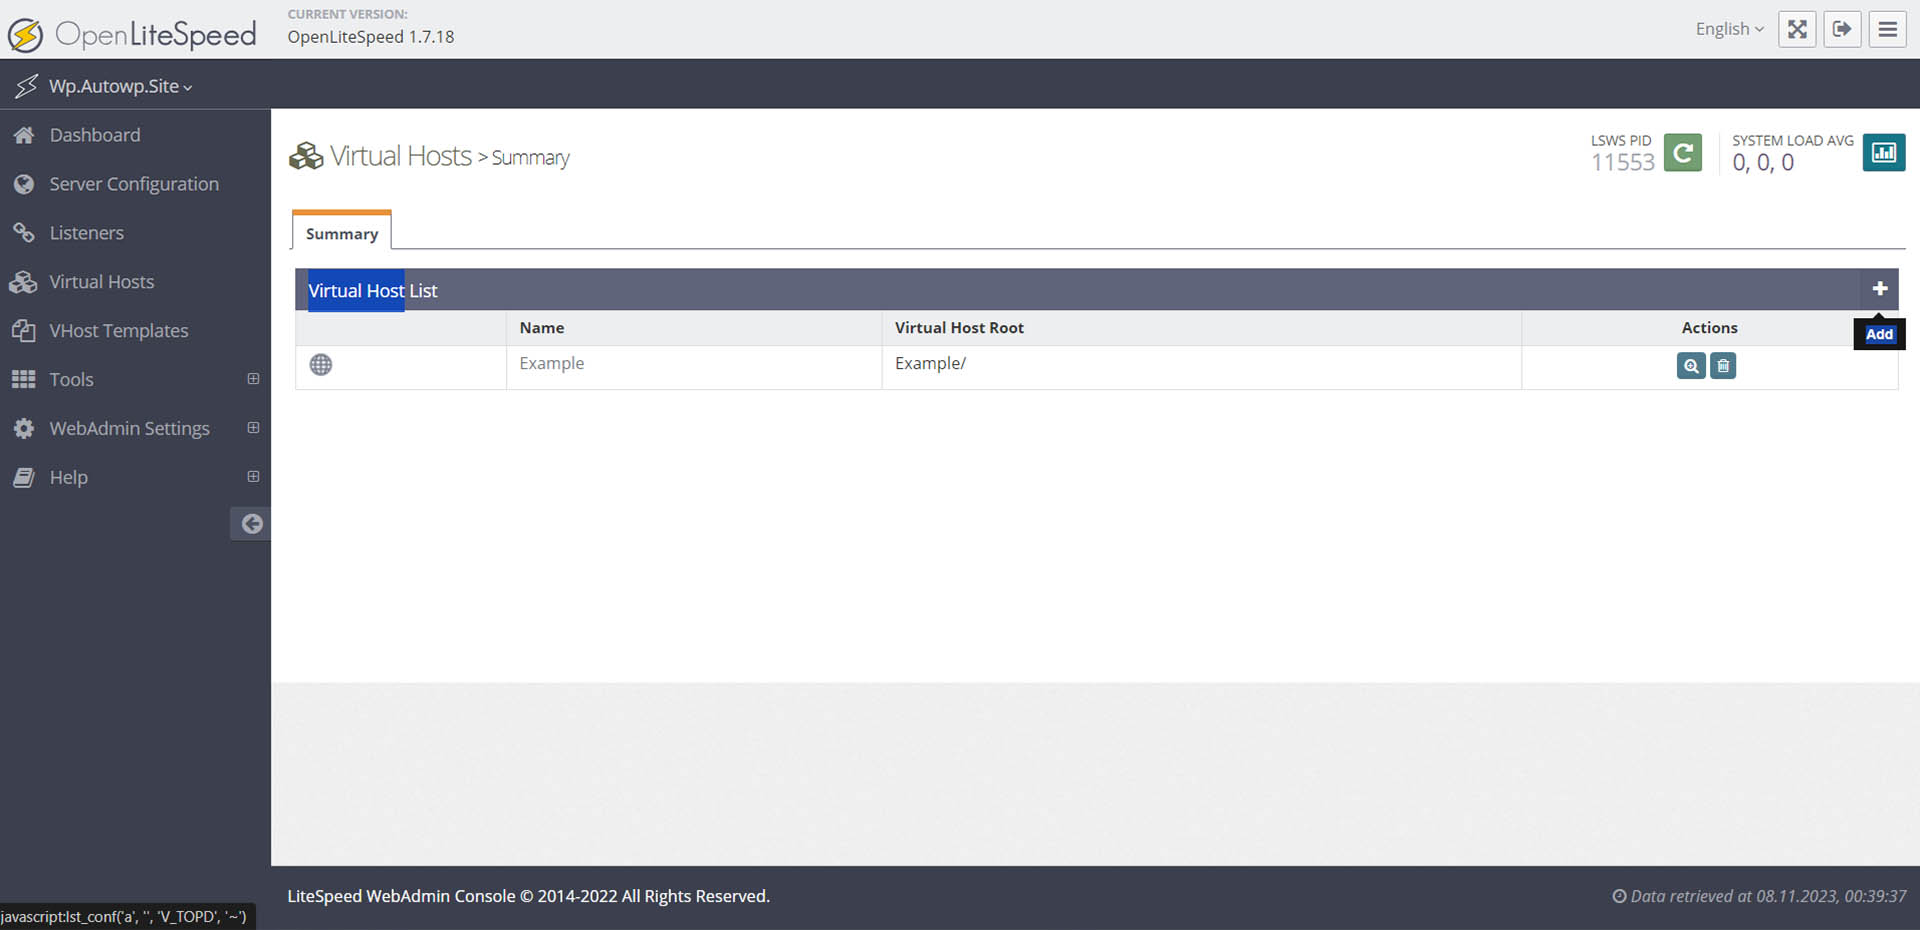
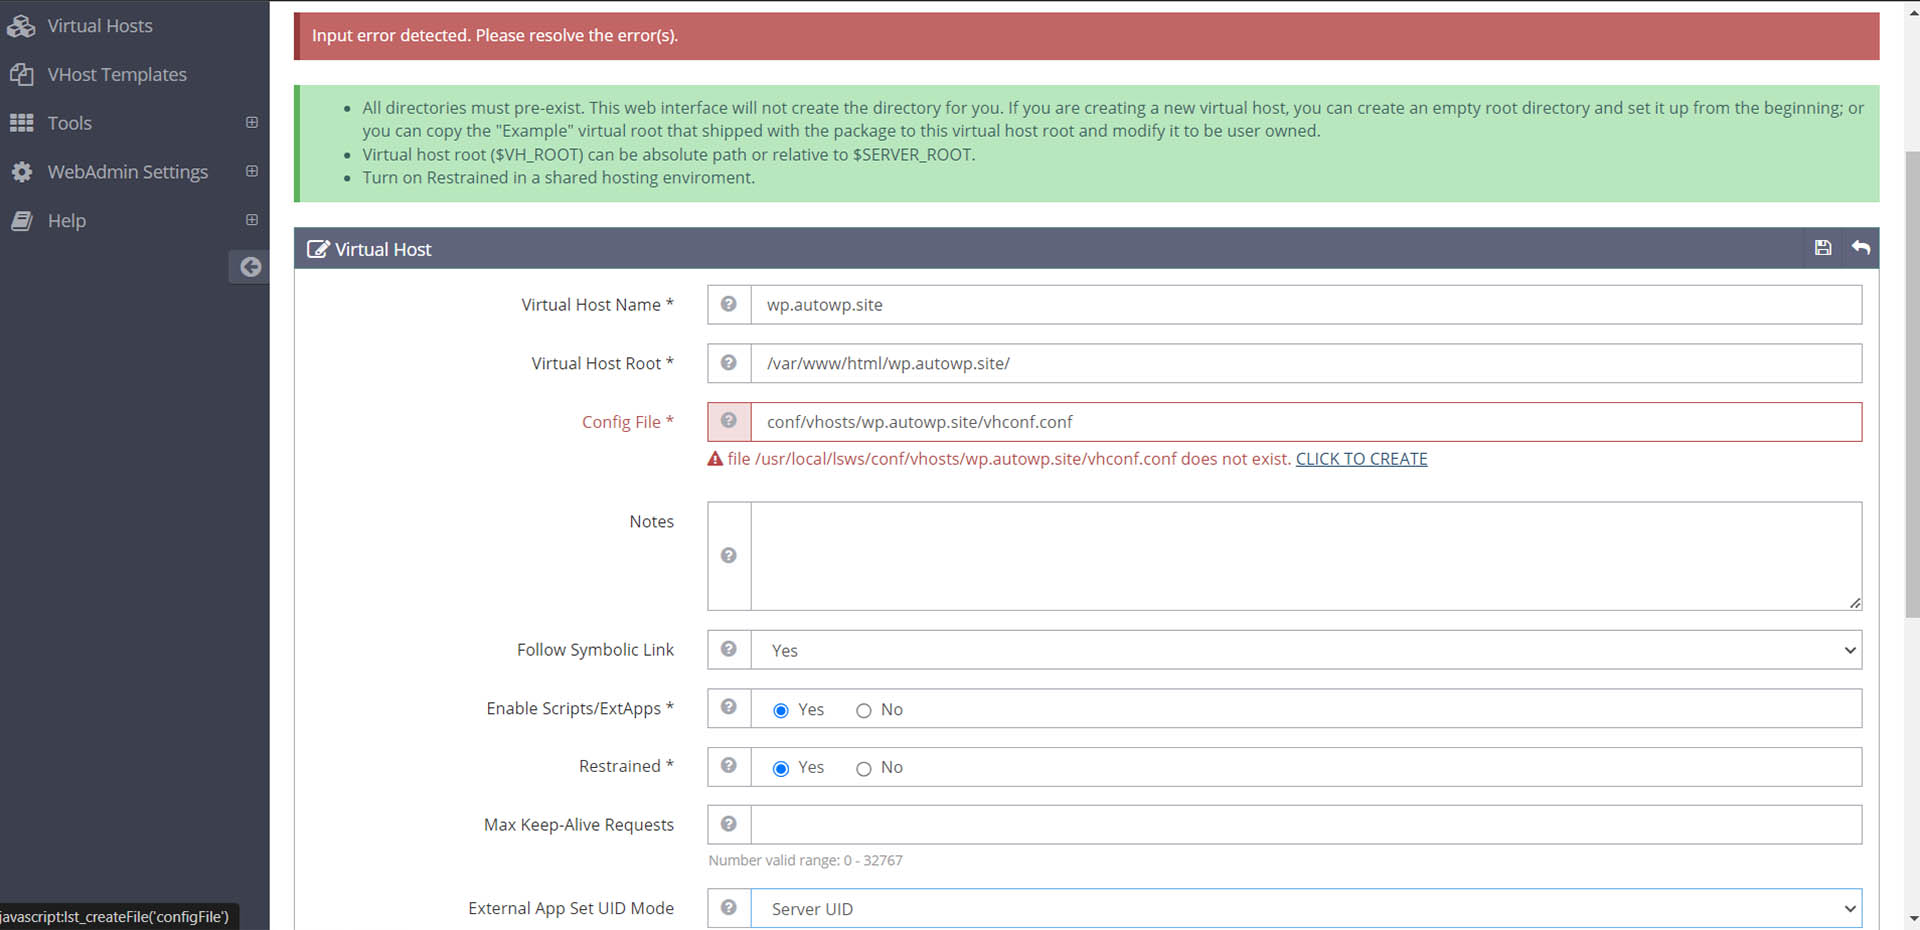
On the left panel, select ‘Virtual Host’ and click on the plus icon. Fill in the fields: Virtual Host Name *, Virtual Host Root *, Config File *.
Before saving, to avoid the server complaining about the missing site folder, let’s create the site’s directory:
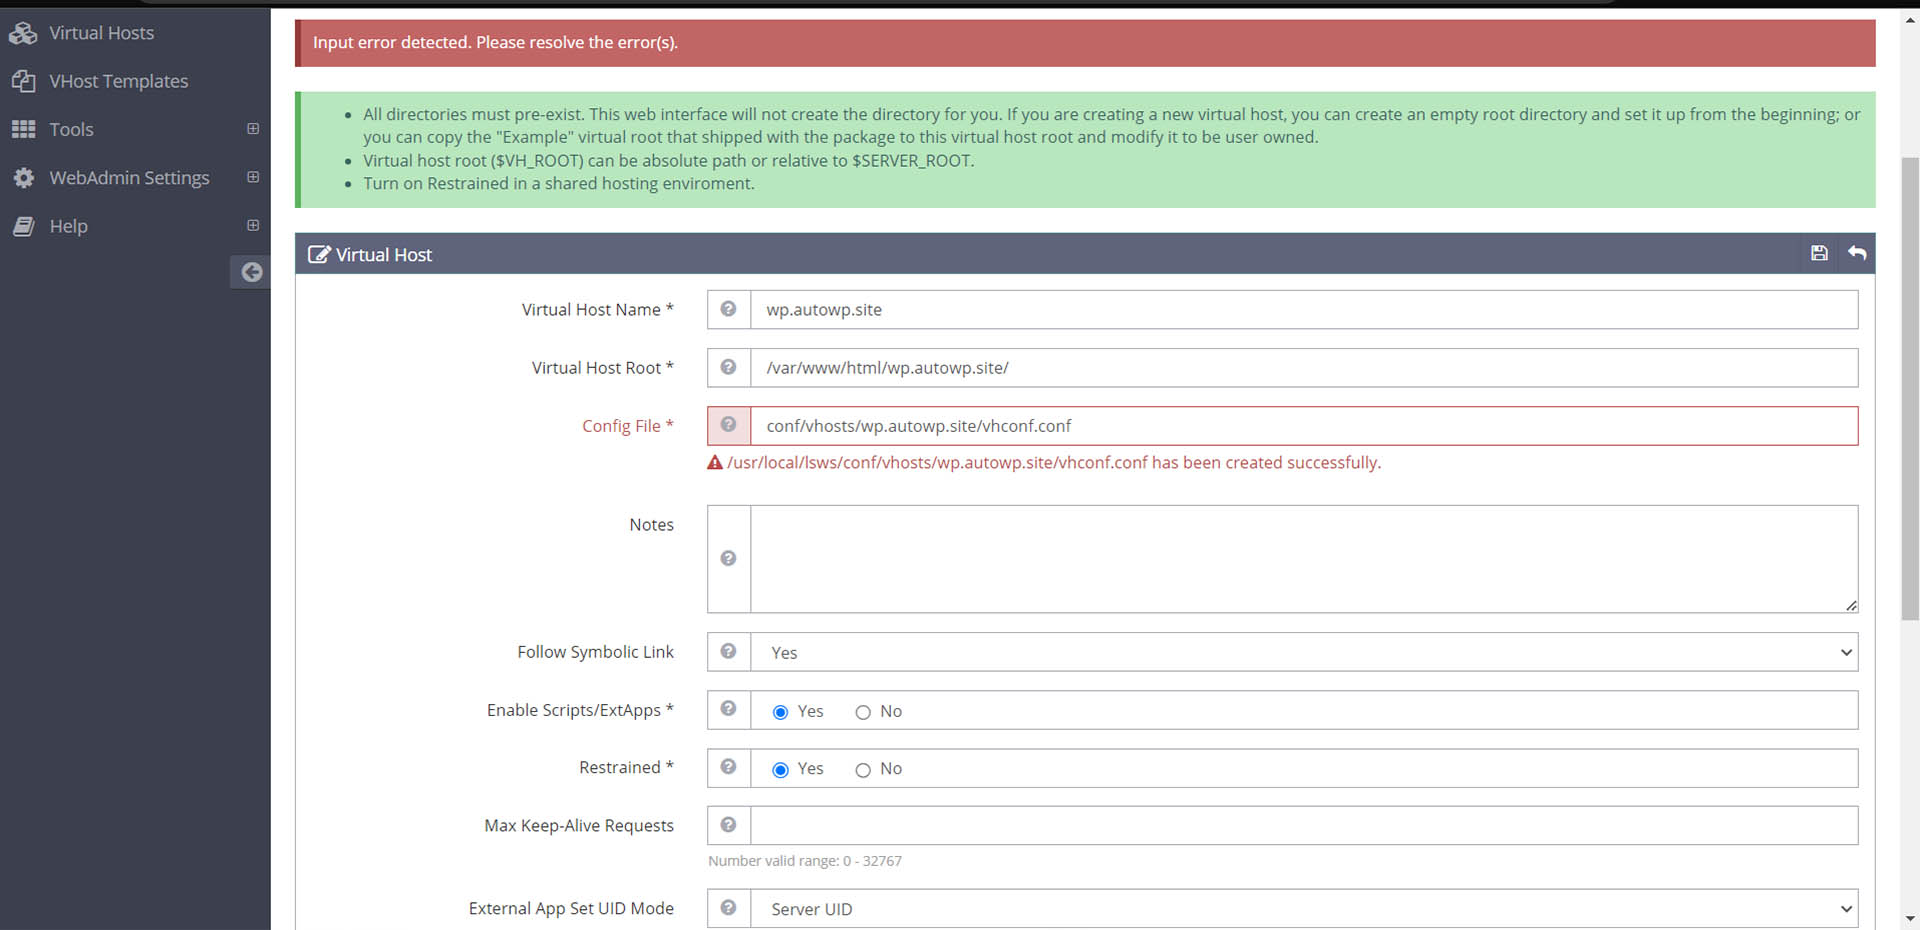
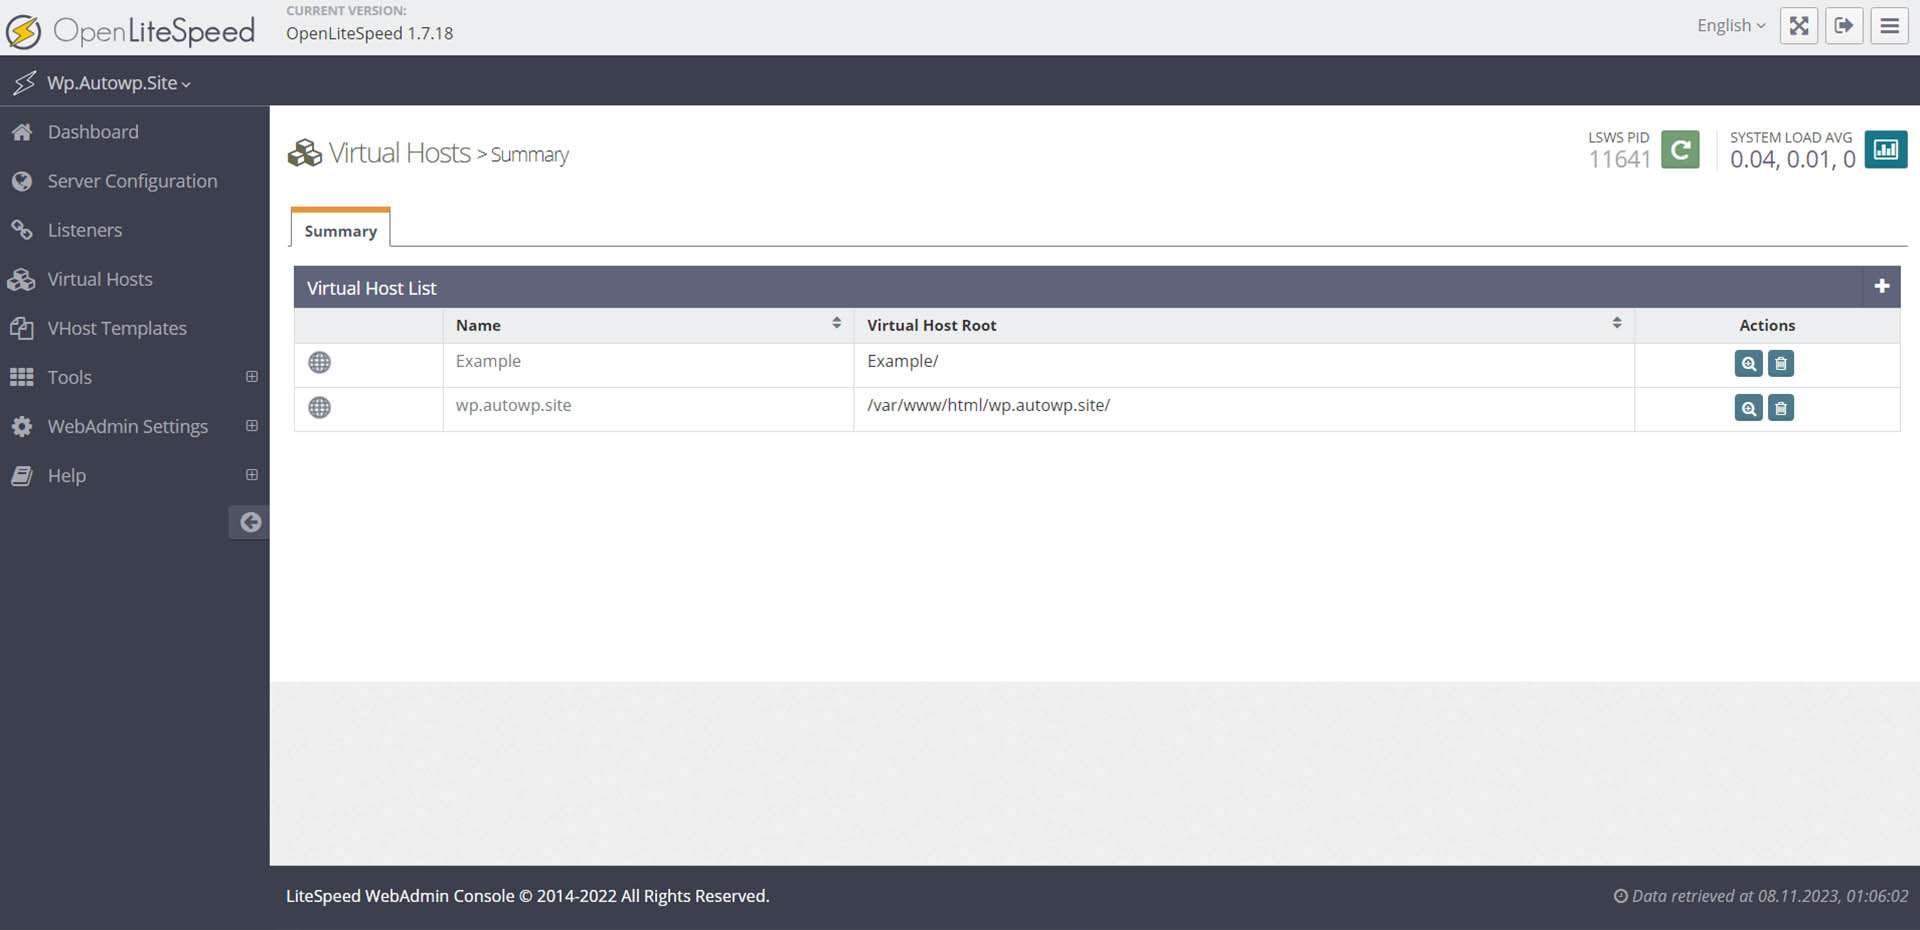
Next, save the changes and you will get an error about the missing configuration file. Click on the ‘CLICK TO CREATE’ link and save again, making sure to restart the server using the Graceful Restart button.
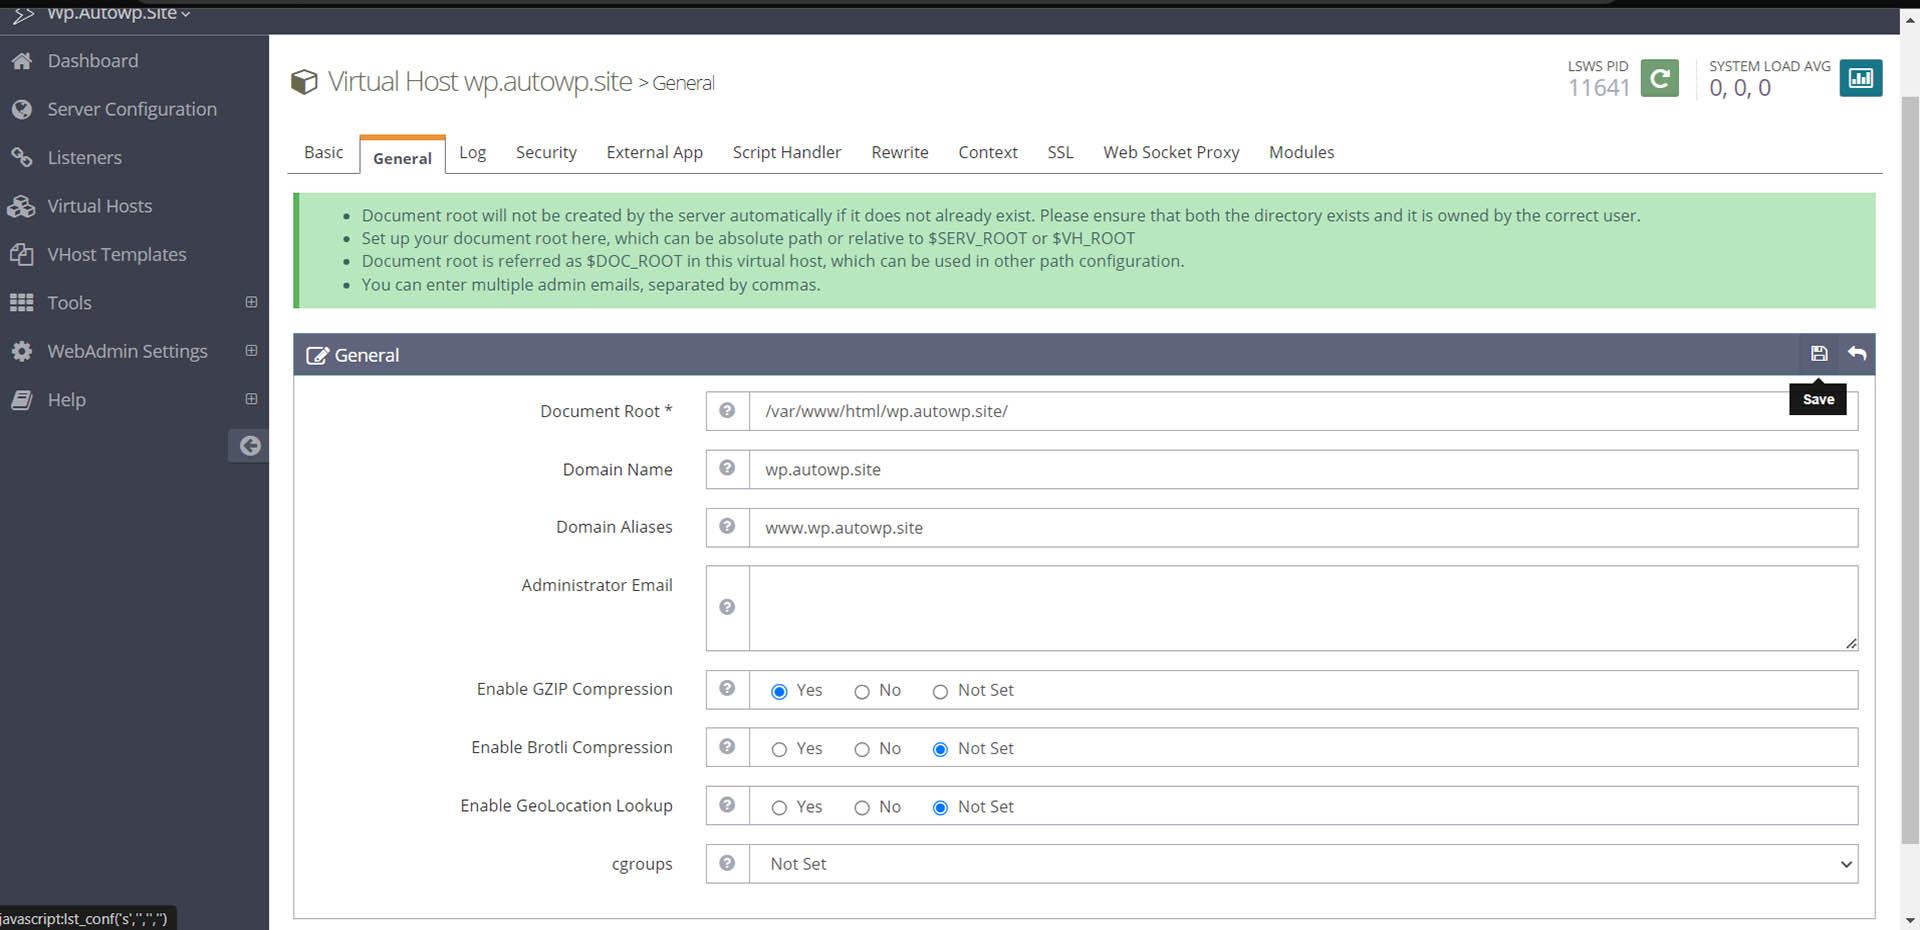
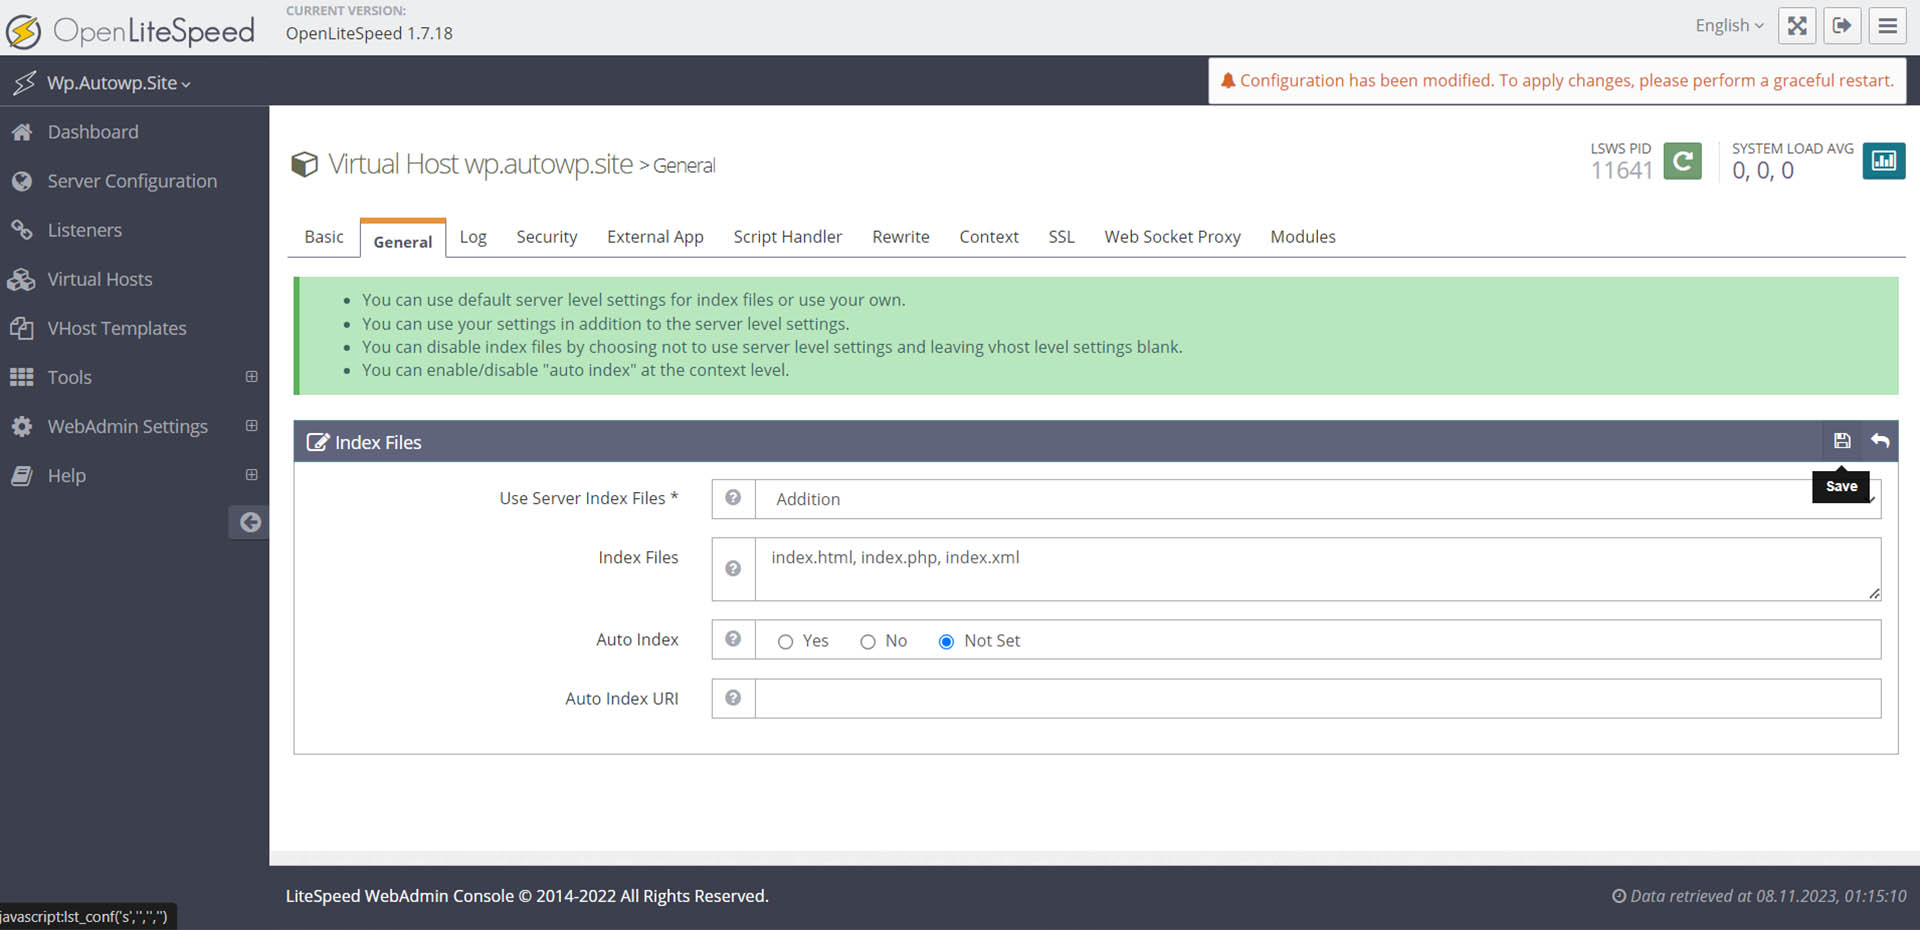
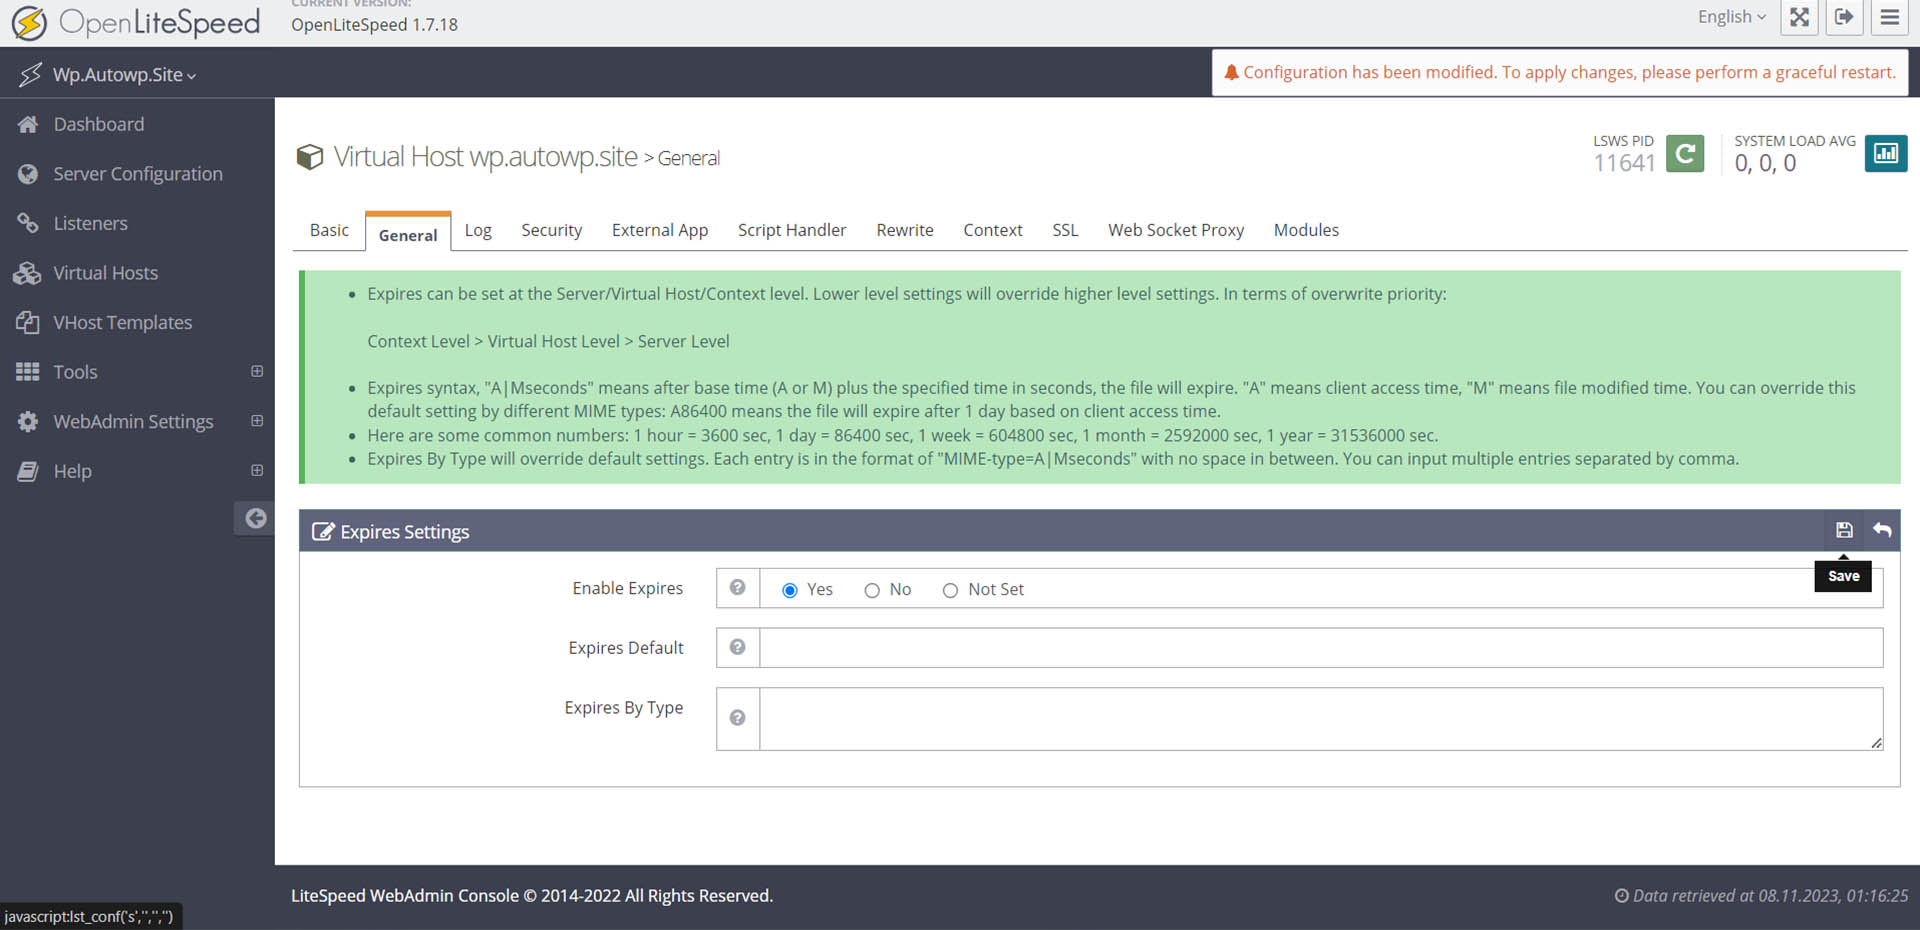
Select our site by clicking the magnifying glass and plus icon (View) and go to the ‘General’ tab. Click on the ‘Edit’ icon and fill in the required information.
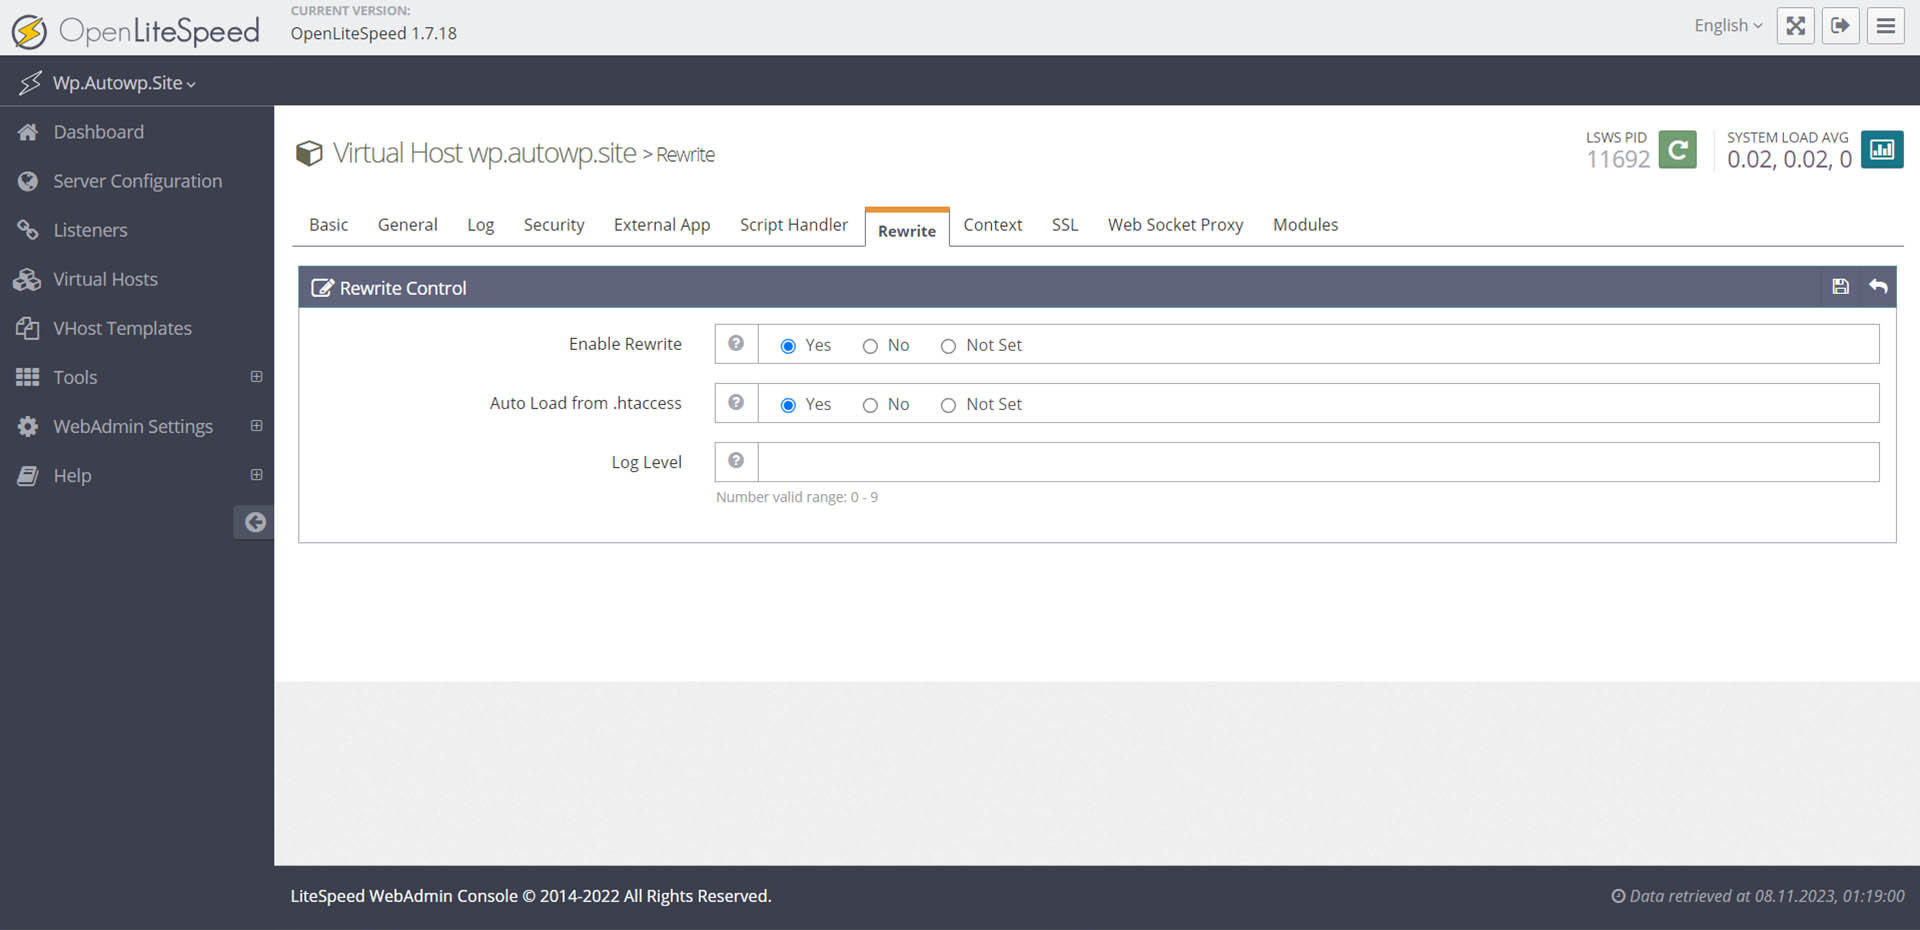
Next, go to the ‘Rewrite’ tab.
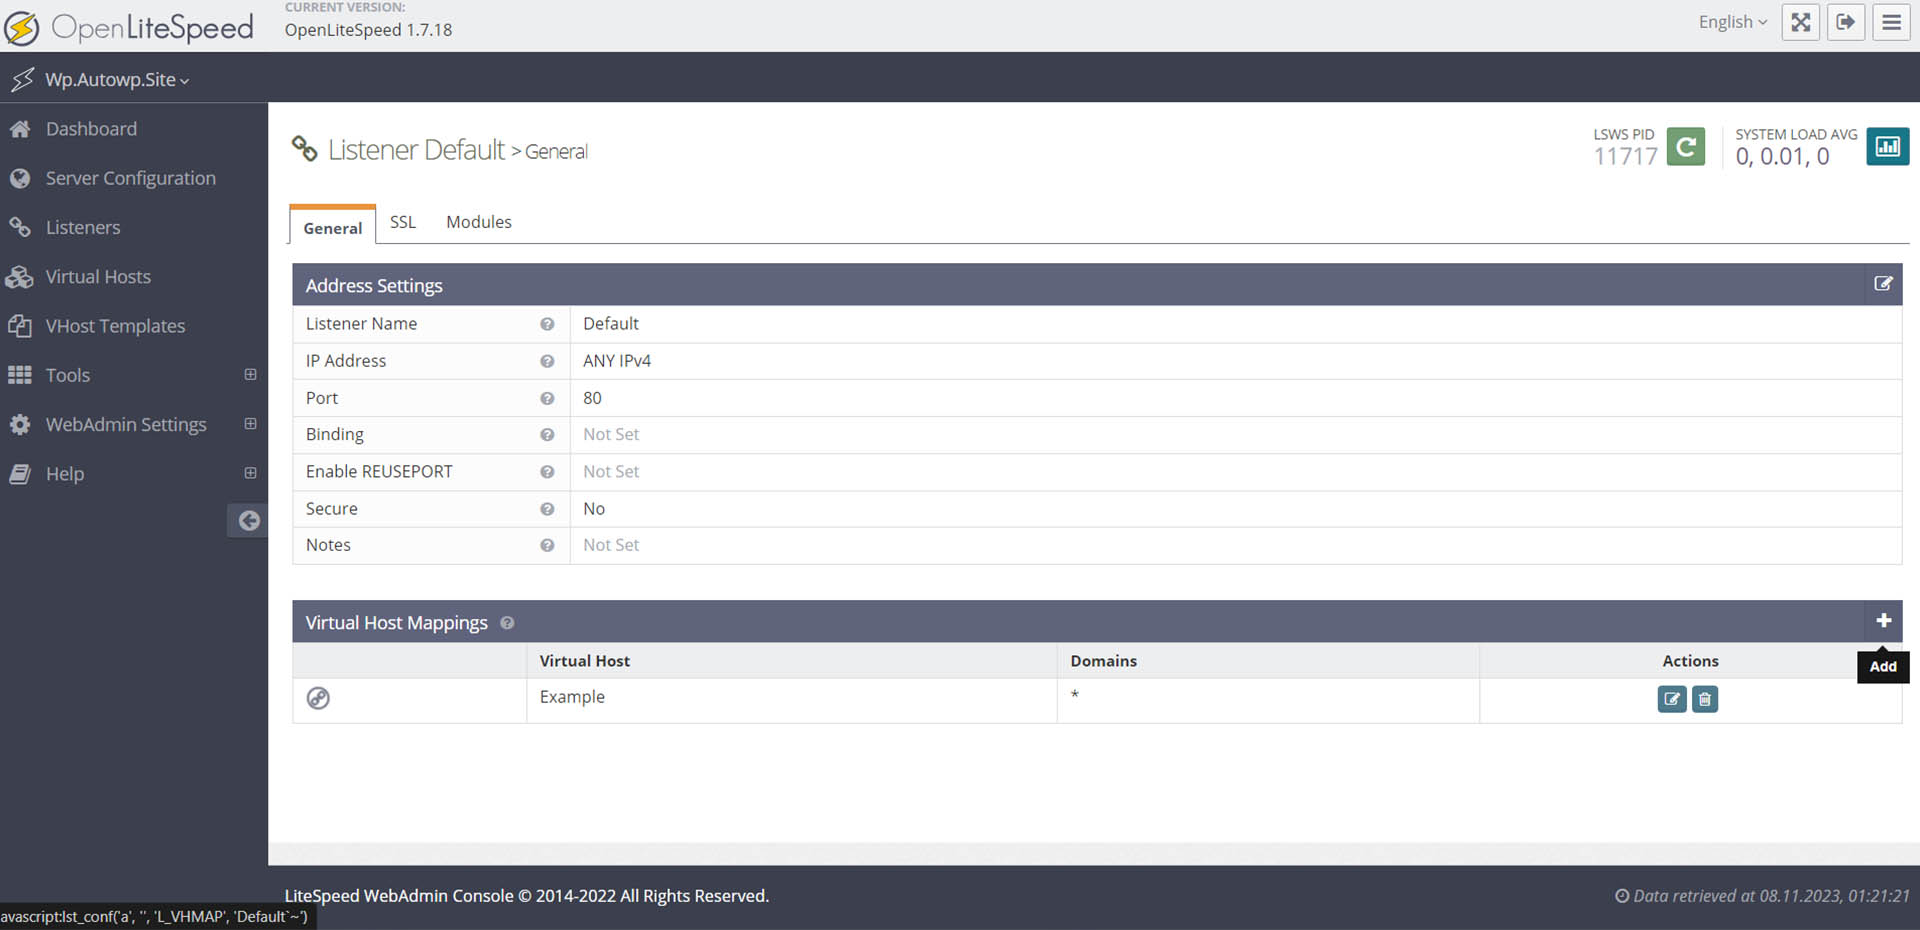
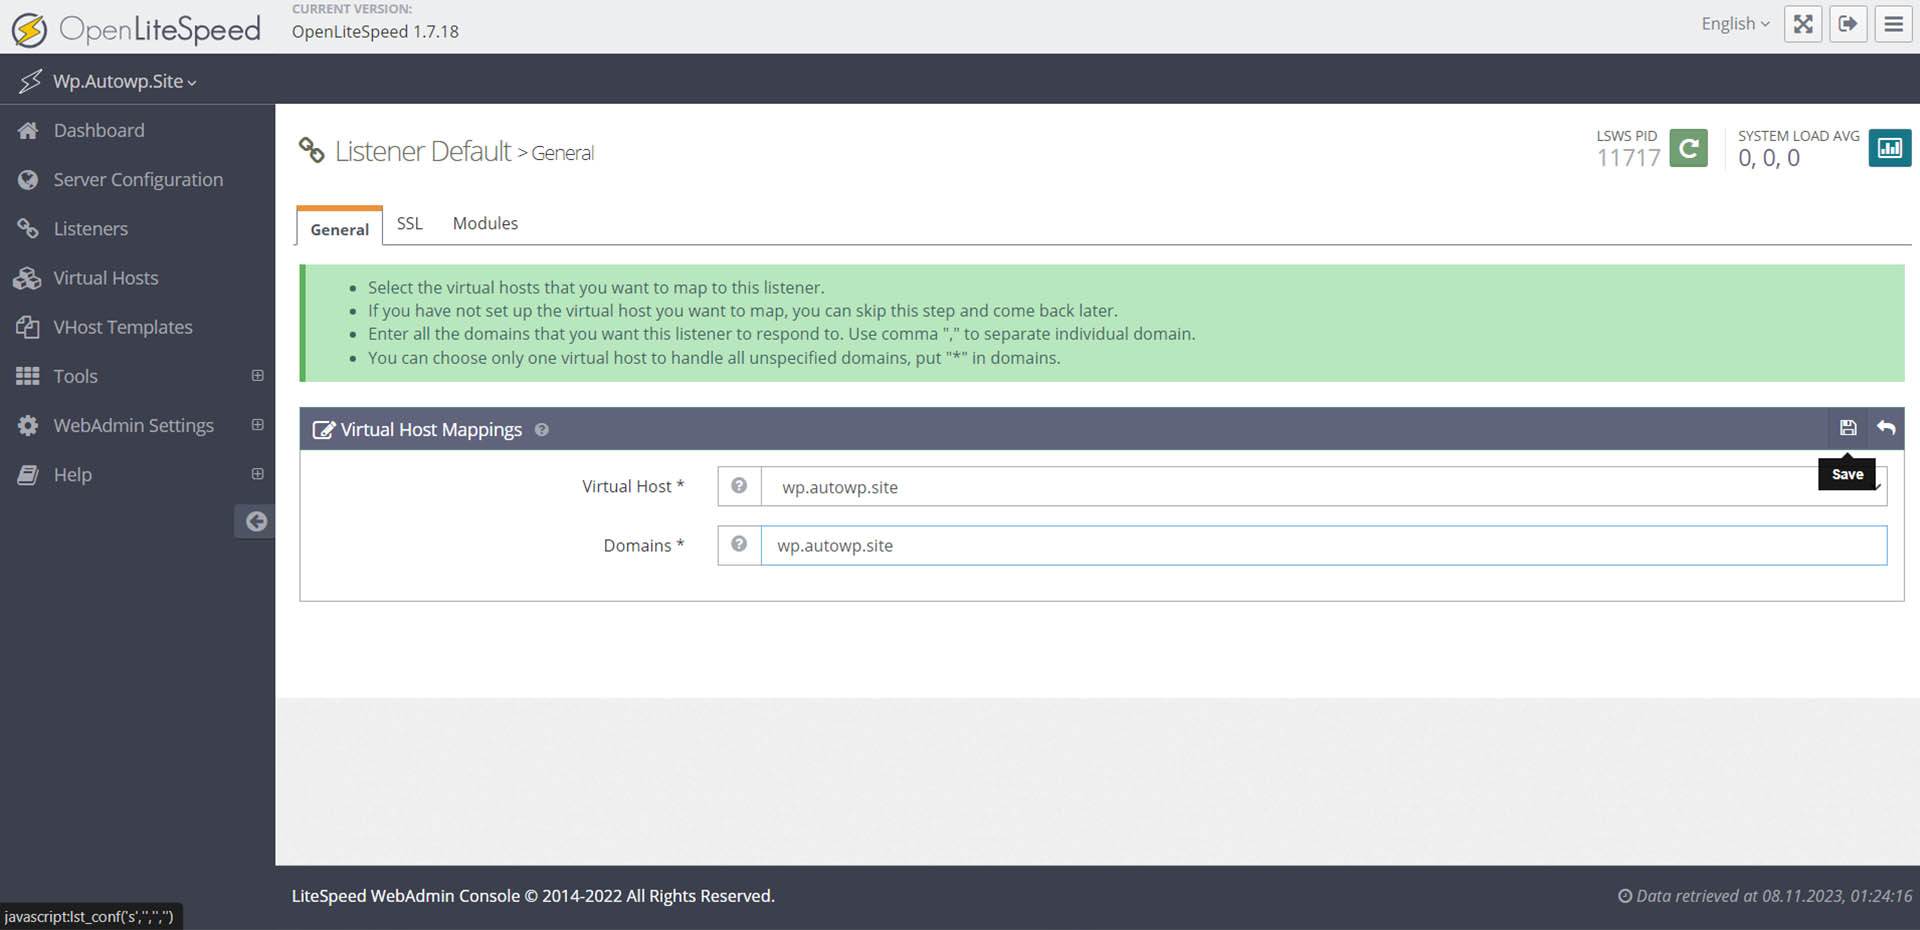
Return to ‘Listeners’ and click on the magnifying glass and plus icon,
Then click on the plus icon, and from the dropdown menu, select our site. Do the same for the ‘Domains *’ field.
After uploading the index.html file to the site, we will see the page by navigating to the URL of our site.
Installation and Configuration of MariaDB
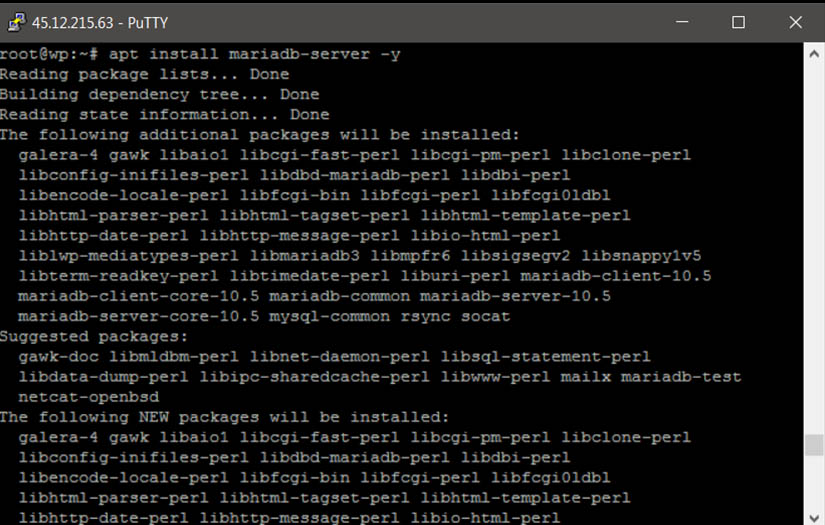
Installation MariaDB:
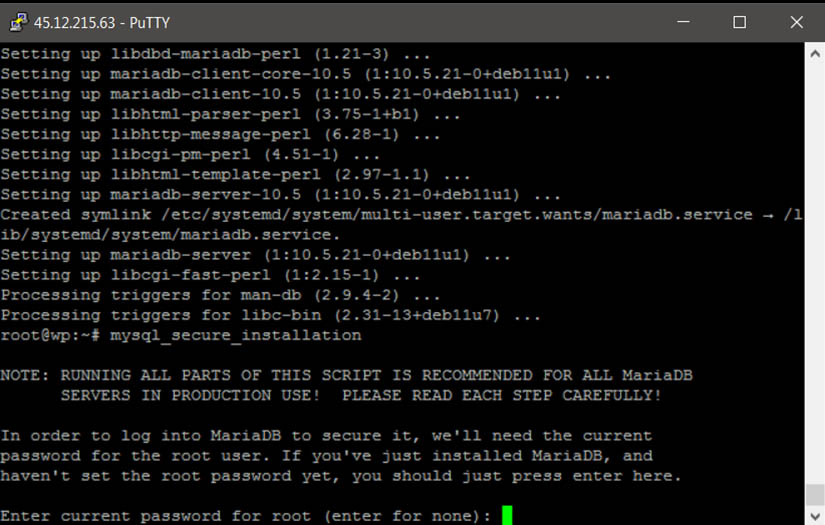
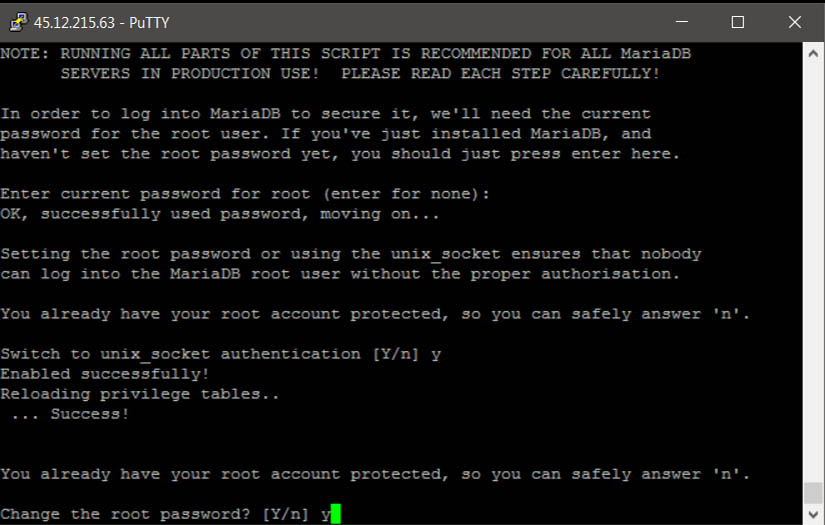
Let’s add secure access to MariaDB:
Press Enter, leaving the field empty for ‘Enter current password for root (enter for none)’:
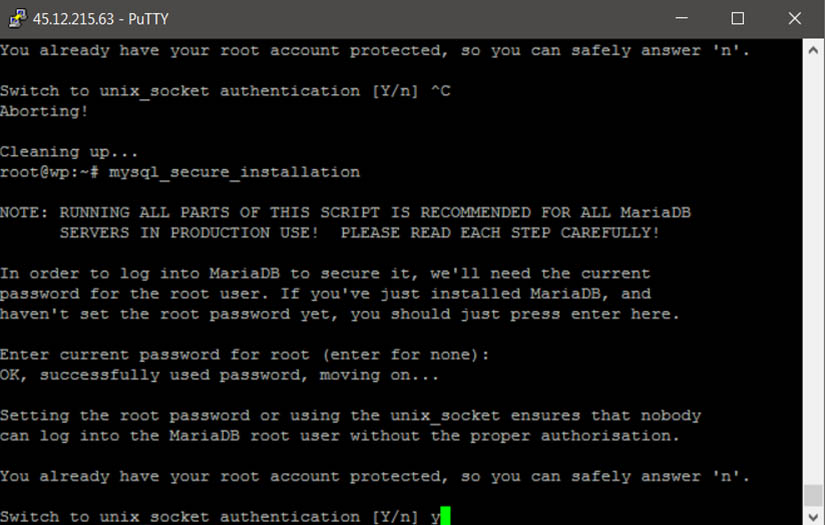
Switch authentication method (yes) ‘Switch to unix_socket authentication [Y/n]’: y
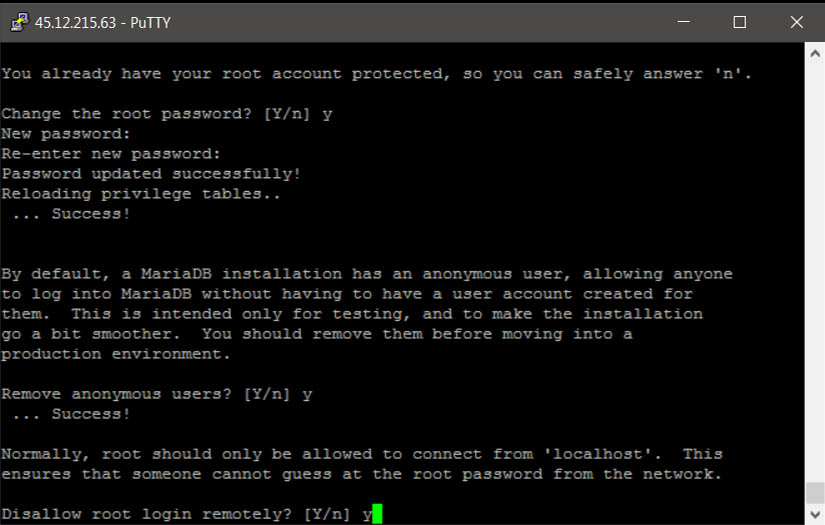
Change the root password (yes) ‘Change the root password? [Y/n]’: y
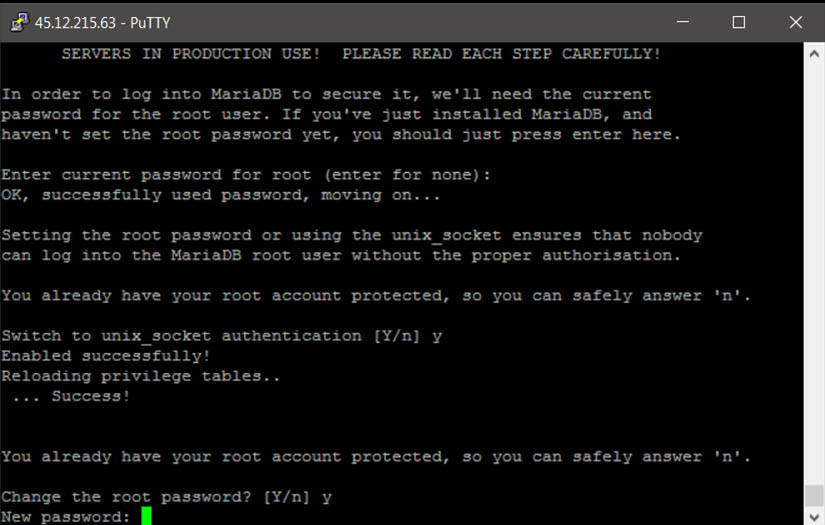
Enter the new password ‘New password’: your password
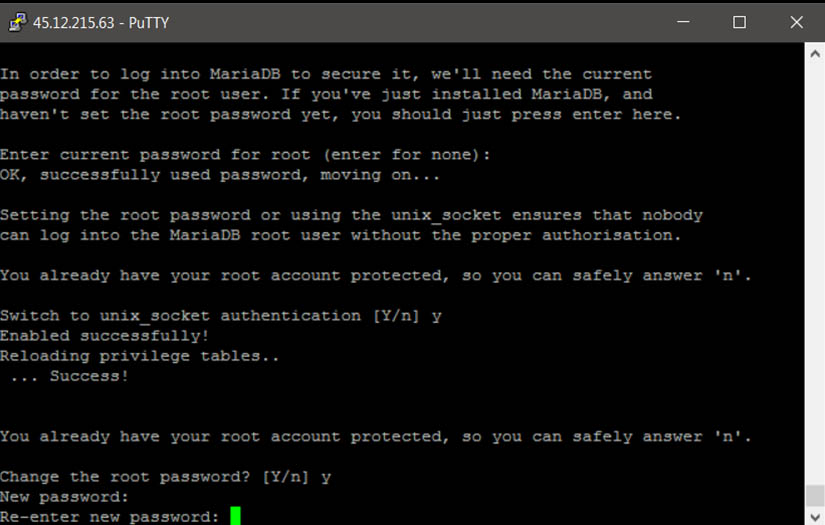
Re-enter the new password ‘Re-enter new password’: your password
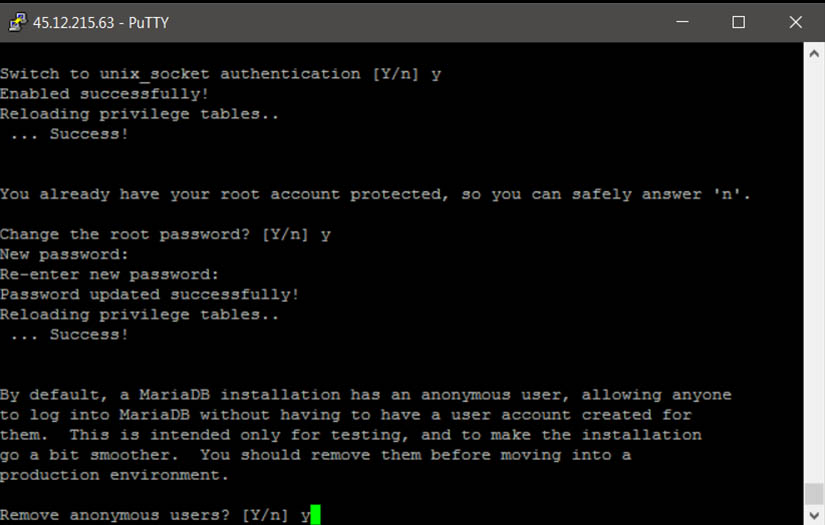
Remove anonymous users (yes) ‘Remove anonymous users? [Y/n]’: y
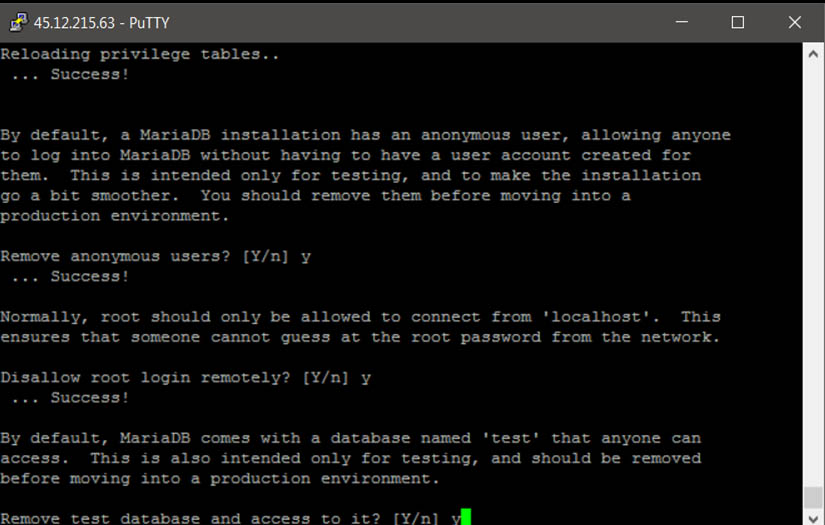
Disallow remote access for the root user (yes) ‘Disallow root login remotely? [Y/n]’: y
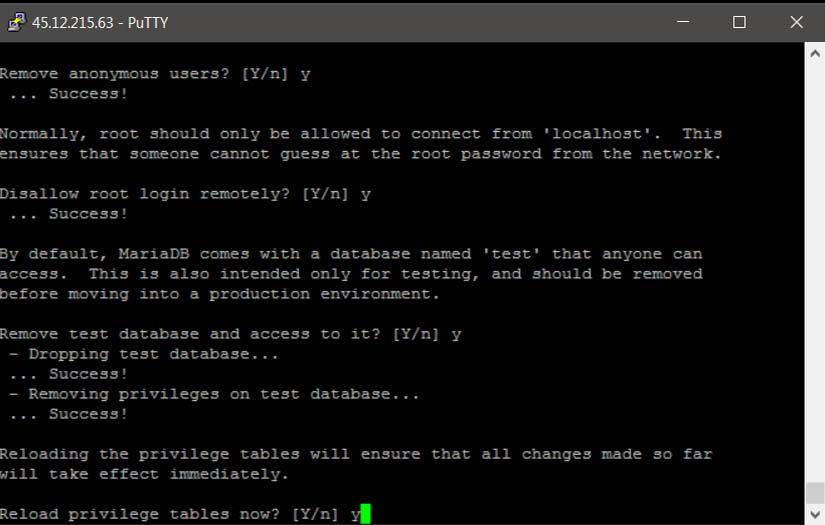
Remove the test database (yes) ‘Remove test database and access to it? [Y/n]’: y
Reload the privilege tables (yes) ‘Reload privilege tables now? [Y/n]’: y
The preliminary MariaDB setup is complete.
Installing the Let’s Encrypt certificate and configuring the HTTPS protocol in the admin panel
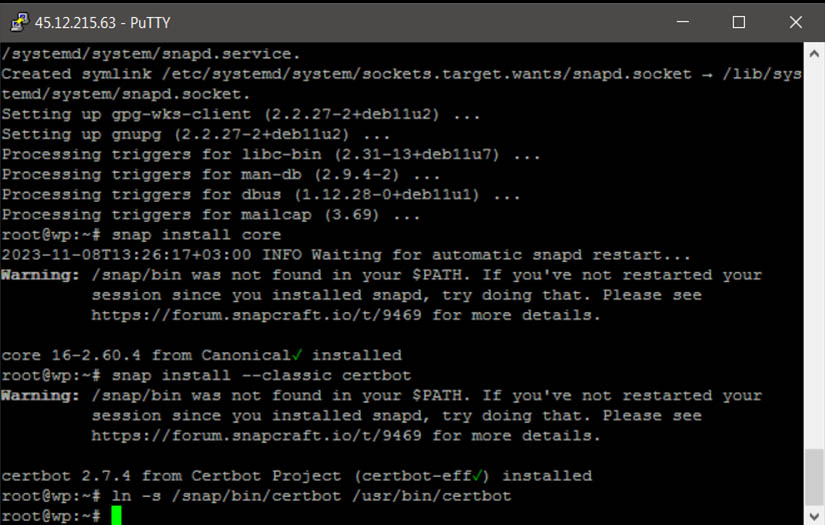
To obtain free HTTPS certificates, we will use Certbot.
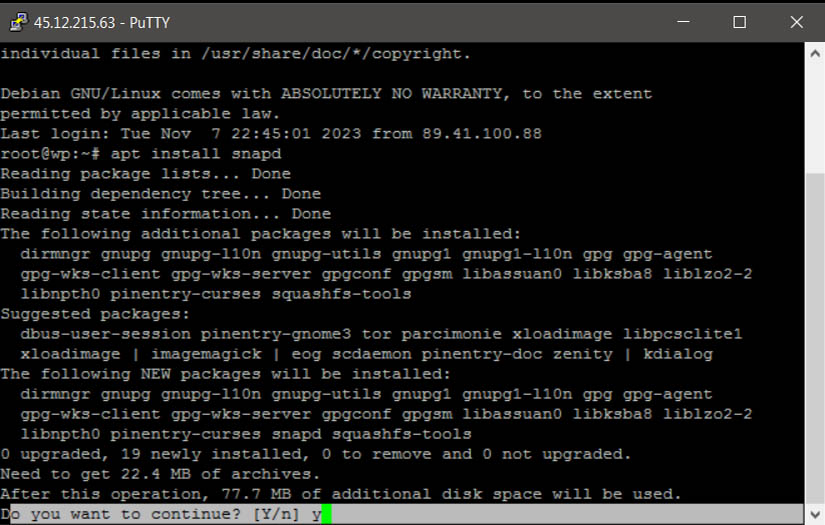
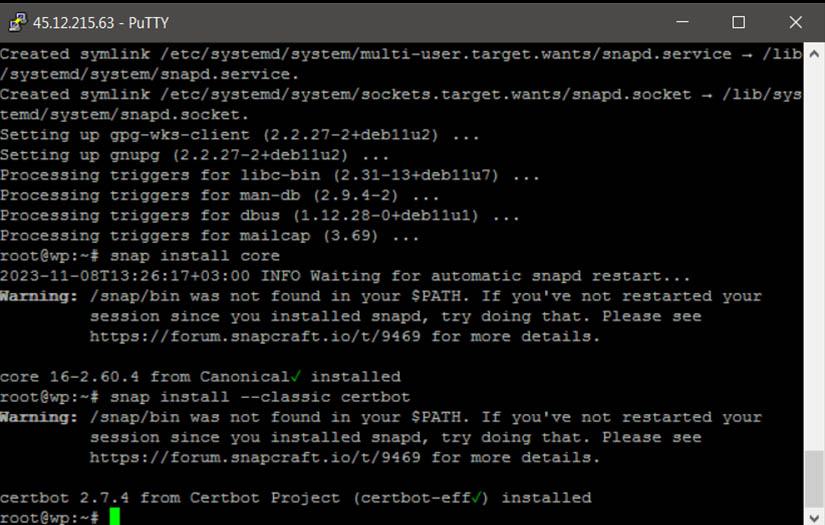
First, we will need the classic SNAP installer:
To the question ‘Do you want to continue?’ answer yes ‘Do you want to continue? [Y/n] y’
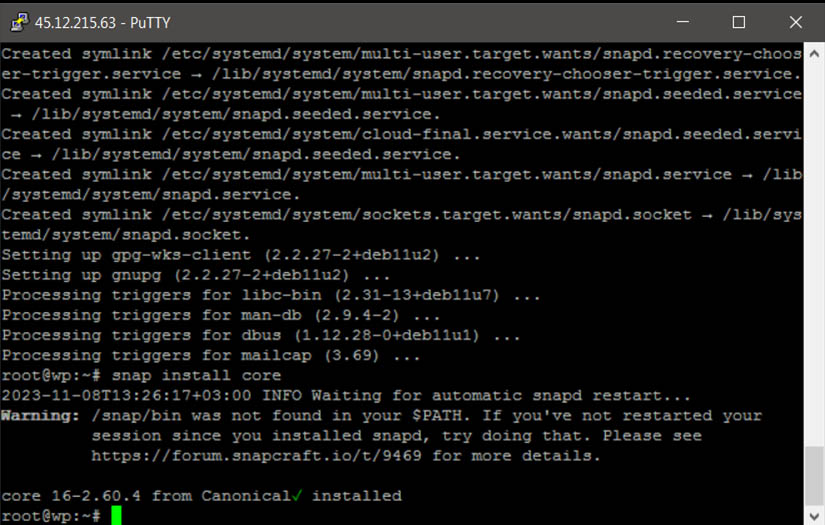
Next, we will install the SNAP core:
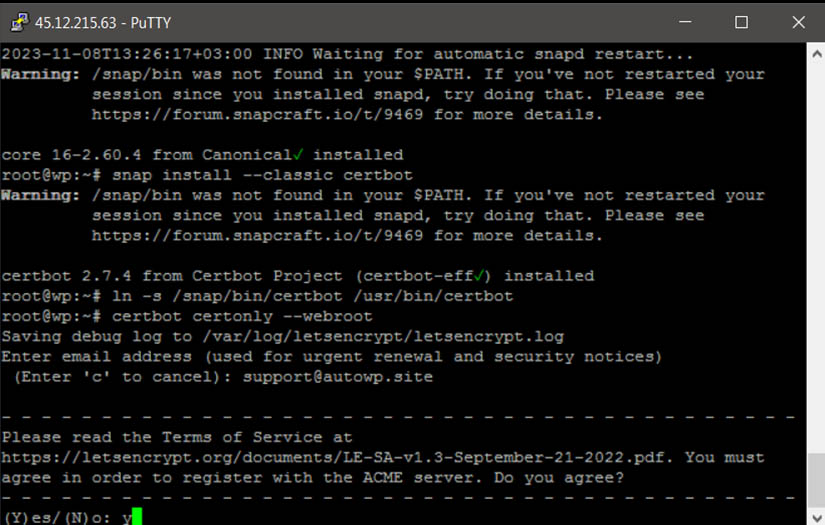
Now we can proceed with the installation of the certificate:
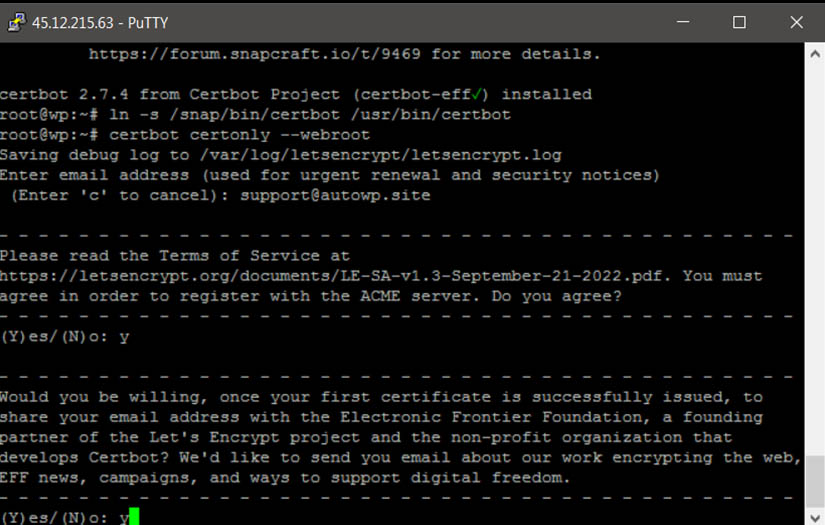
Next, enter the email address of the site administrator ‘Enter email address (used for urgent renewal and security notices) (Enter ‘c’ to cancel): support@autowp.site
Then, agree by typing ‘Y’ «Please read the Terms of Service at
https://letsencrypt.org/documents/LE-SA-v1.3-September-21-2022.pdf. You must
agree in order to register with the ACME server. Do you agree?
– – – – – – – – – – – – – – – – – – – – – – – – – – – – – – – – – – – – – – – –
(Y)es/(N)o: y»
Here too «Would you be willing, once your first certificate is successfully issued, to
share your email address with the Electronic Frontier Foundation, a founding
partner of the Let’s Encrypt project and the non-profit organization that
develops Certbot? We’d like to send you email about our work encrypting the web,
EFF news, campaigns, and ways to support digital freedom.
– – – – – – – – – – – – – – – – – – – – – – – – – – – – – – – – – – – – – – – –
(Y)es/(N)o: y»
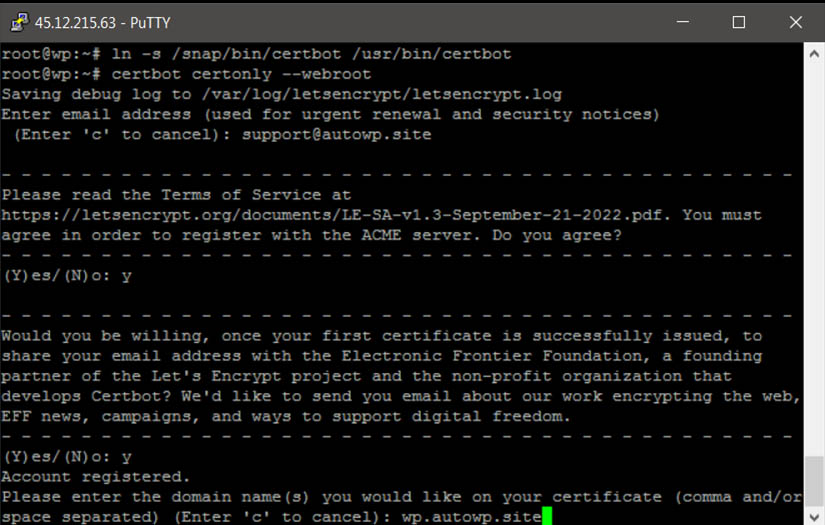
Here, enter the name of your site «Please enter the domain name(s) you would like on your certificate (comma and/or
space separated) (Enter ‘c’ to cancel): wp.autowp.site»
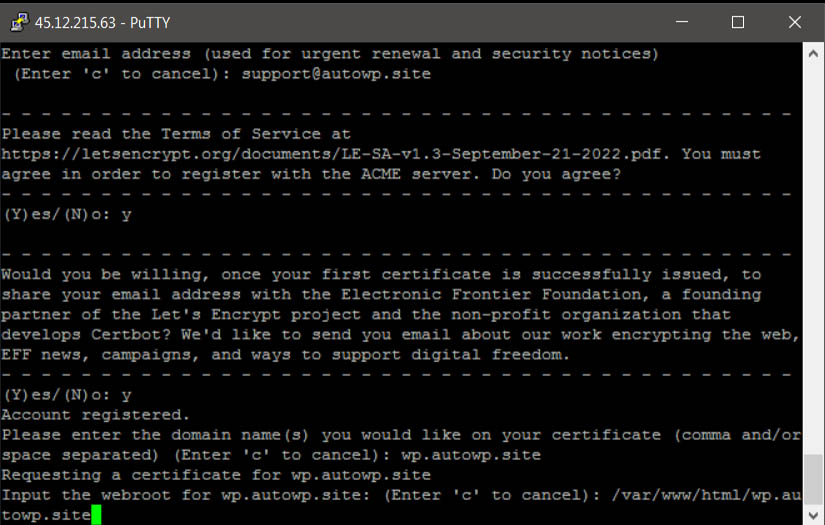
Next, enter the directory of your site (the full path to the folder on the server) «Input the webroot for wp.autowp.site: (Enter ‘c’ to cancel): /var/www/html/wp.autowp.site»
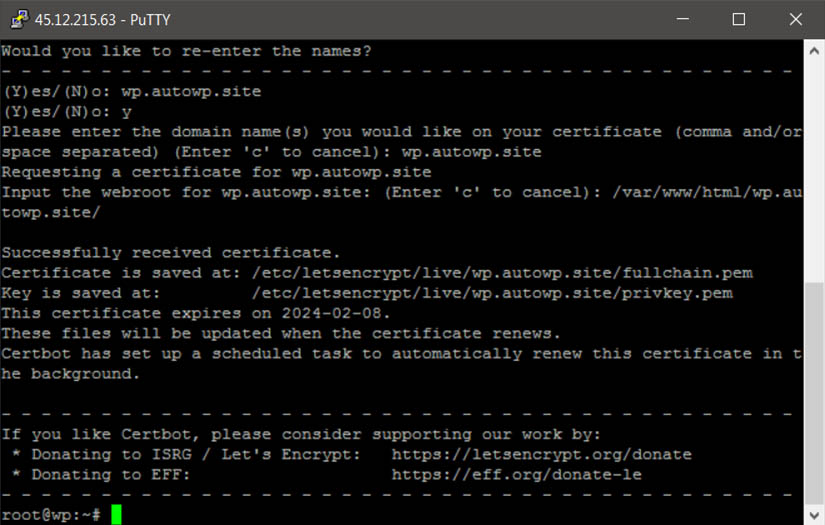
If the certificate installation was successful, you will see a message similar to the one in the screenshot below:
Here, we will need the paths to the installed certificate and key. In our case /etc/letsencrypt/live/wp.autowp.site/fullchain.pem and /etc/letsencrypt/live/wp.autowp.site/privkey.pem
To check the automatic certificate renewal, use the following command:
Everything is ready to switch the site to the HTTPS protocol. Next, go to the admin panel, select ‘Listeners’ on the left panel, and click the plus icon (Add) in the tab:
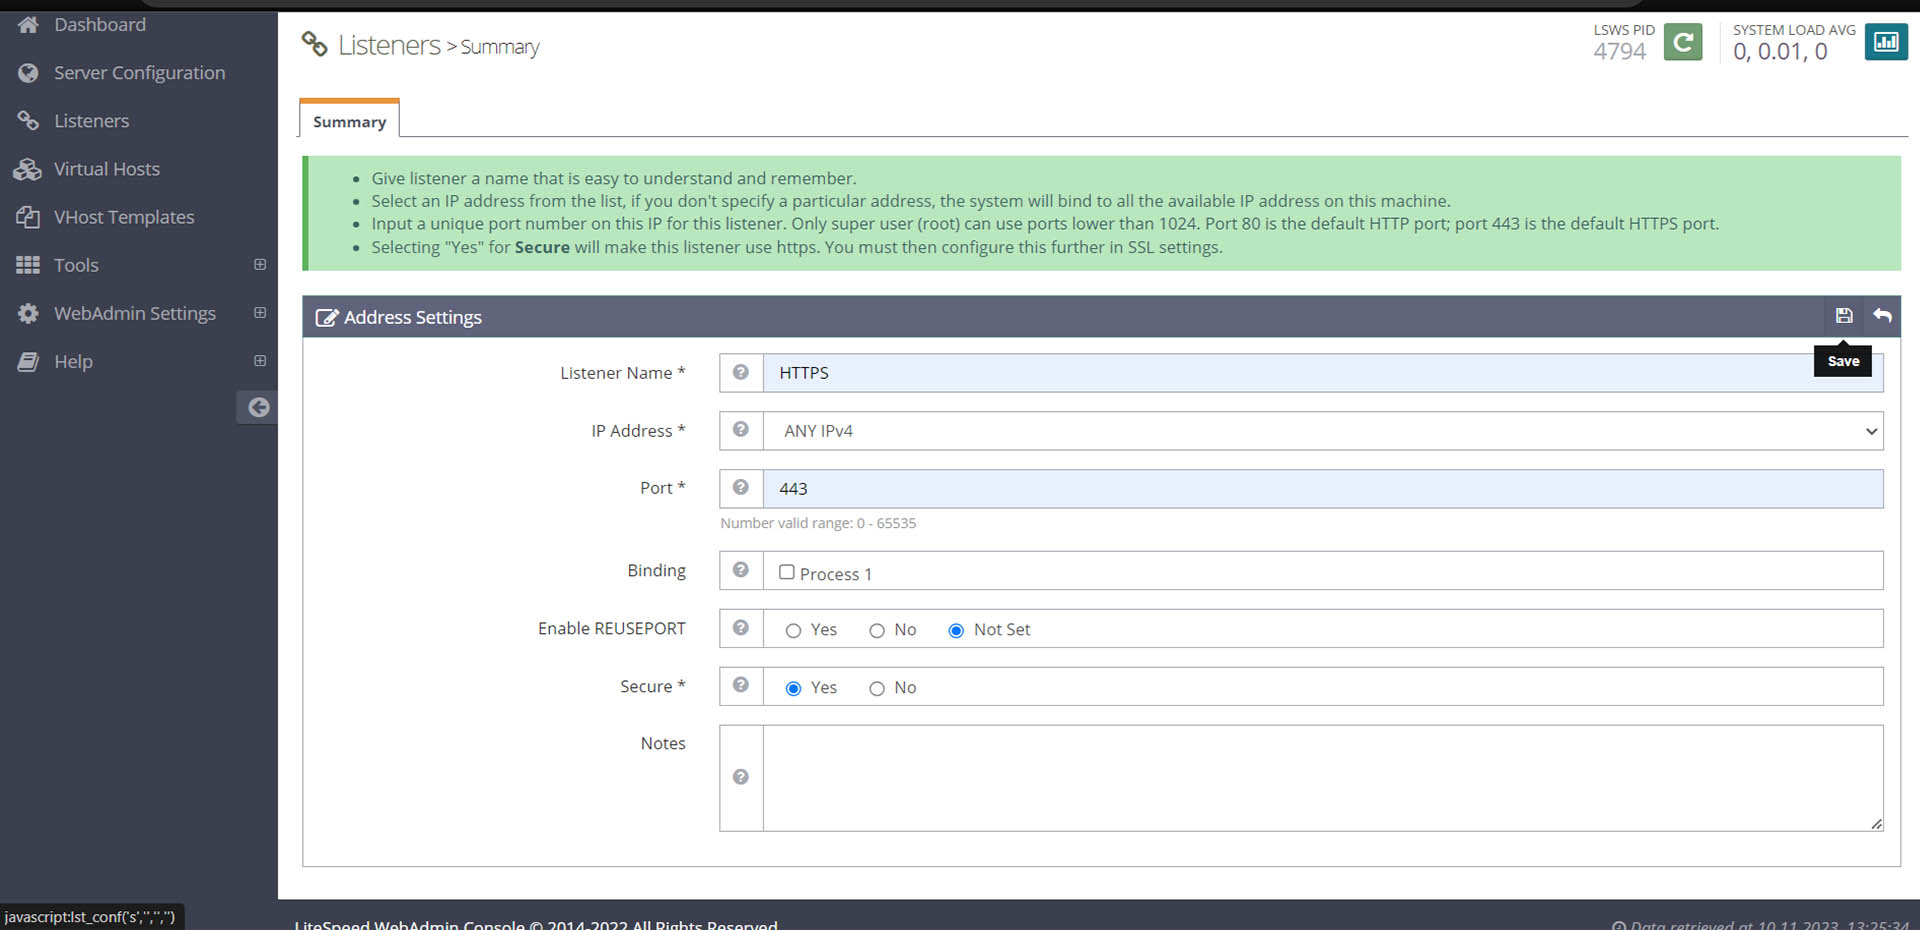
Fill in the fields: Listener Name * (HTTPS), IP Address * (select ANY IPv4), Port * 443, Secure * (select Yes), and save the changes (Save), making sure to restart the server using the Graceful Restart button:
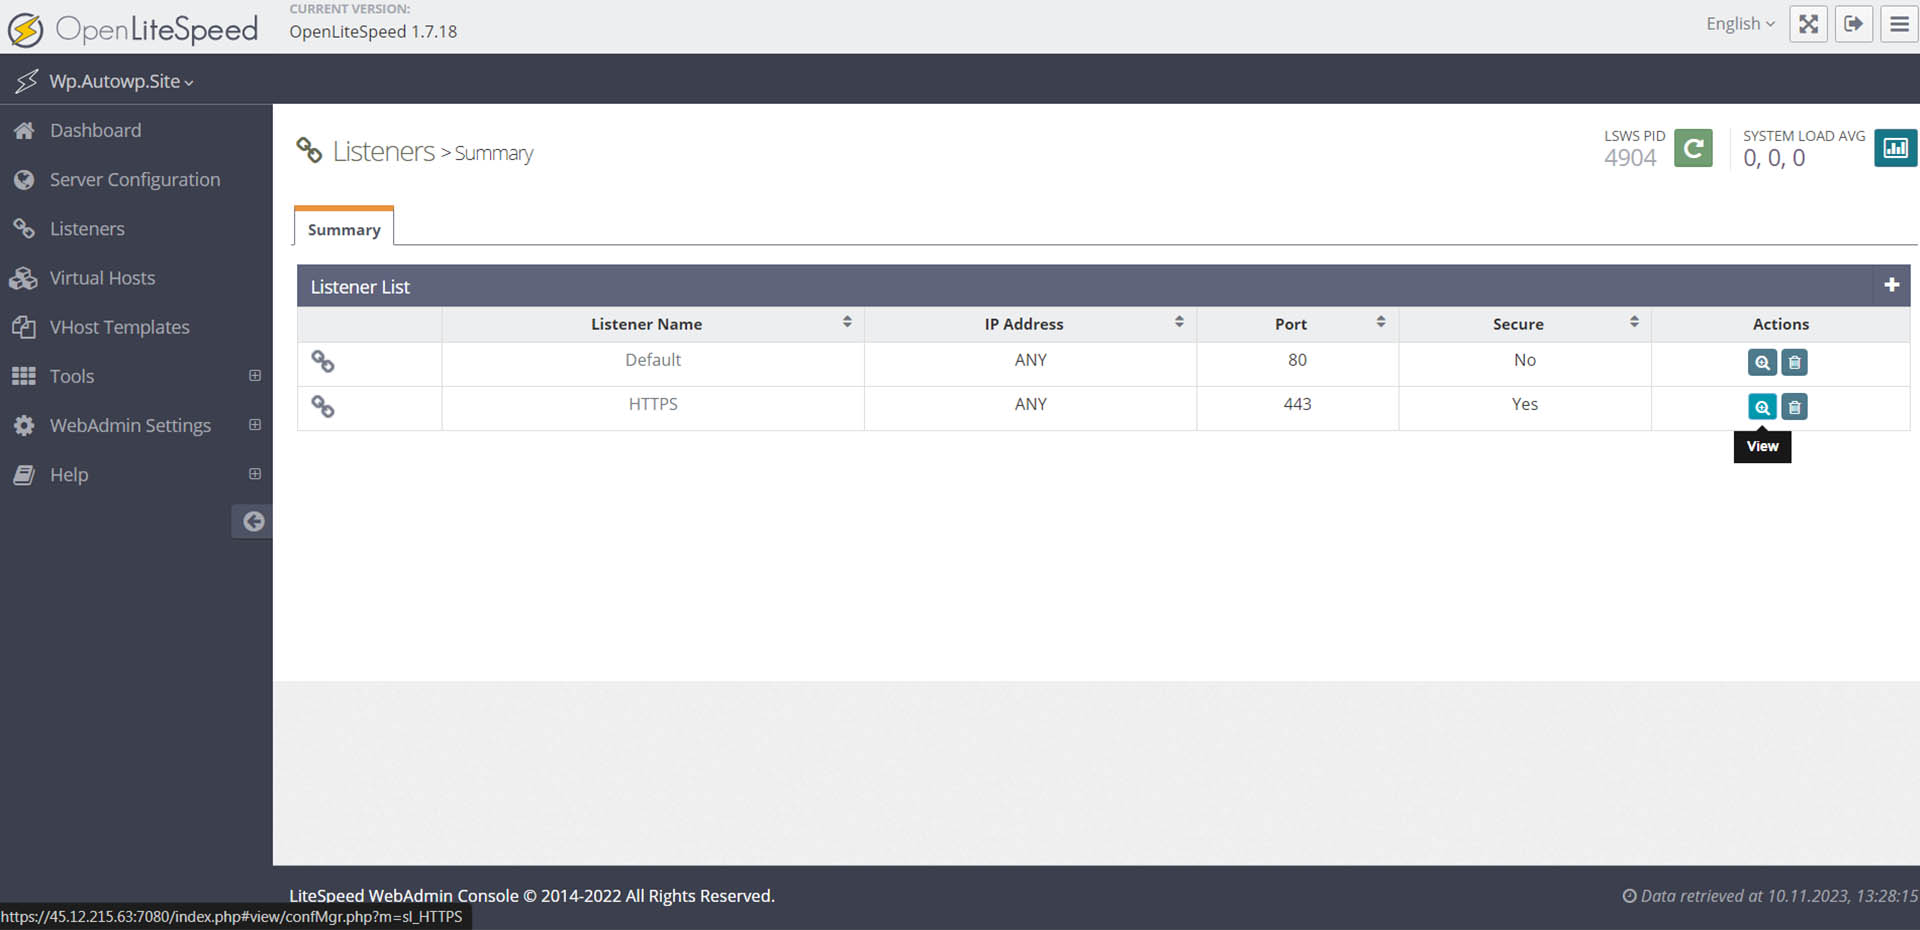
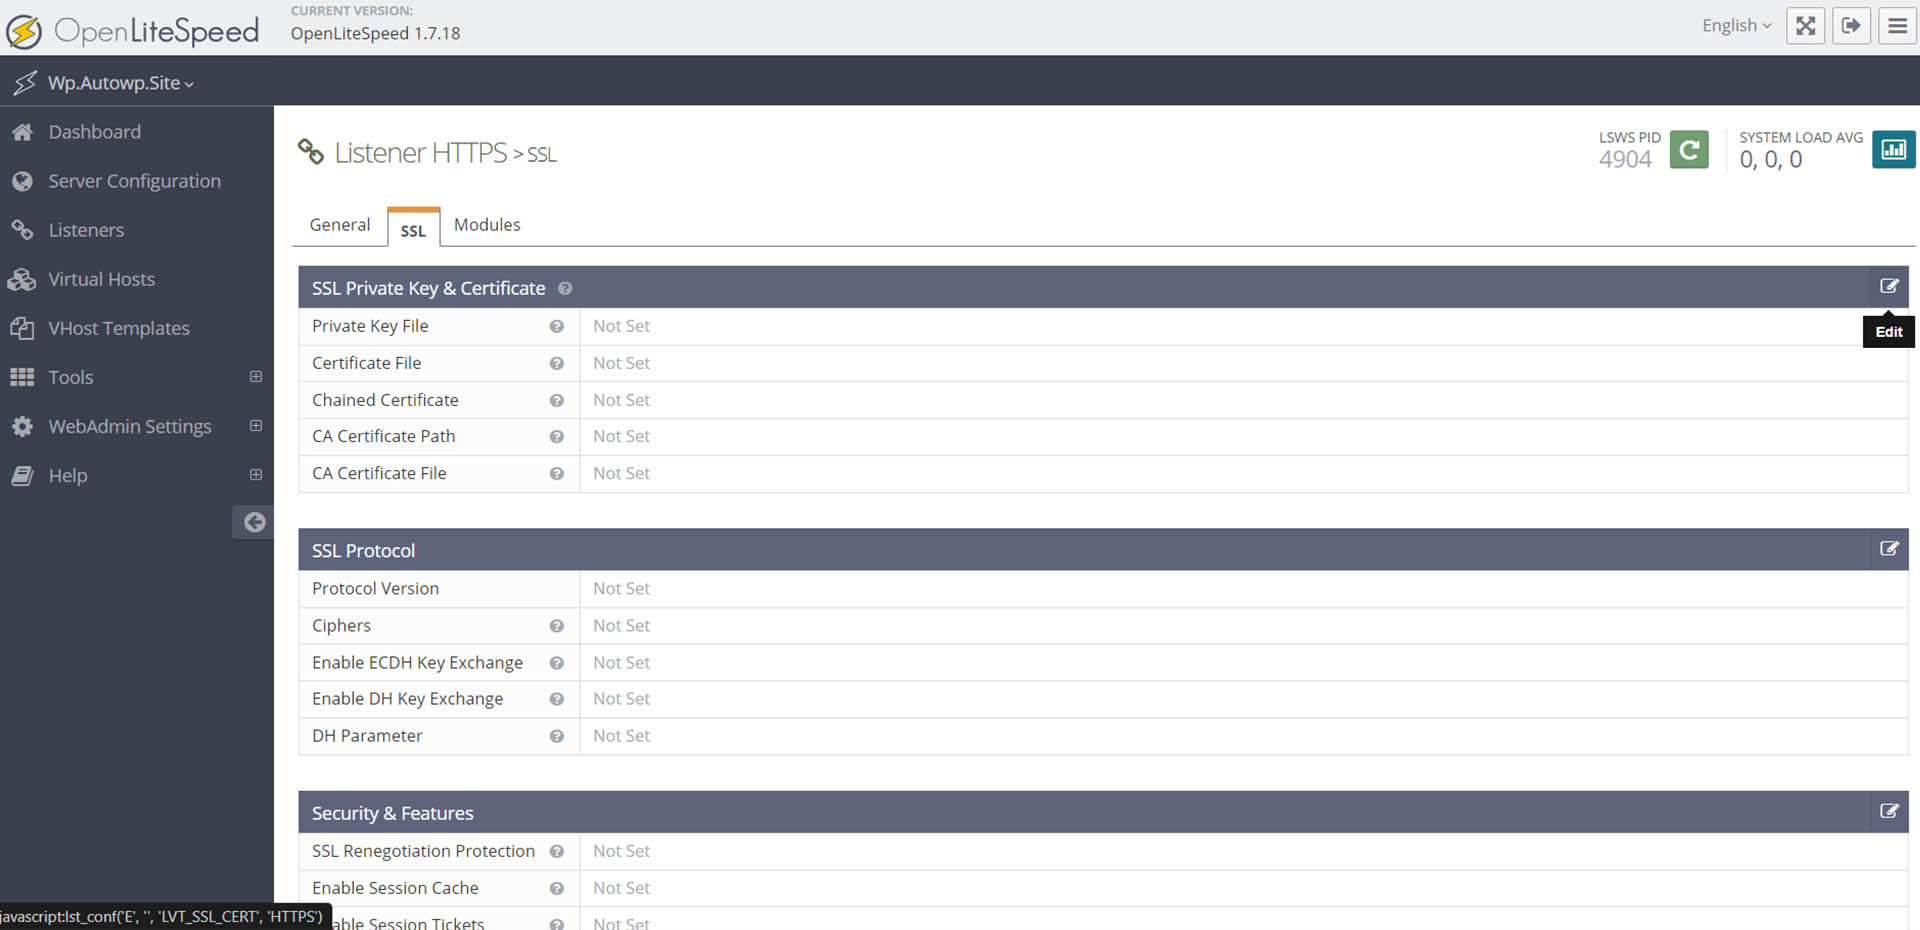
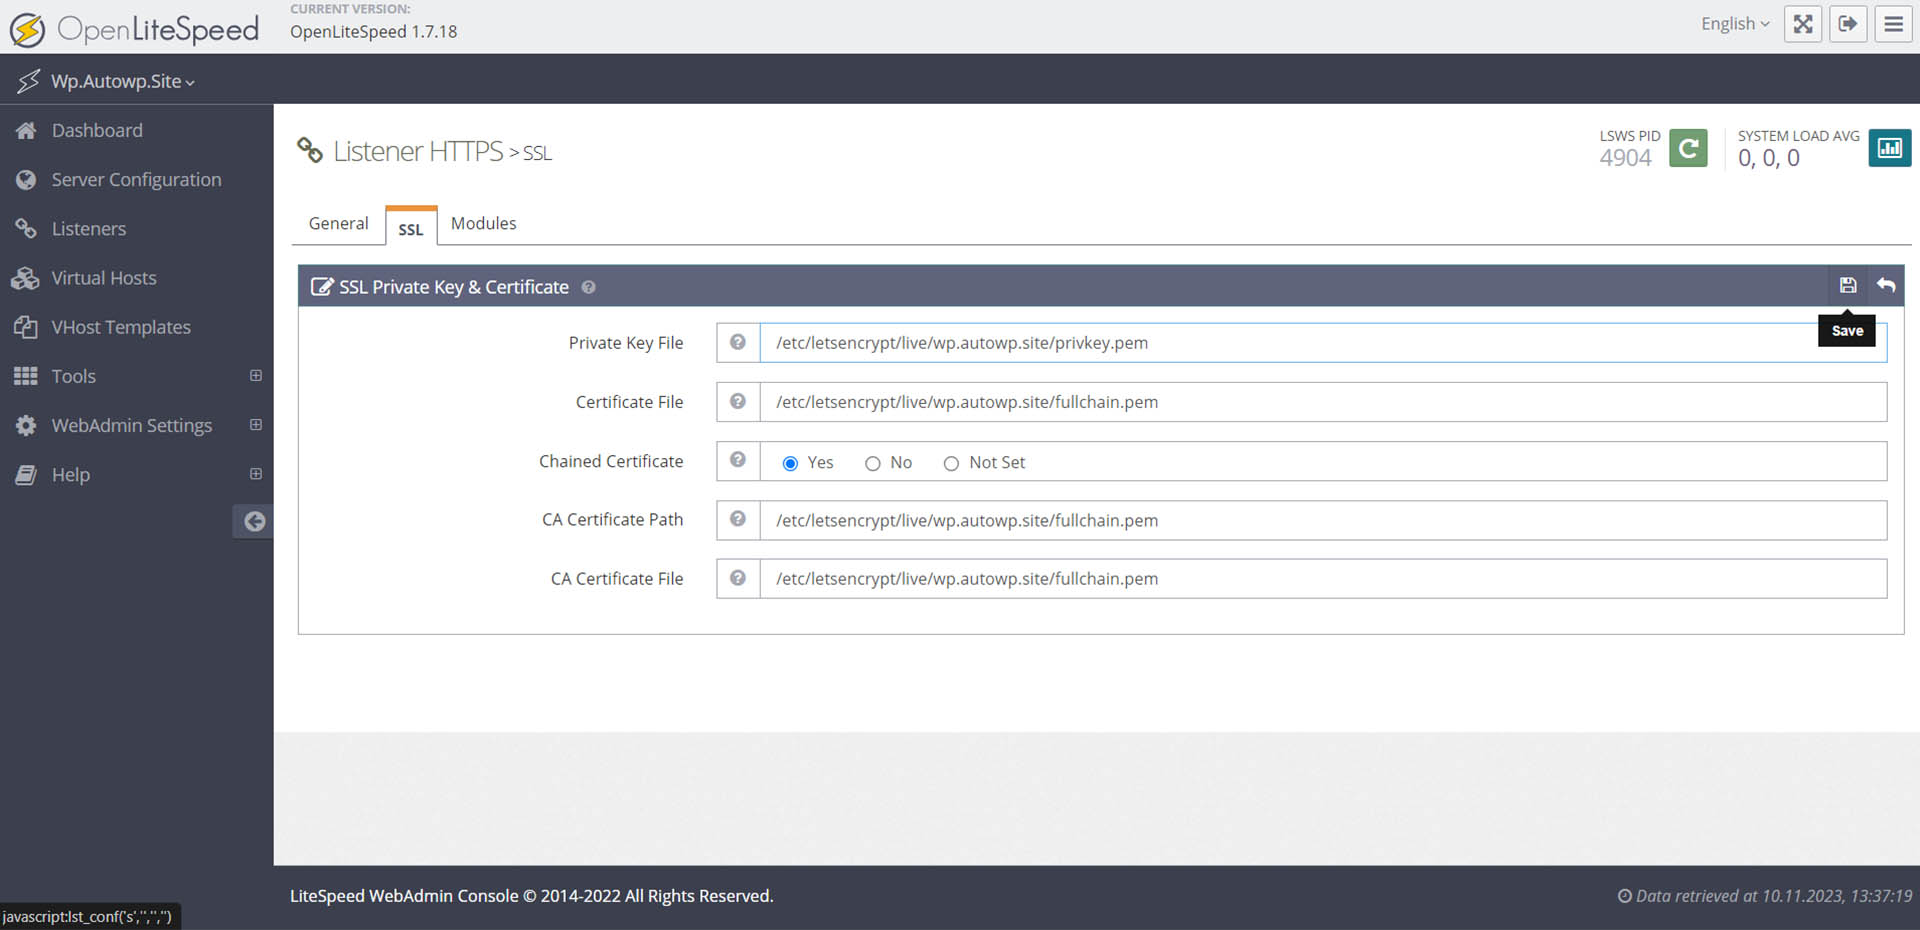
Then, click on the magnifying glass and plus icon (View) in the created HTTPS row, next go to the ‘SSL’ tab and click the ‘Edit’ icon:
Select the first tab ‘SSL Private Key & Certificate’ and click the ‘Edit’ icon on it:
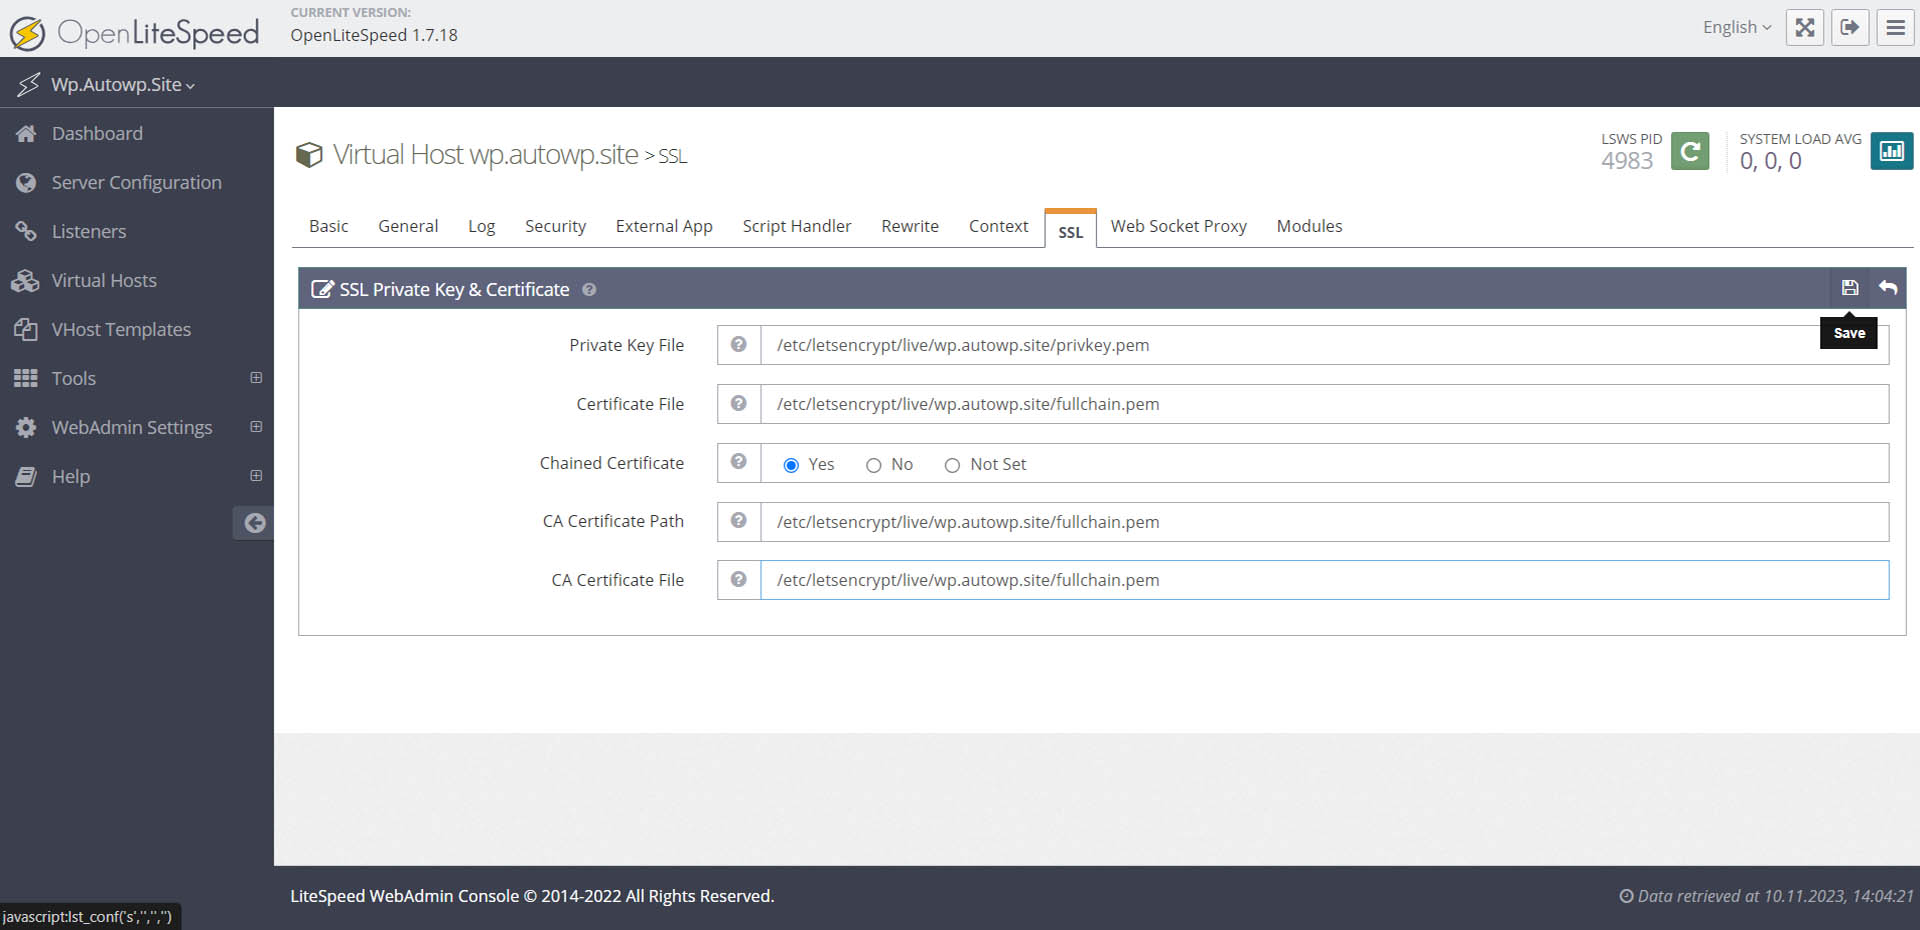
In the window, fill in all the fields: for ‘Private Key File’, provide the path to your key (in our case, /etc/letsencrypt/live/wp.autowp.site/privkey.pem). For the ‘Certificate File’, ‘CA Certificate Path’, and ‘CA Certificate File’, provide the path to the installed certificate (in our case, /etc/letsencrypt/live/wp.autowp.site/fullchain.pem). Set ‘Chained Certificate’ to Yes and save the changes (Save):
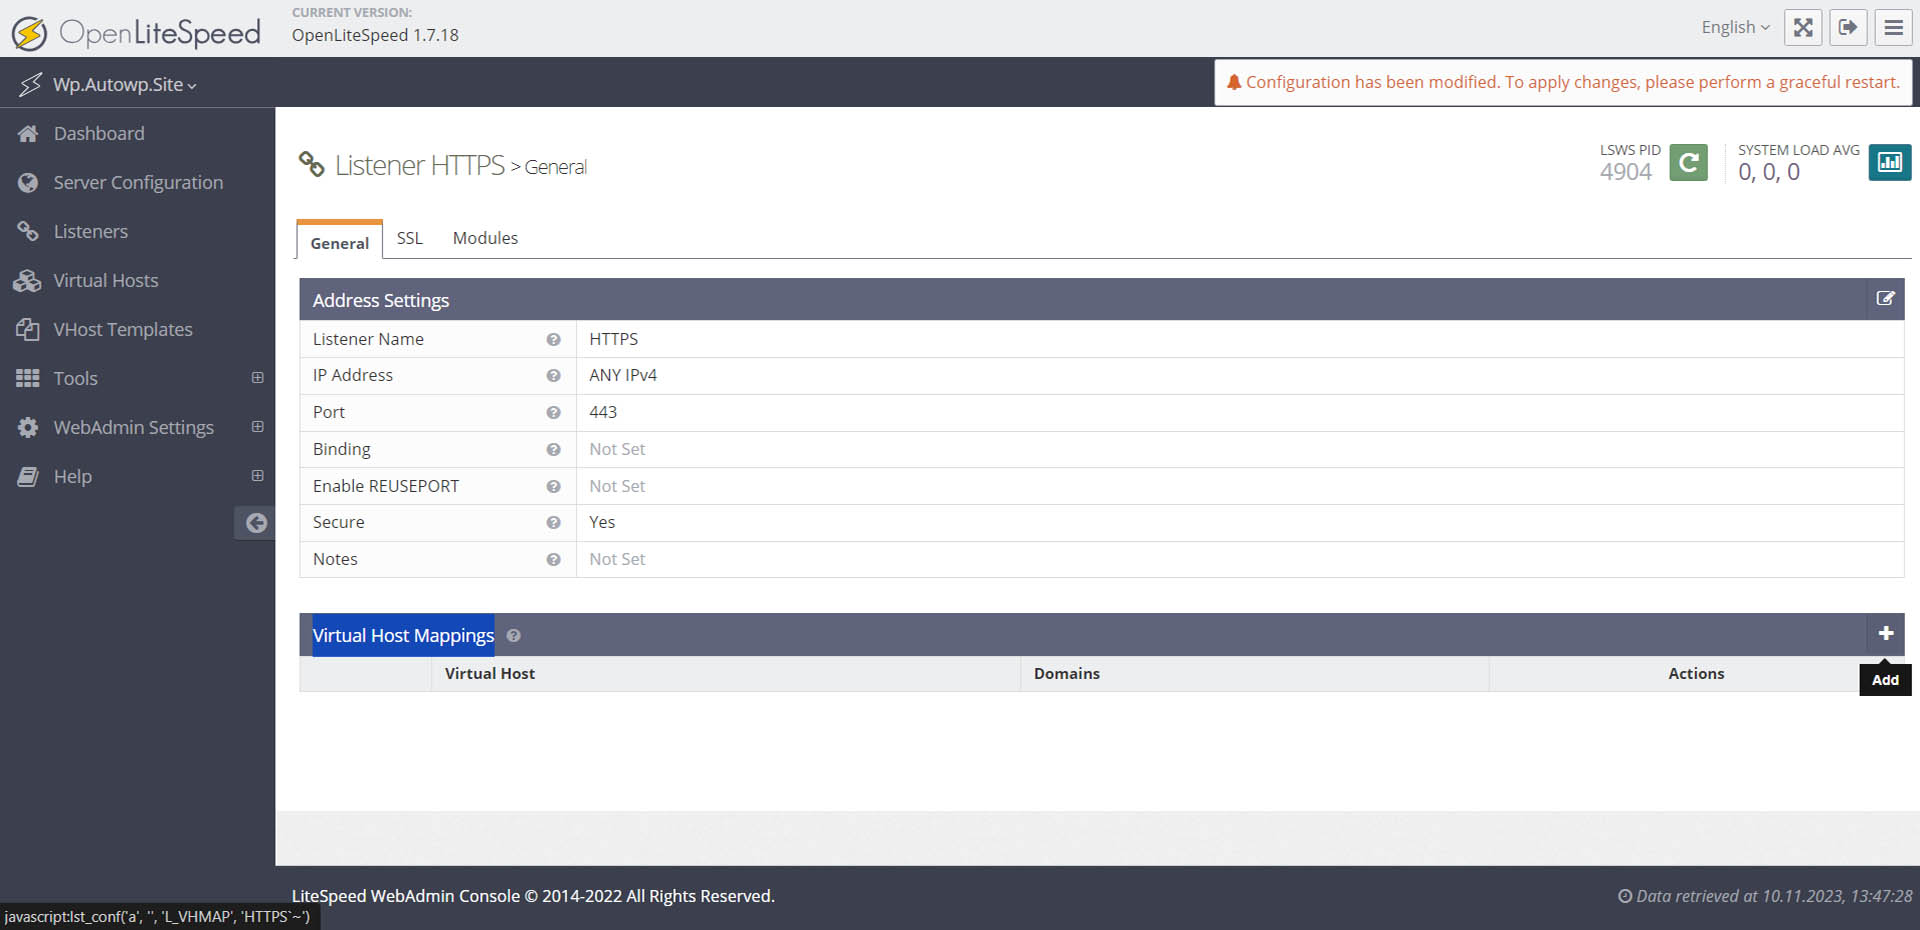
Next, return to the ‘General’ tab and click the plus icon (Add) under the ‘Virtual Host Mappings’ panel:
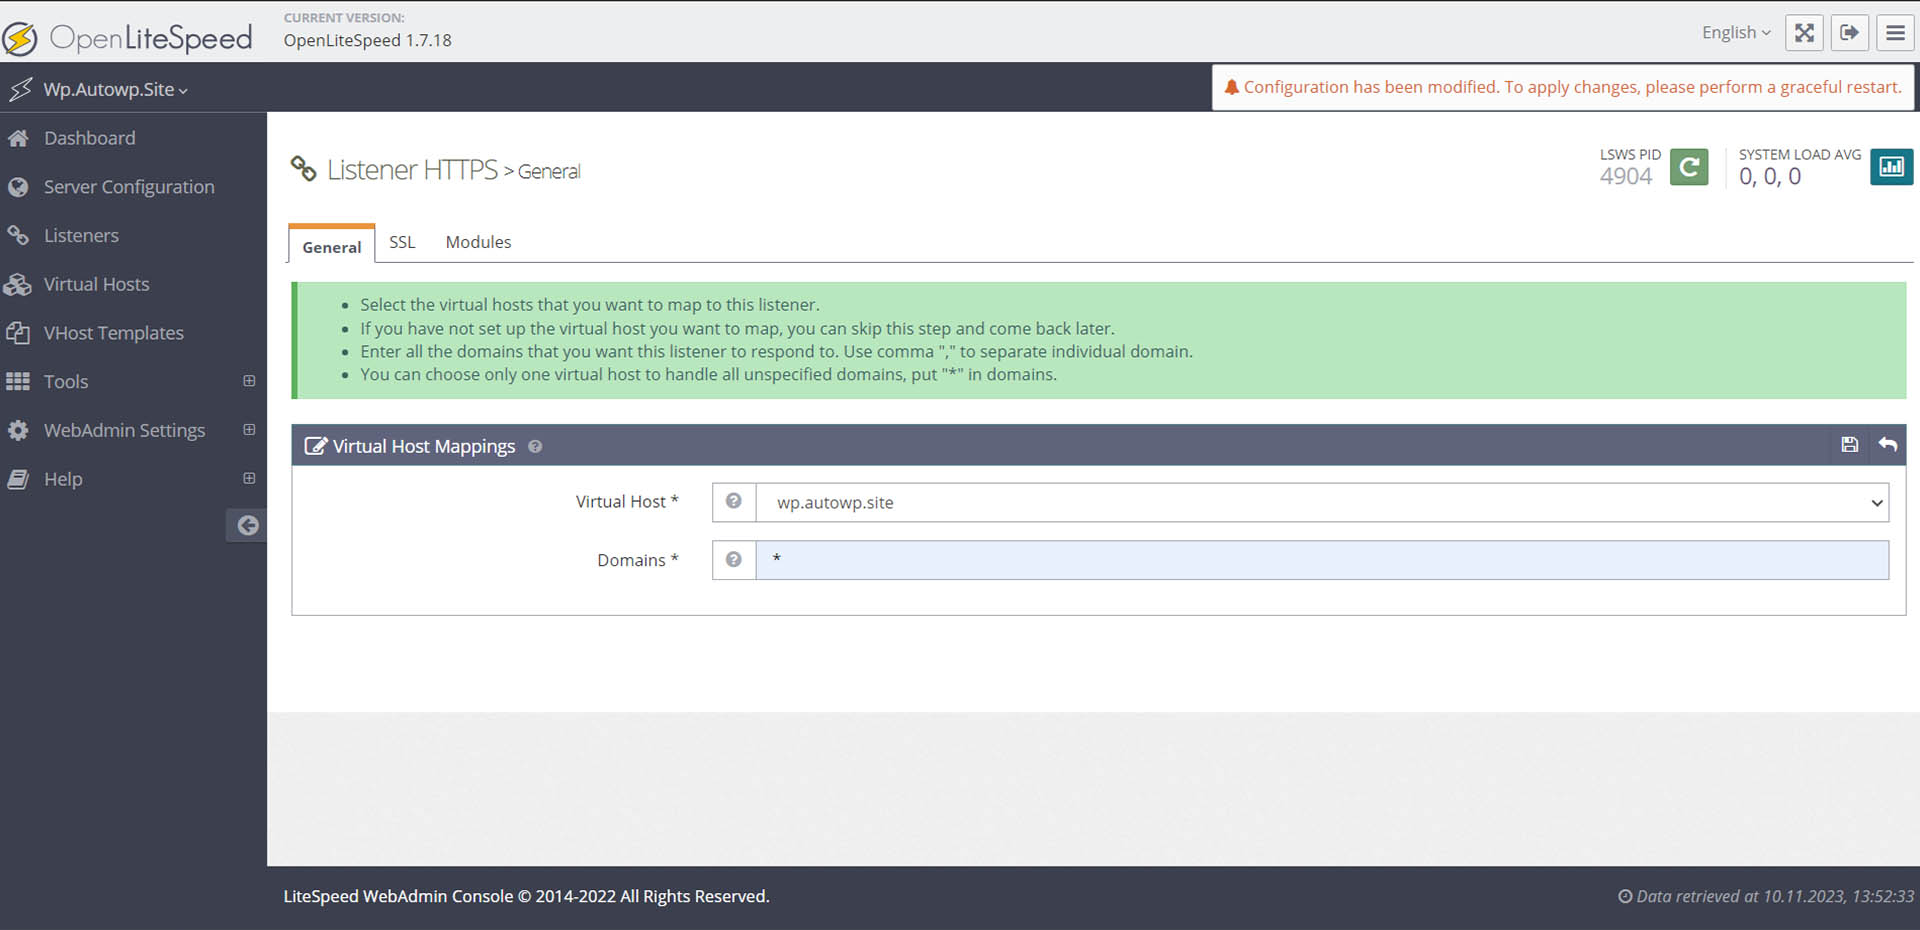
Select our site and in the second field *:
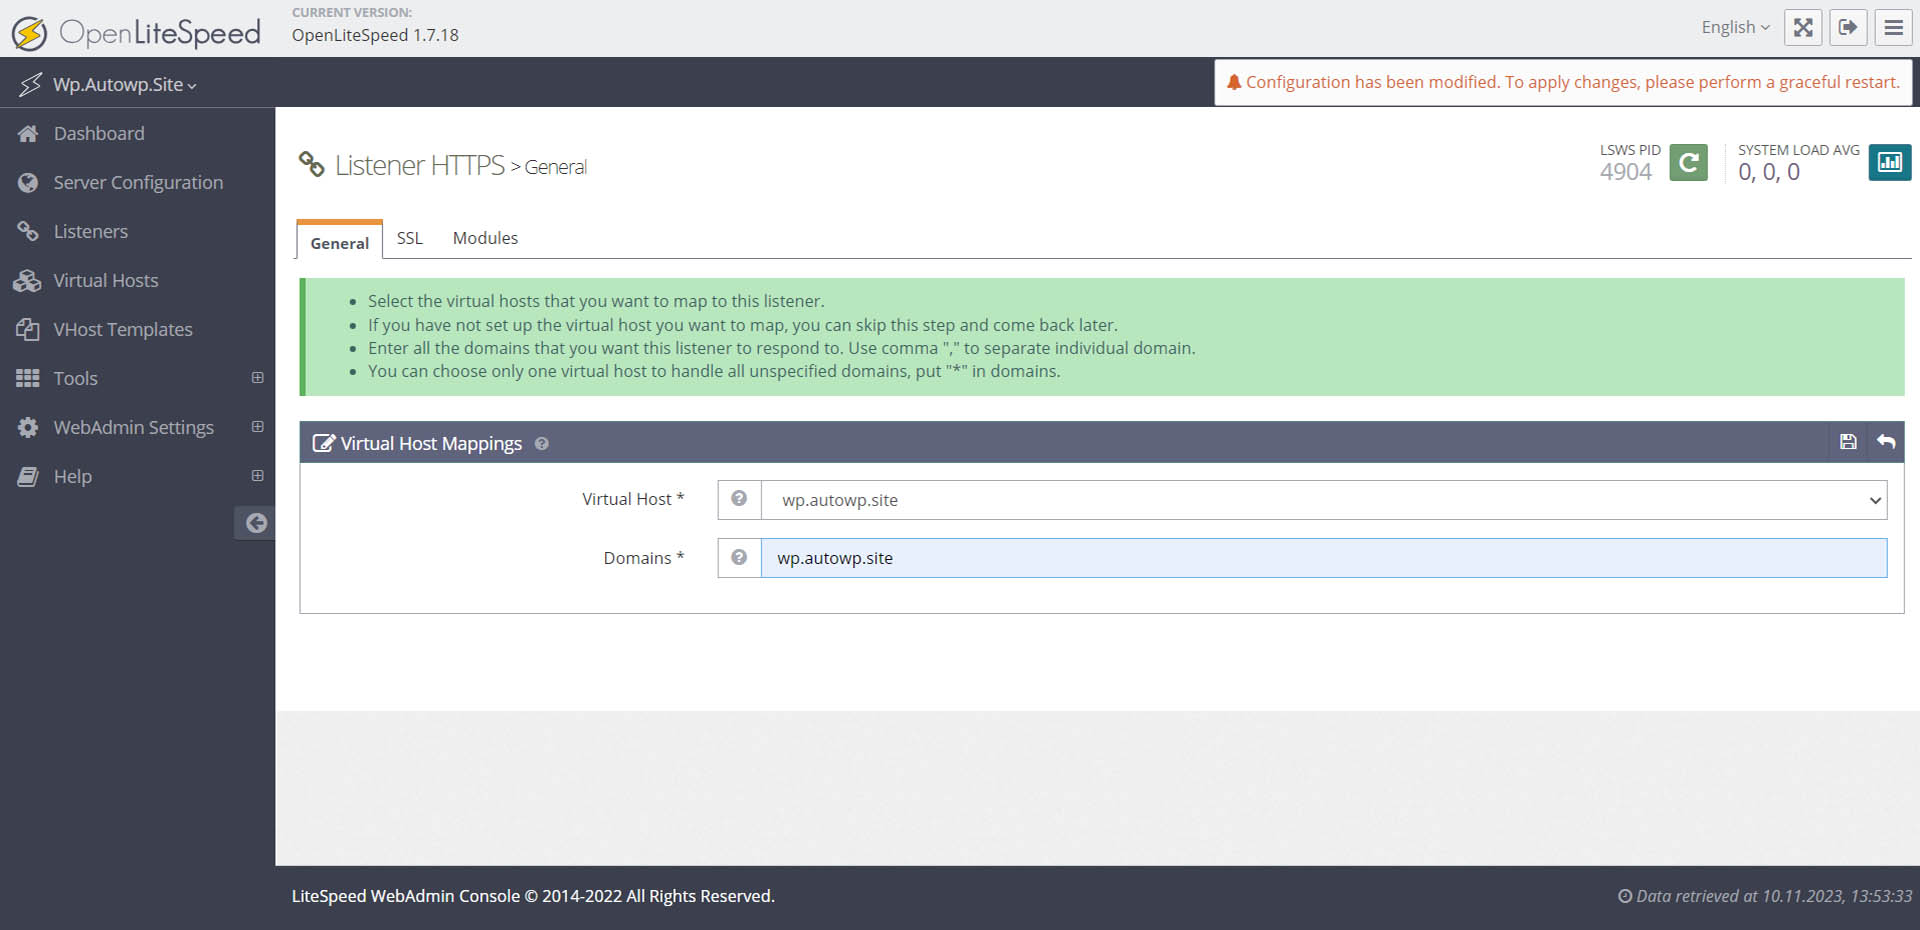
Or select our domain (HTTPS will be enabled only for this domain) and save the changes (Save), making sure to restart the server using the Graceful Restart button:
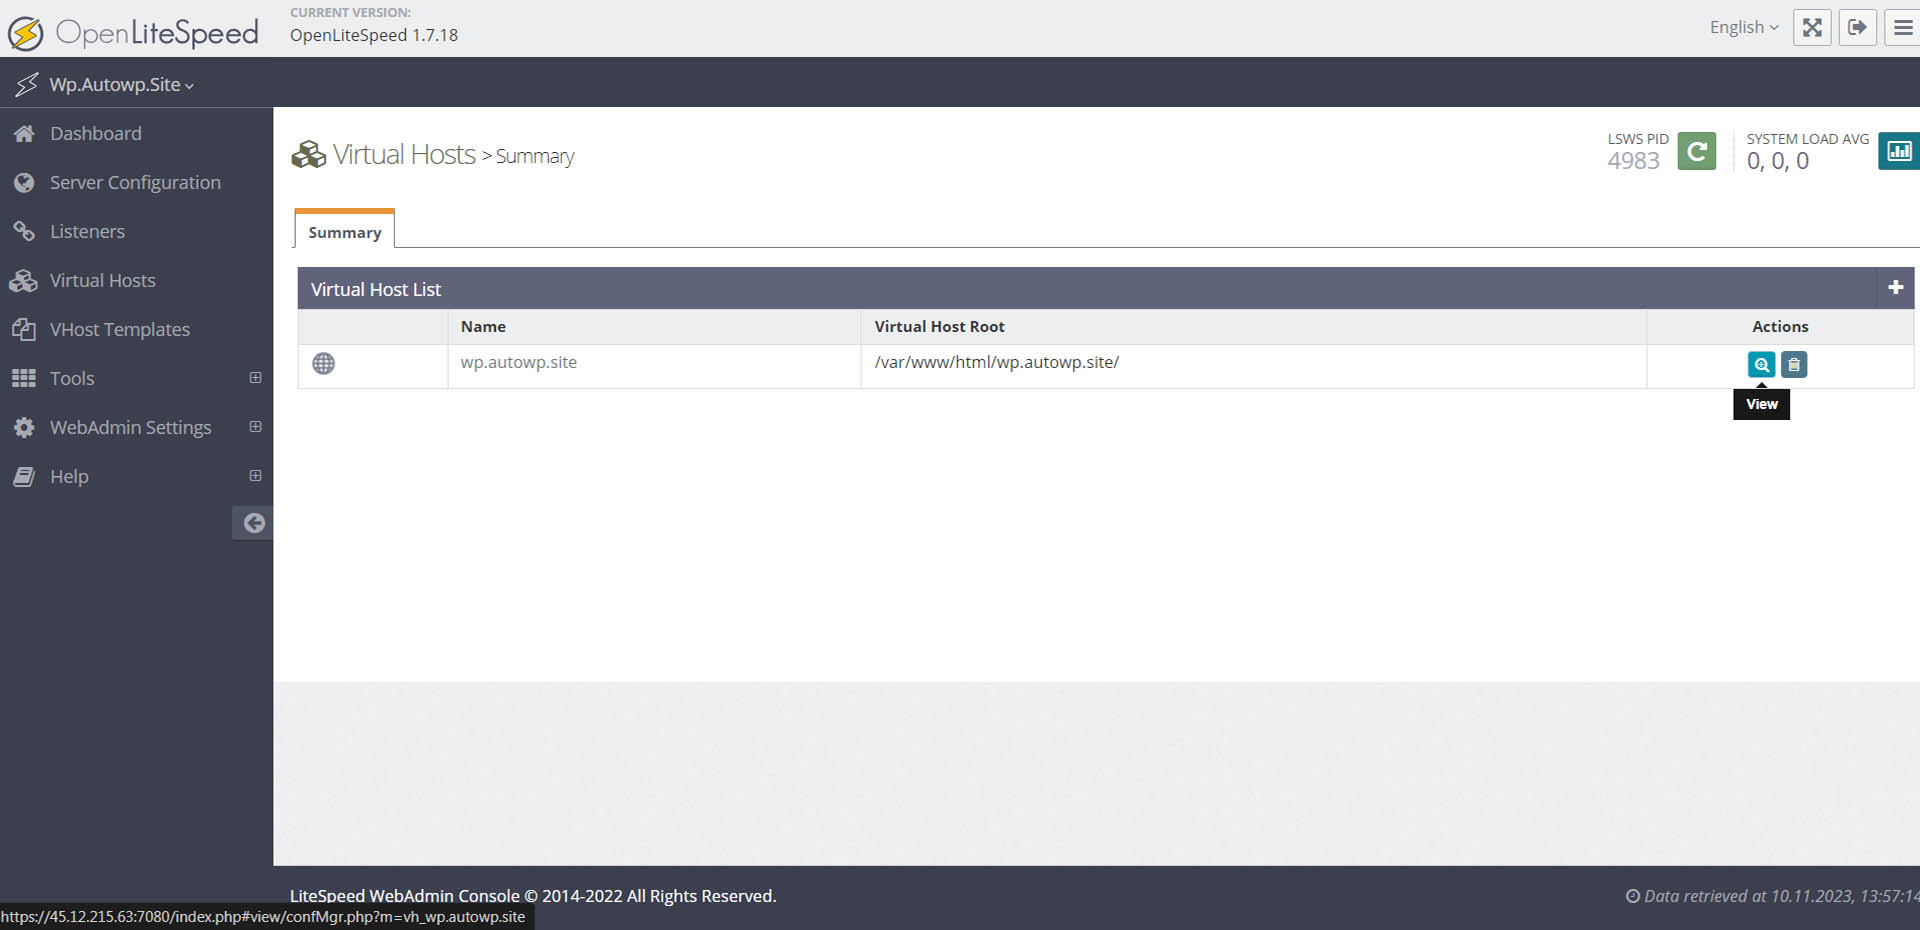
On the left panel, select ‘Virtual Hosts’ and click on our site or the magnifying glass and plus icon (View):
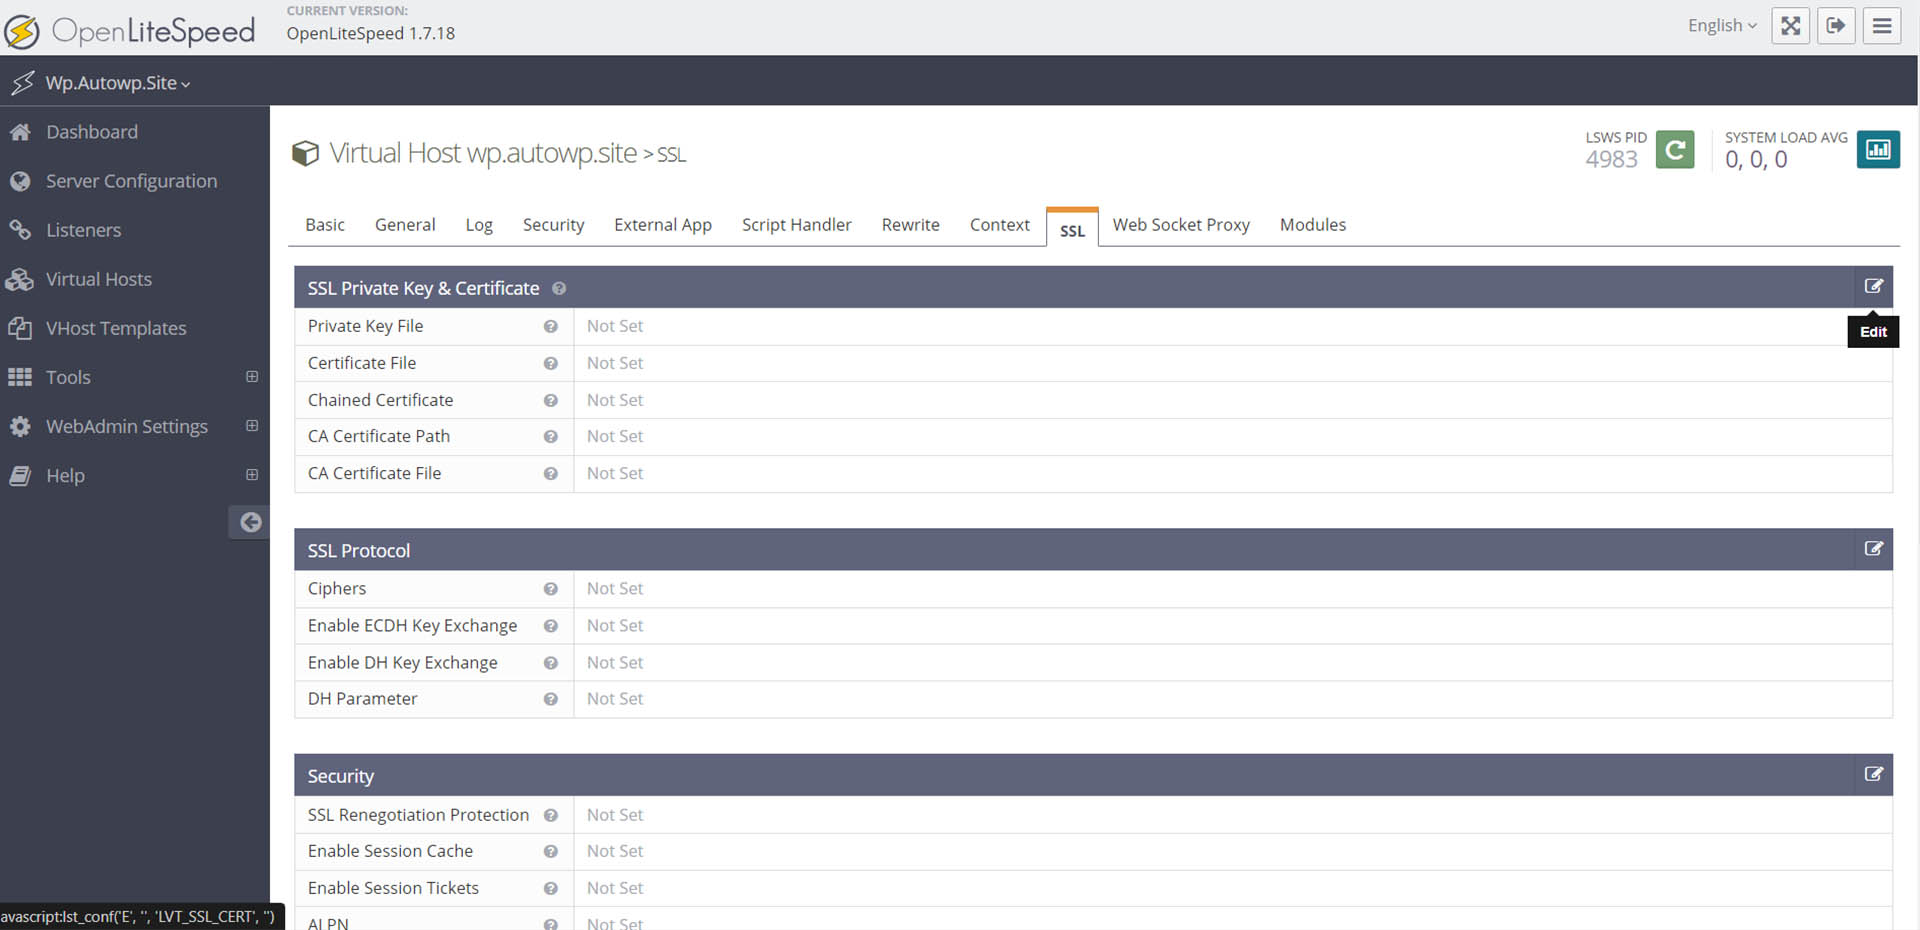
Next, select the ‘SSL’ tab and click the ‘Edit’ icon on it:
Fill in all the fields just as you did in the ‘SSL Private Key & Certificate’ tab:
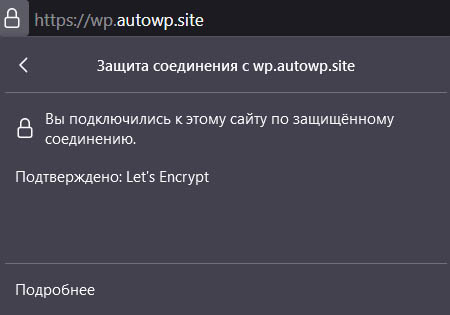
Restart the server using the Graceful Restart button, and if everything goes without errors, the HTTPS protocol should be enabled when you visit the site:
All general settings are complete, we can now proceed with the WordPress installation.
WordPress Installation
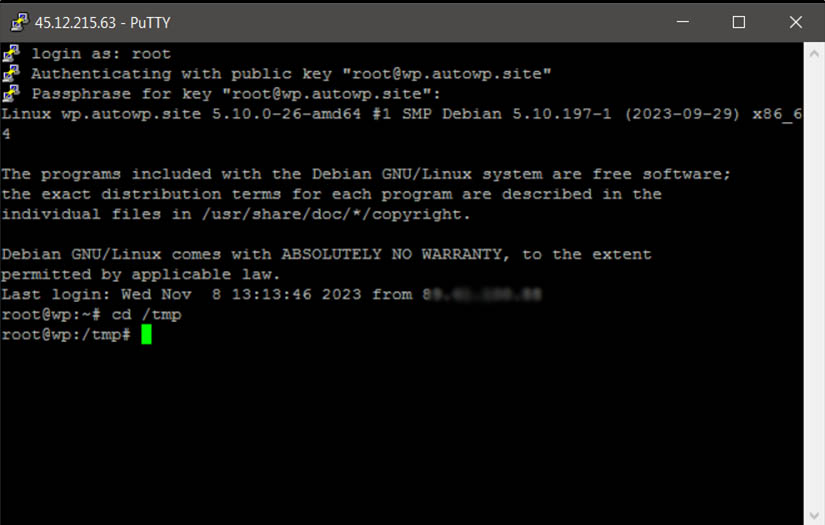
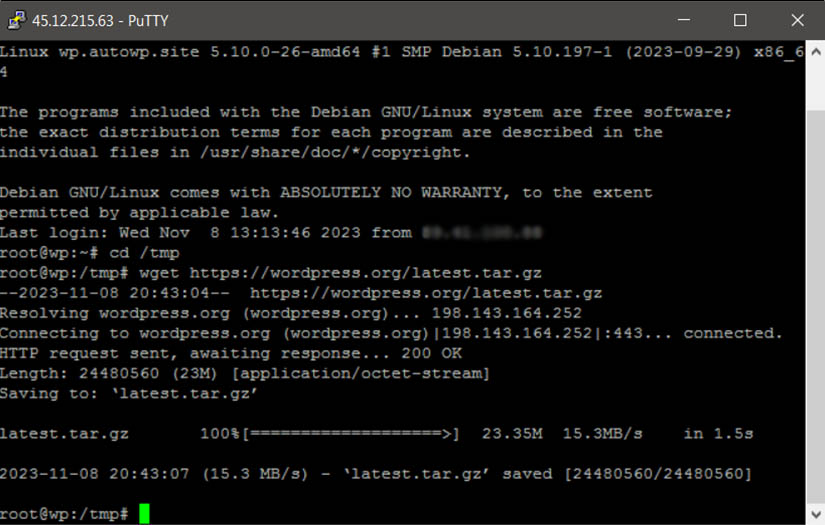
Download the latest stable version of WordPress from the official page to the tmp folder:
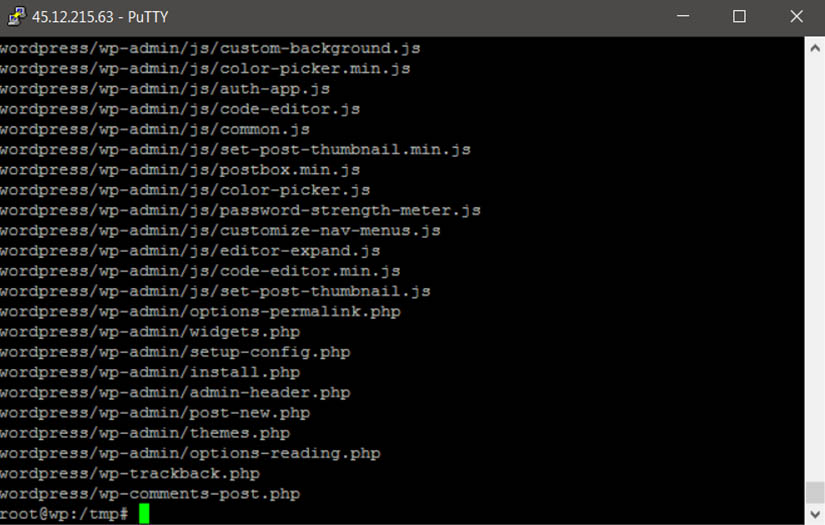
Extract the downloaded archive:
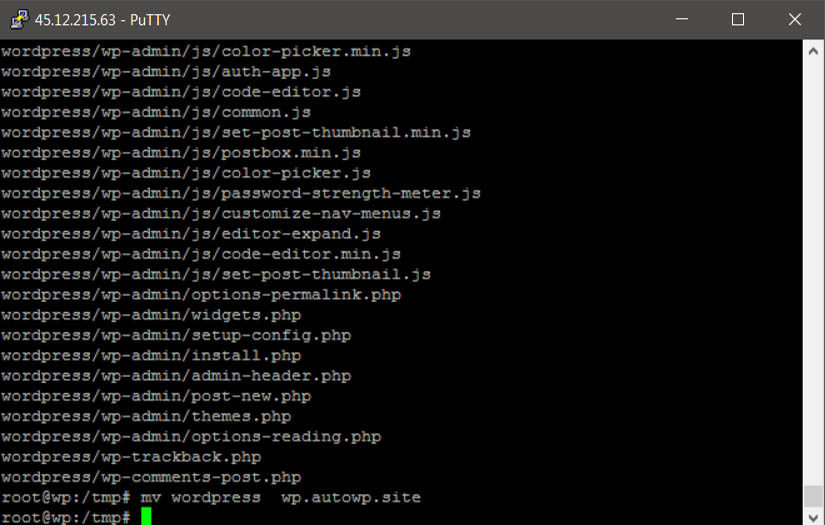
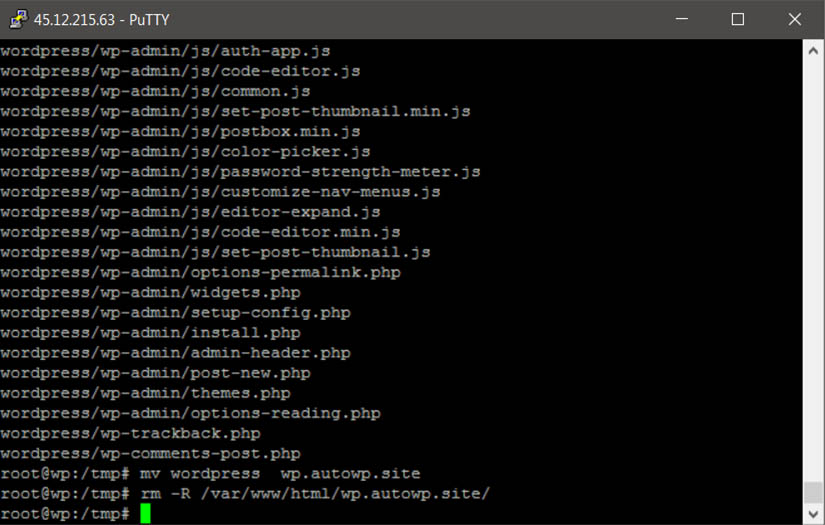
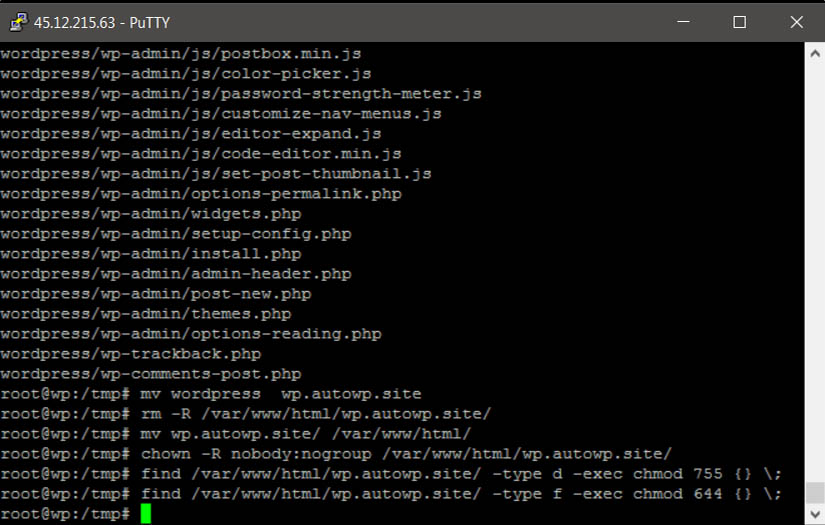
Change directory name:
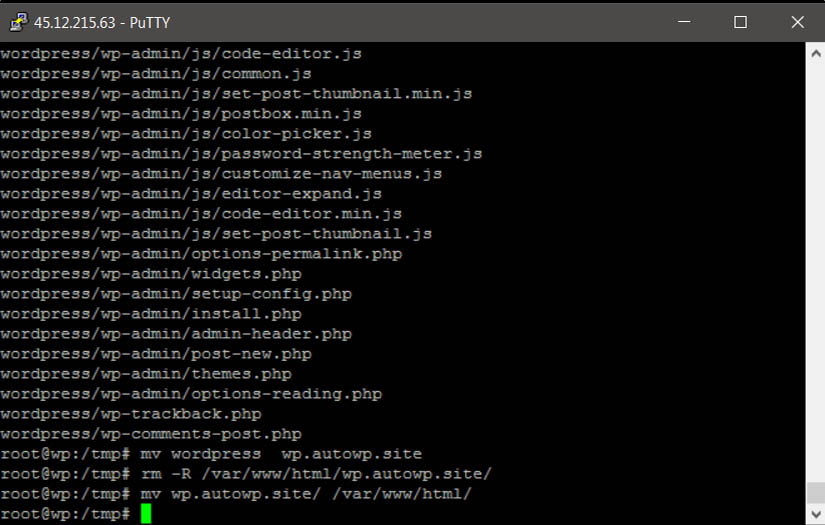
To avoid a conflict during the move, we are deleting the previously created folder with the same name at /var/www/html/wp.autowp.site/.
Moving to the directory /var/www/html/
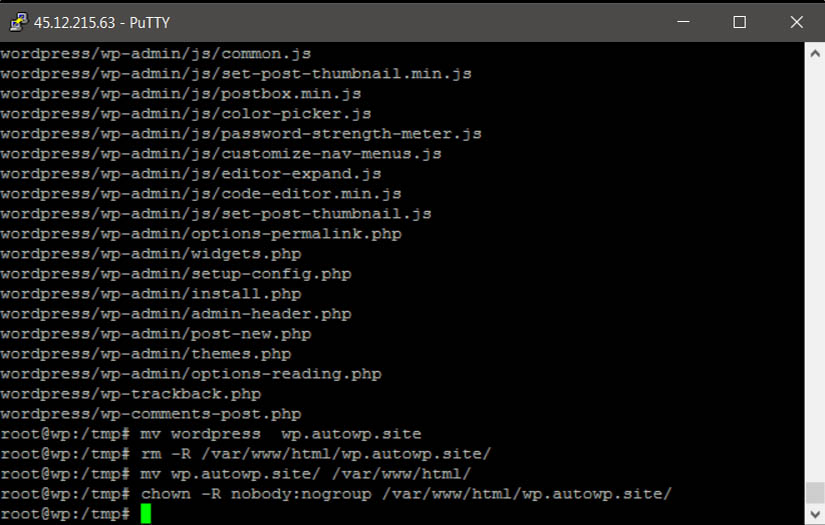
Applying group permissions to folders and files:
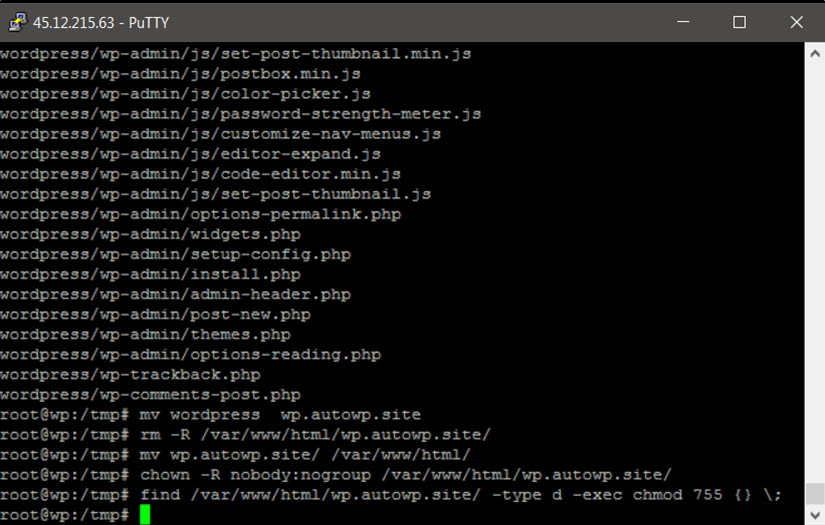
Setting group permissions for folders and files:
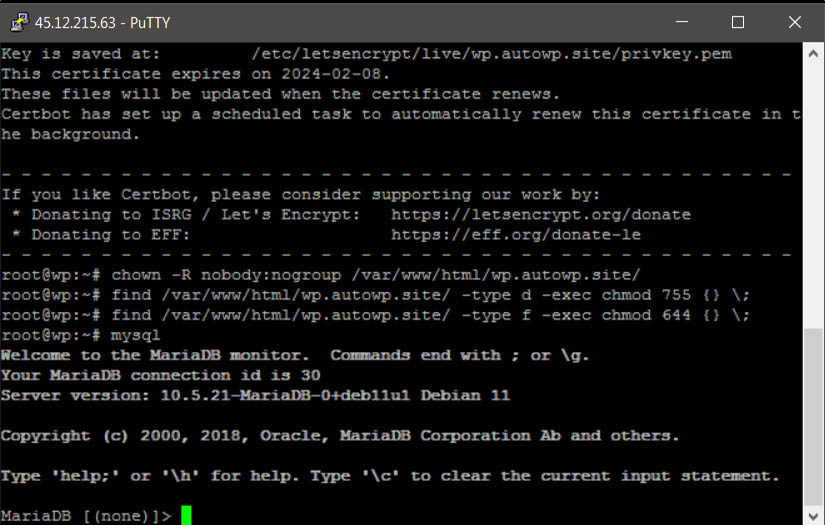
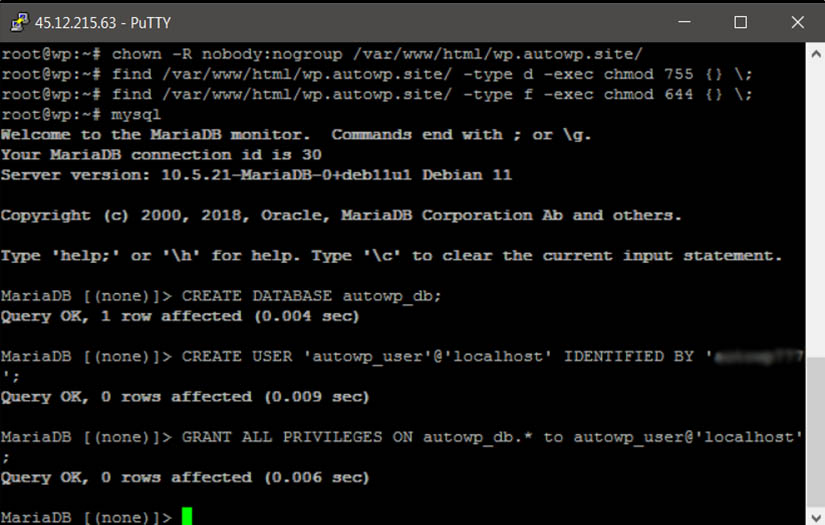
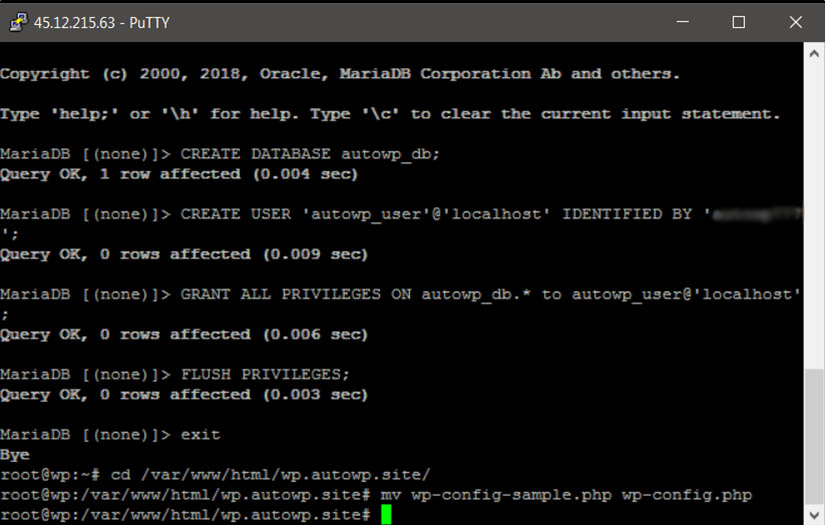
Connecting to MySQL to create a database:
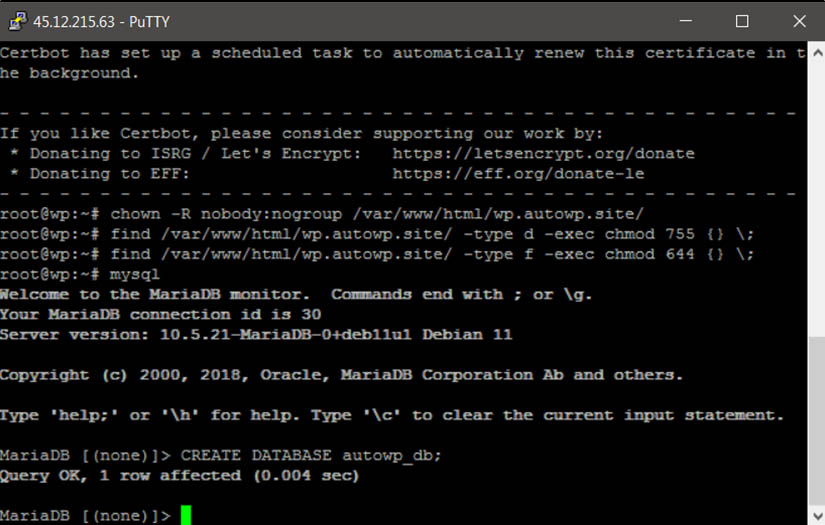
Create a database named autowp_db (feel free to substitute autowp_db with your own name, like mysite_db):
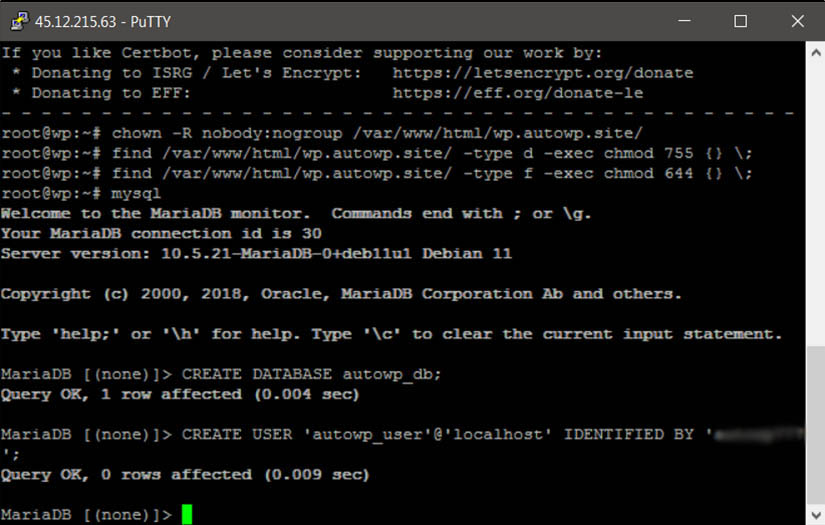
To create a database user, use autowp_user as the username (or replace it with your own choice), and set your own password:
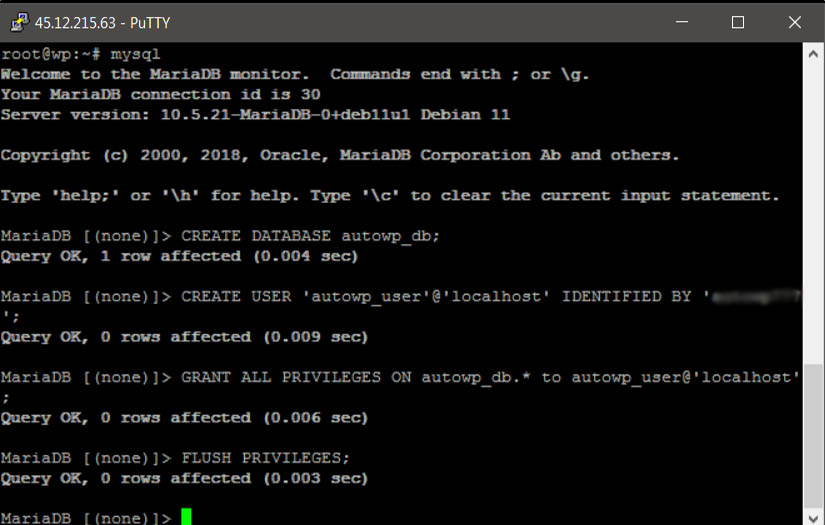
Grant privileges on the autowp_db database to the autowp_user user:
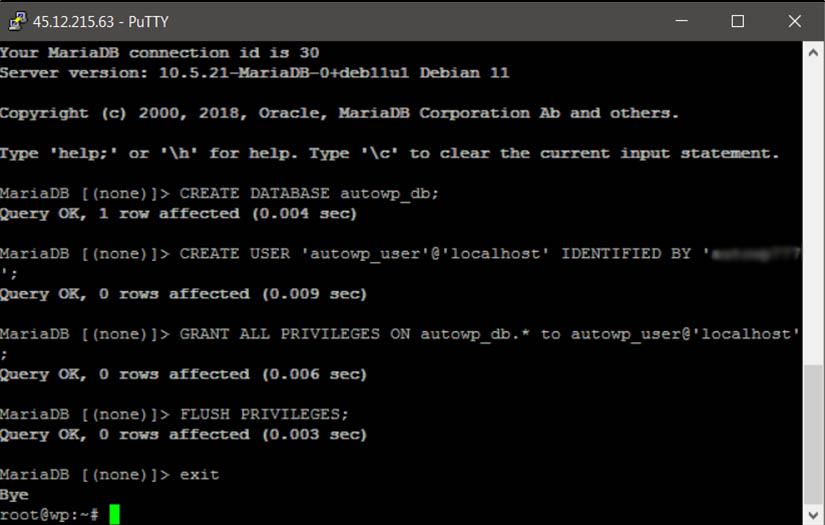
And let’s refresh all access privileges:
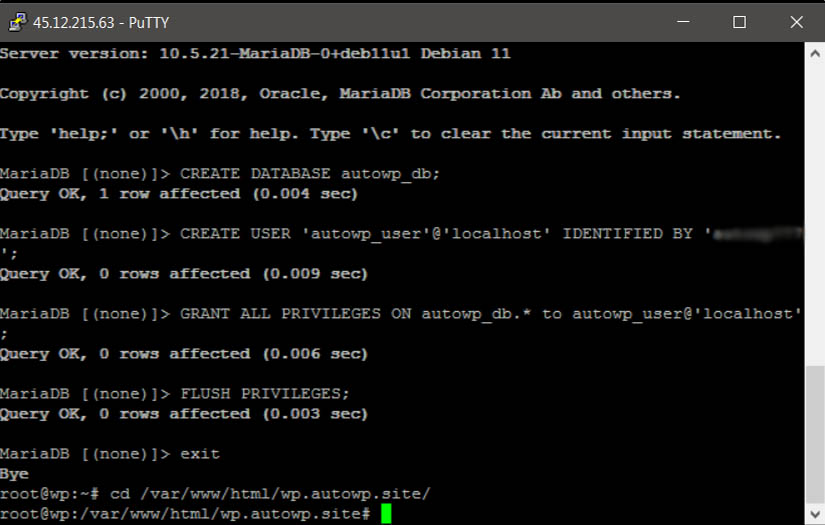
All database configurations are done – exiting MySQL:
Go to the site’s directory (/var/www/html/wp.autowp.site/)
Generate the wp-config.php configuration file from wp-config-sample.php:
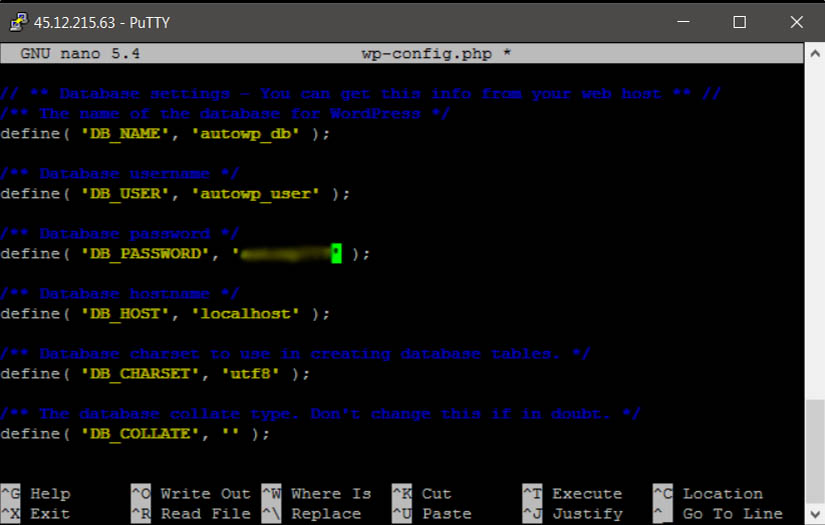
And then we’ll edit it, replacing the values with our own in the corresponding lines:
/** The name of the database for WordPress */
define( ‘DB_NAME’, ‘autowp_db’ );
/** Database username */
define( ‘DB_USER’, ‘autowp_user’ );
/** Database password */
define( ‘DB_PASSWORD’, ‘your password’ );
And we’ll save it by sequentially executing Ctrl+O, Enter, Ctrl+X
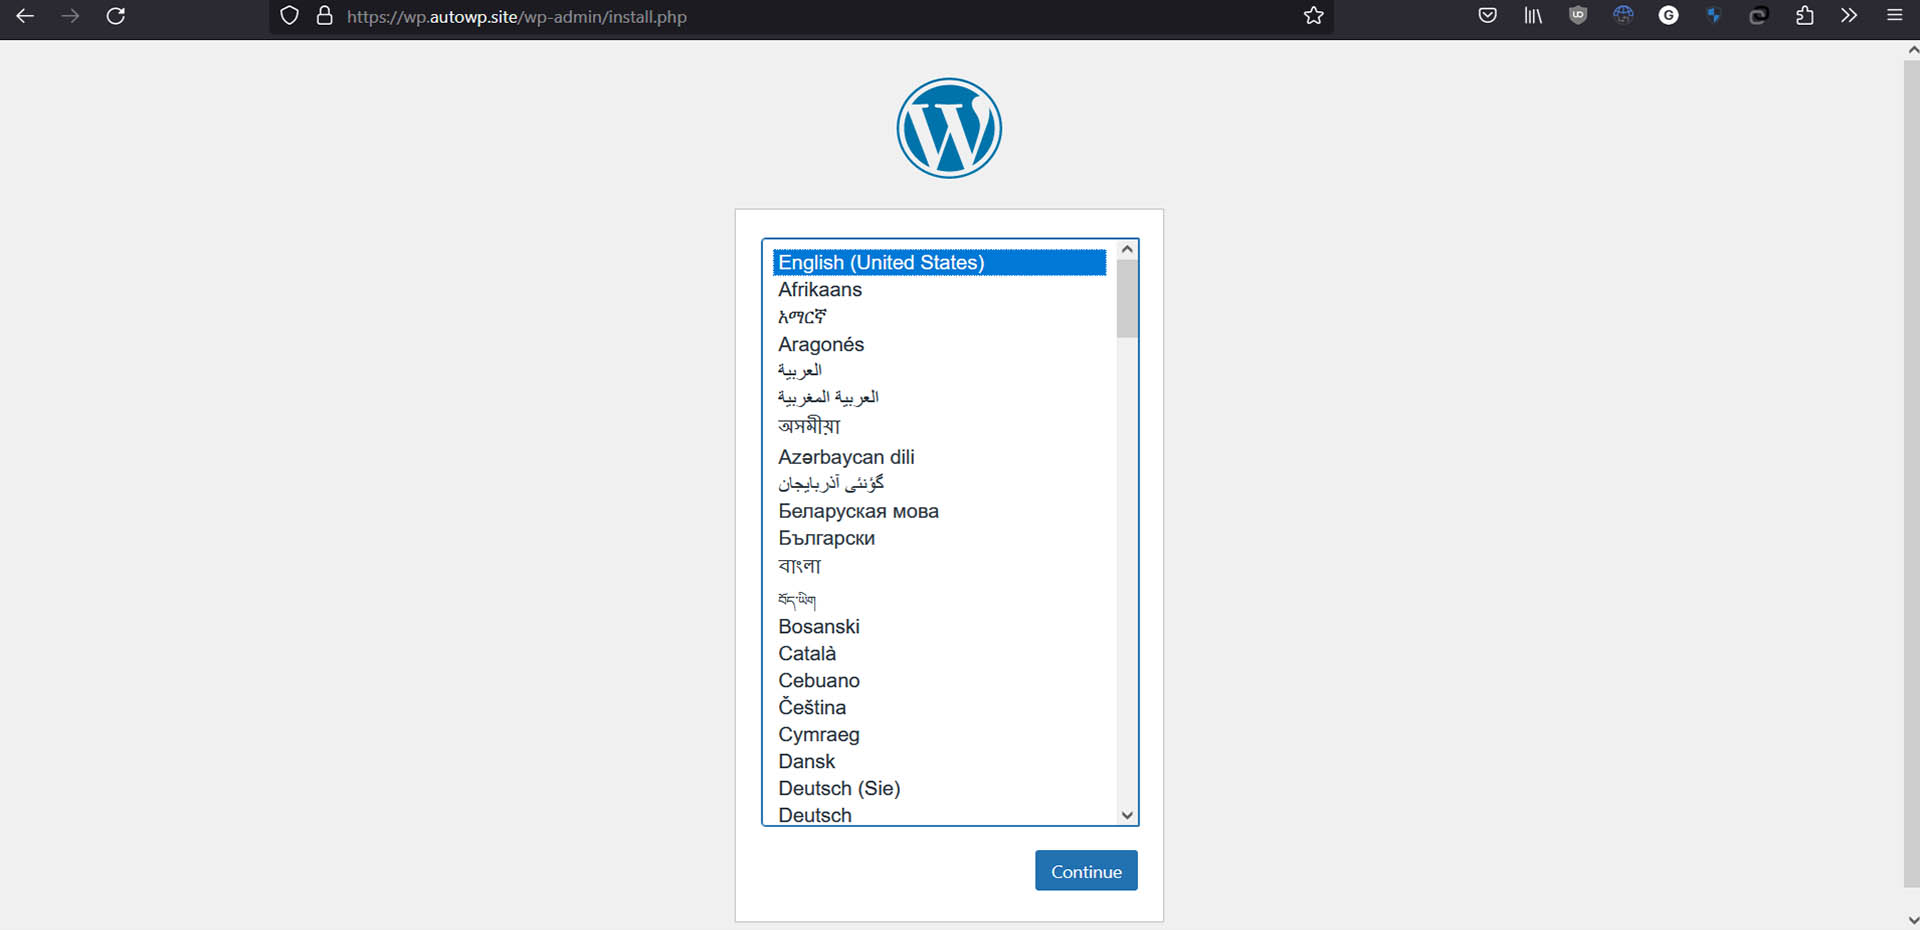
That’s it, we can proceed to the site settings. To do this, enter the address of our site, and if there are no errors, the WordPress installer page (install.php) will automatically open:
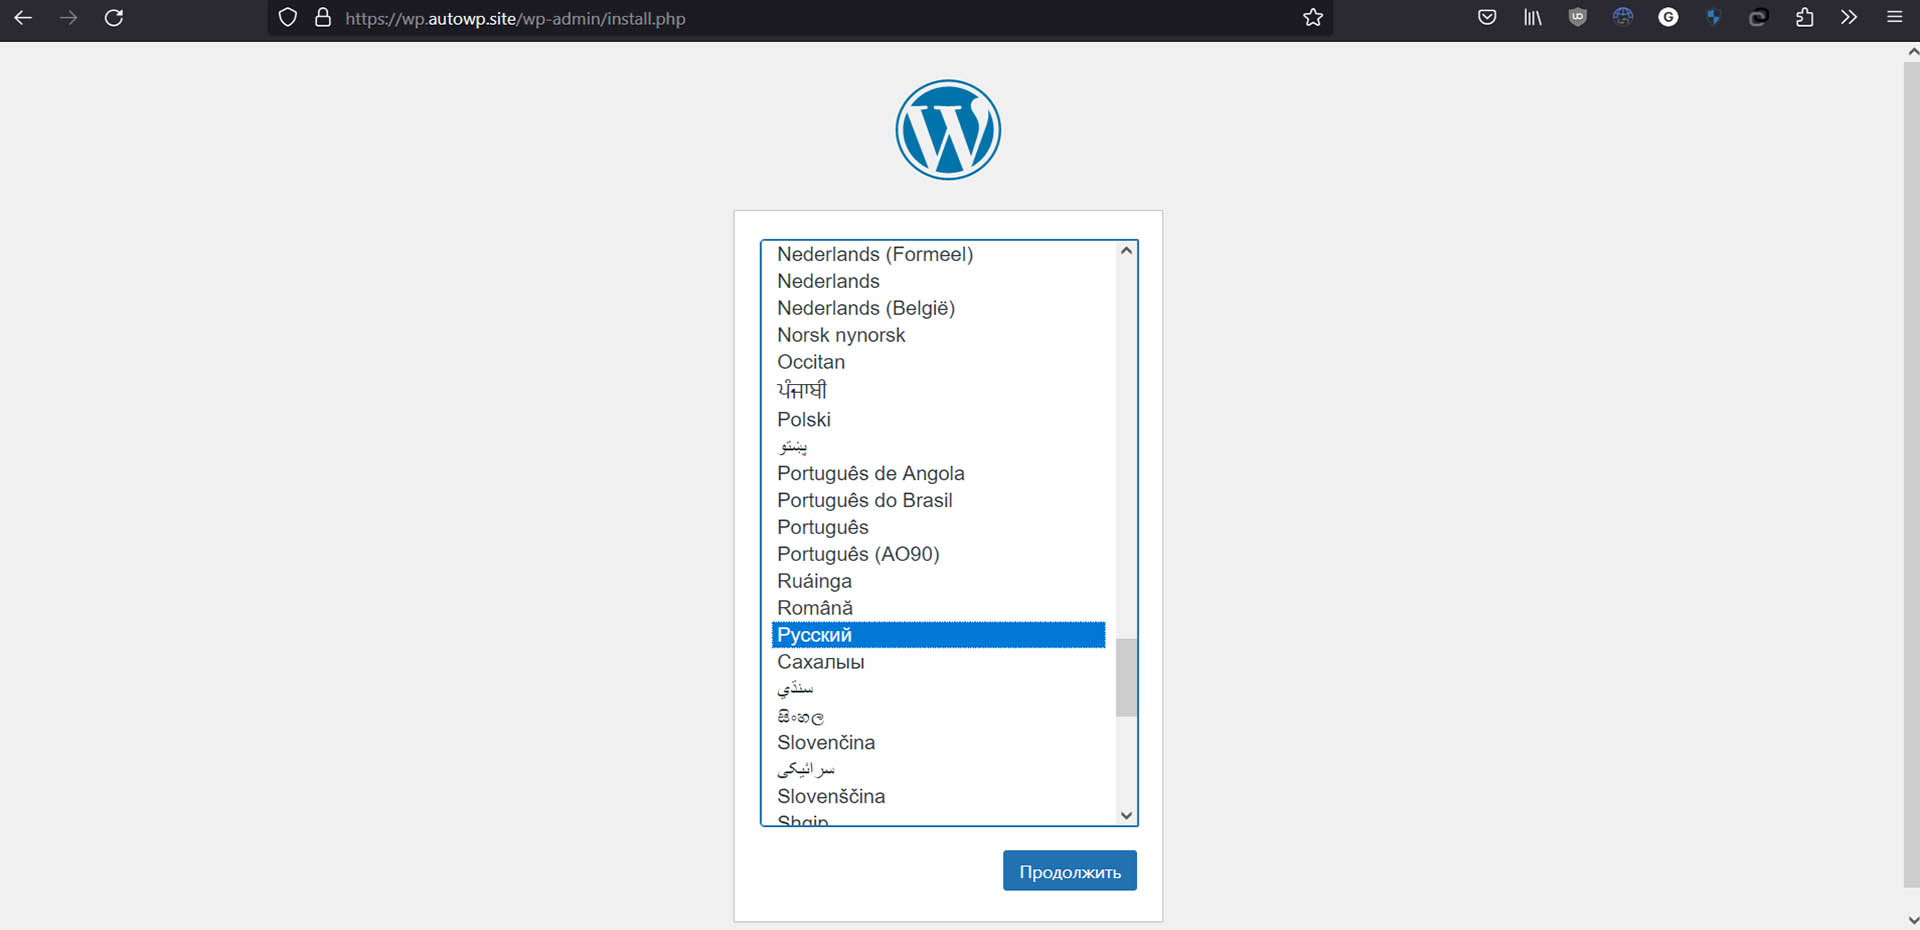
Choose the language and press the (Continue) button:
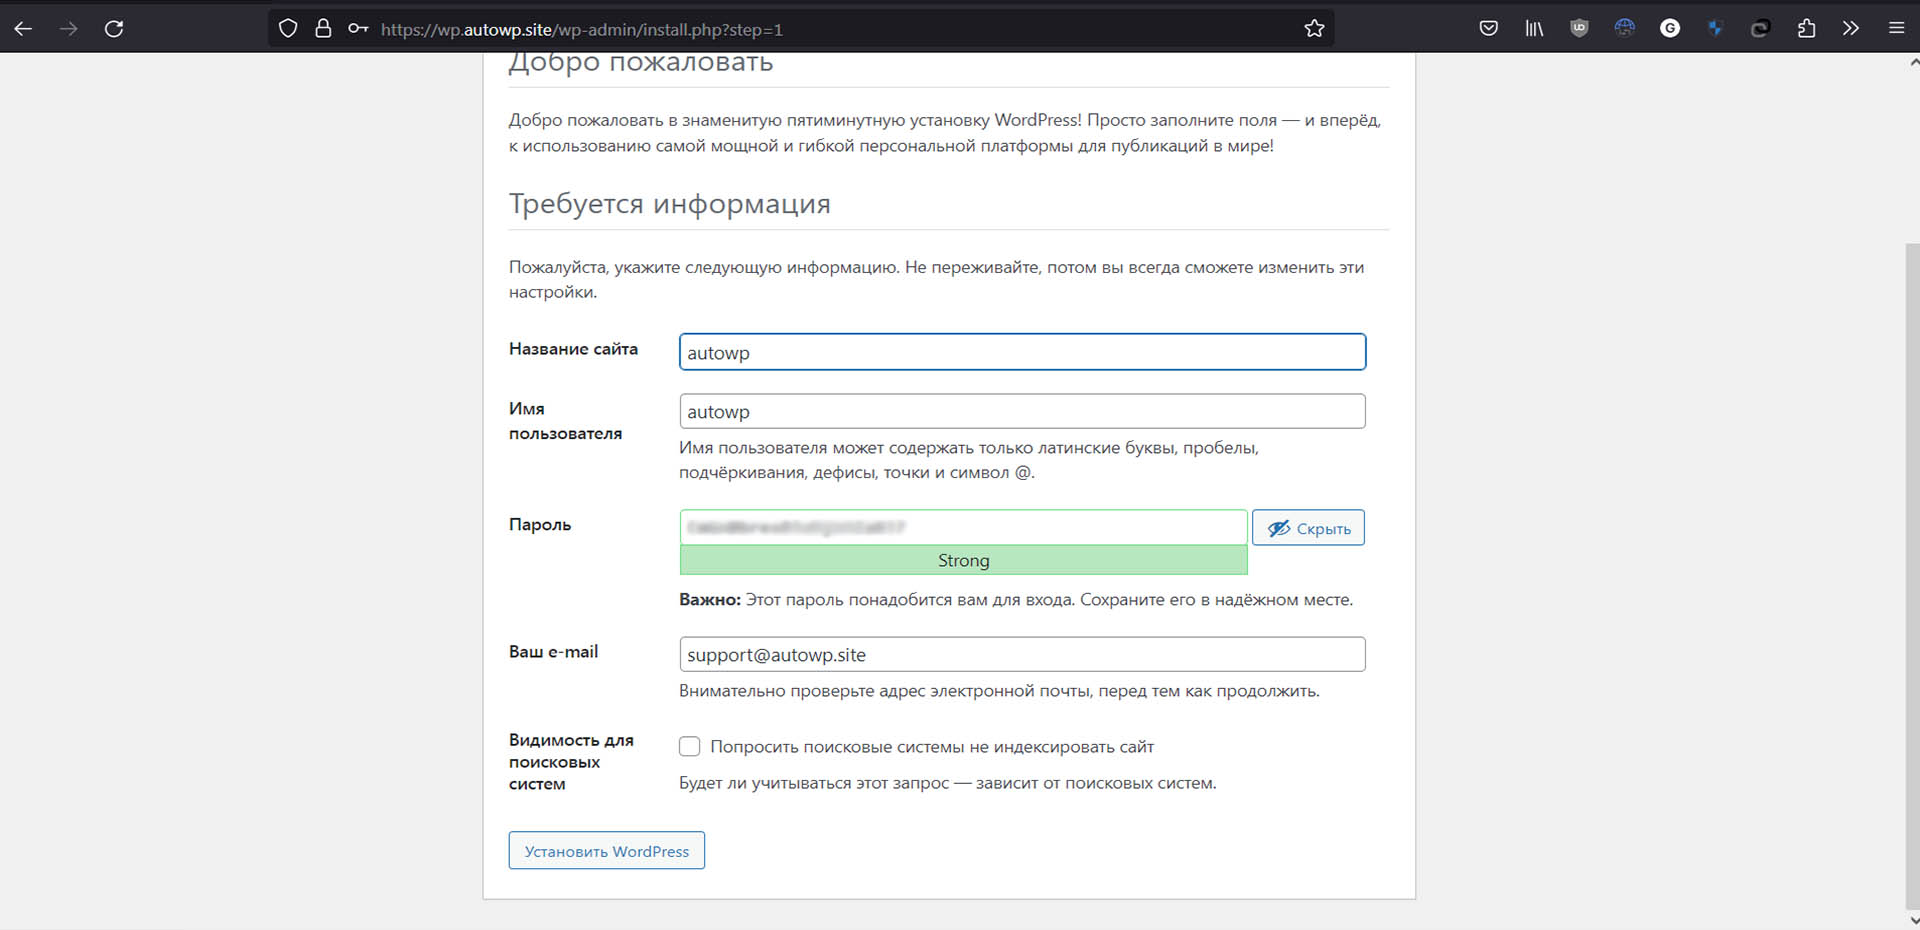
Populate the form fields with your own data and click the (Install WordPress) button:
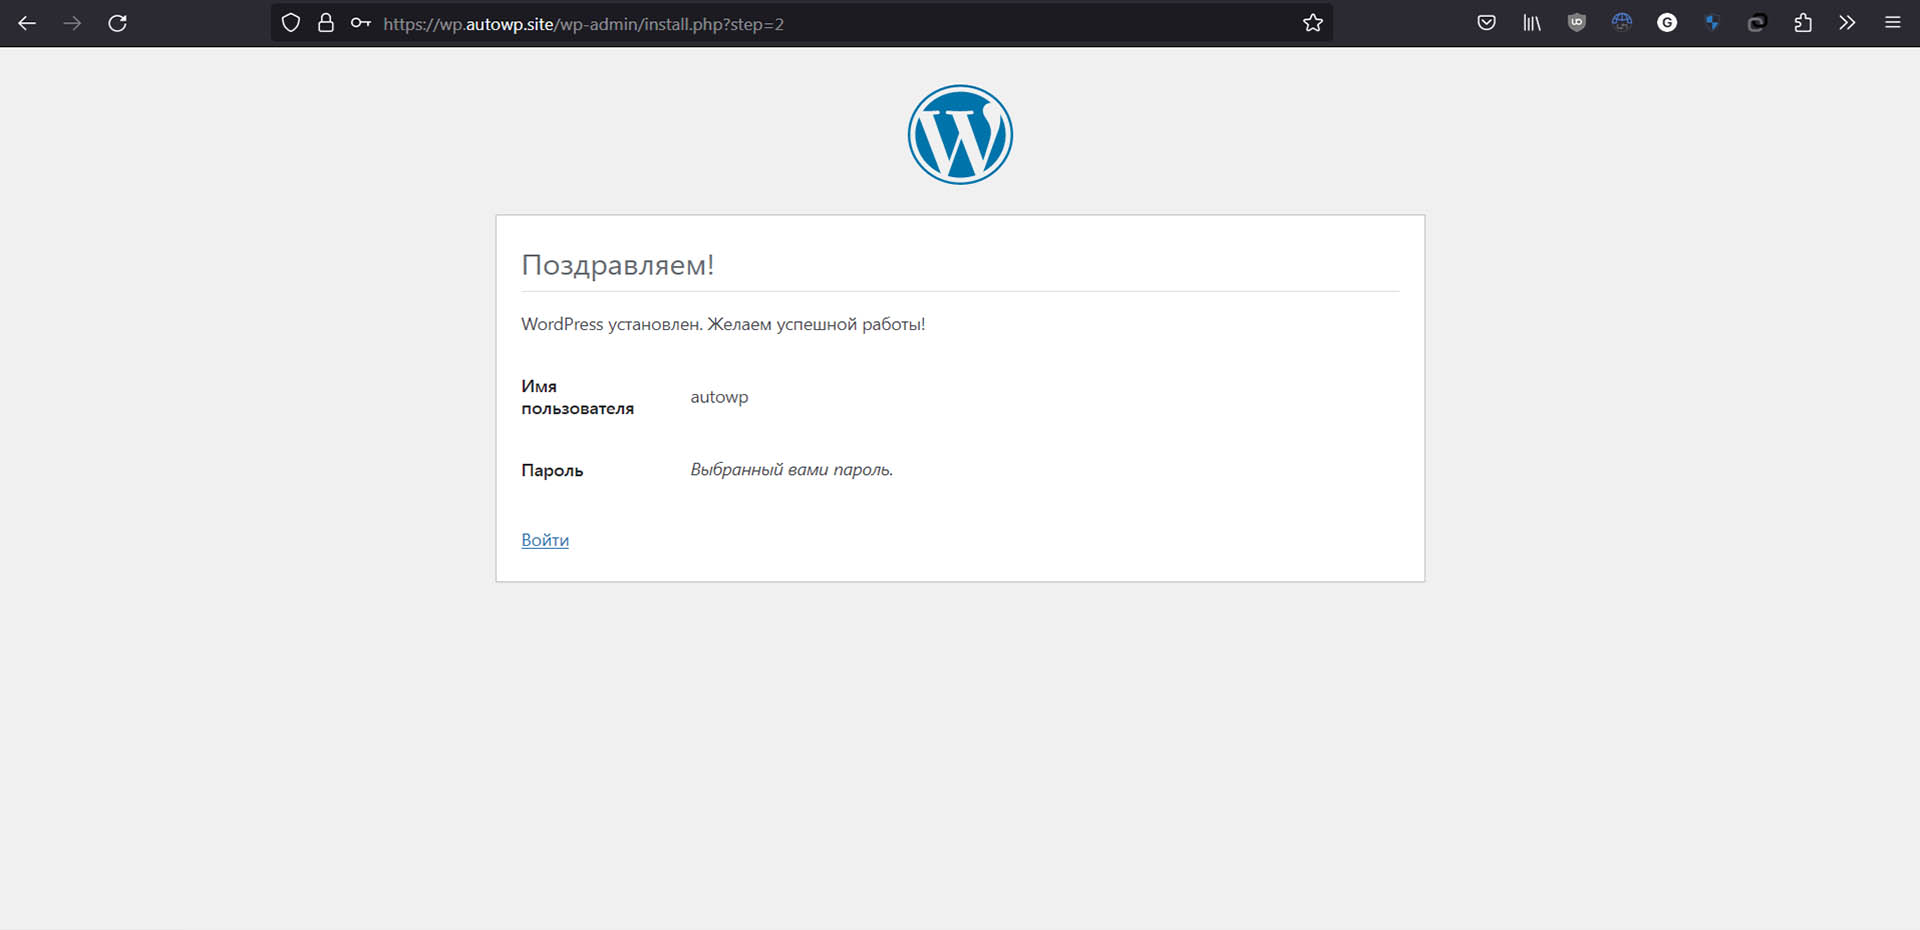
If the wp-config.php configuration file was completed successfully, this window should be displayed:
Click on the “Login” link:
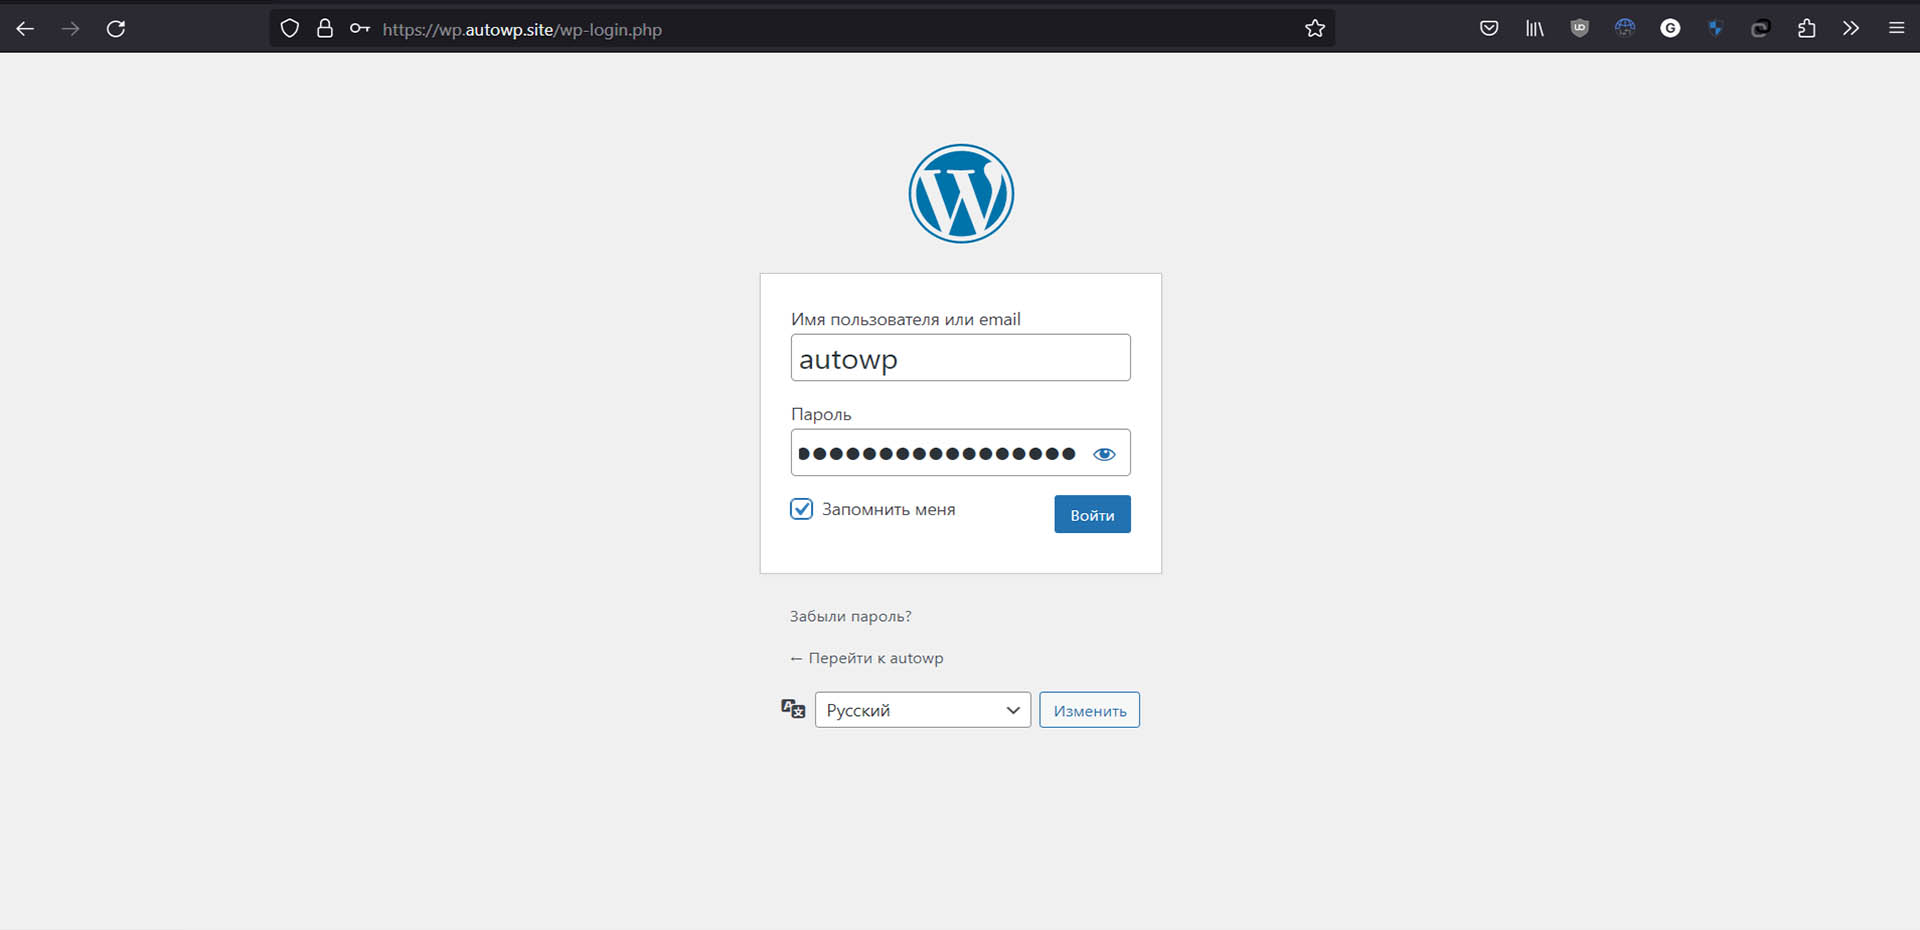
And we enter our login and password:
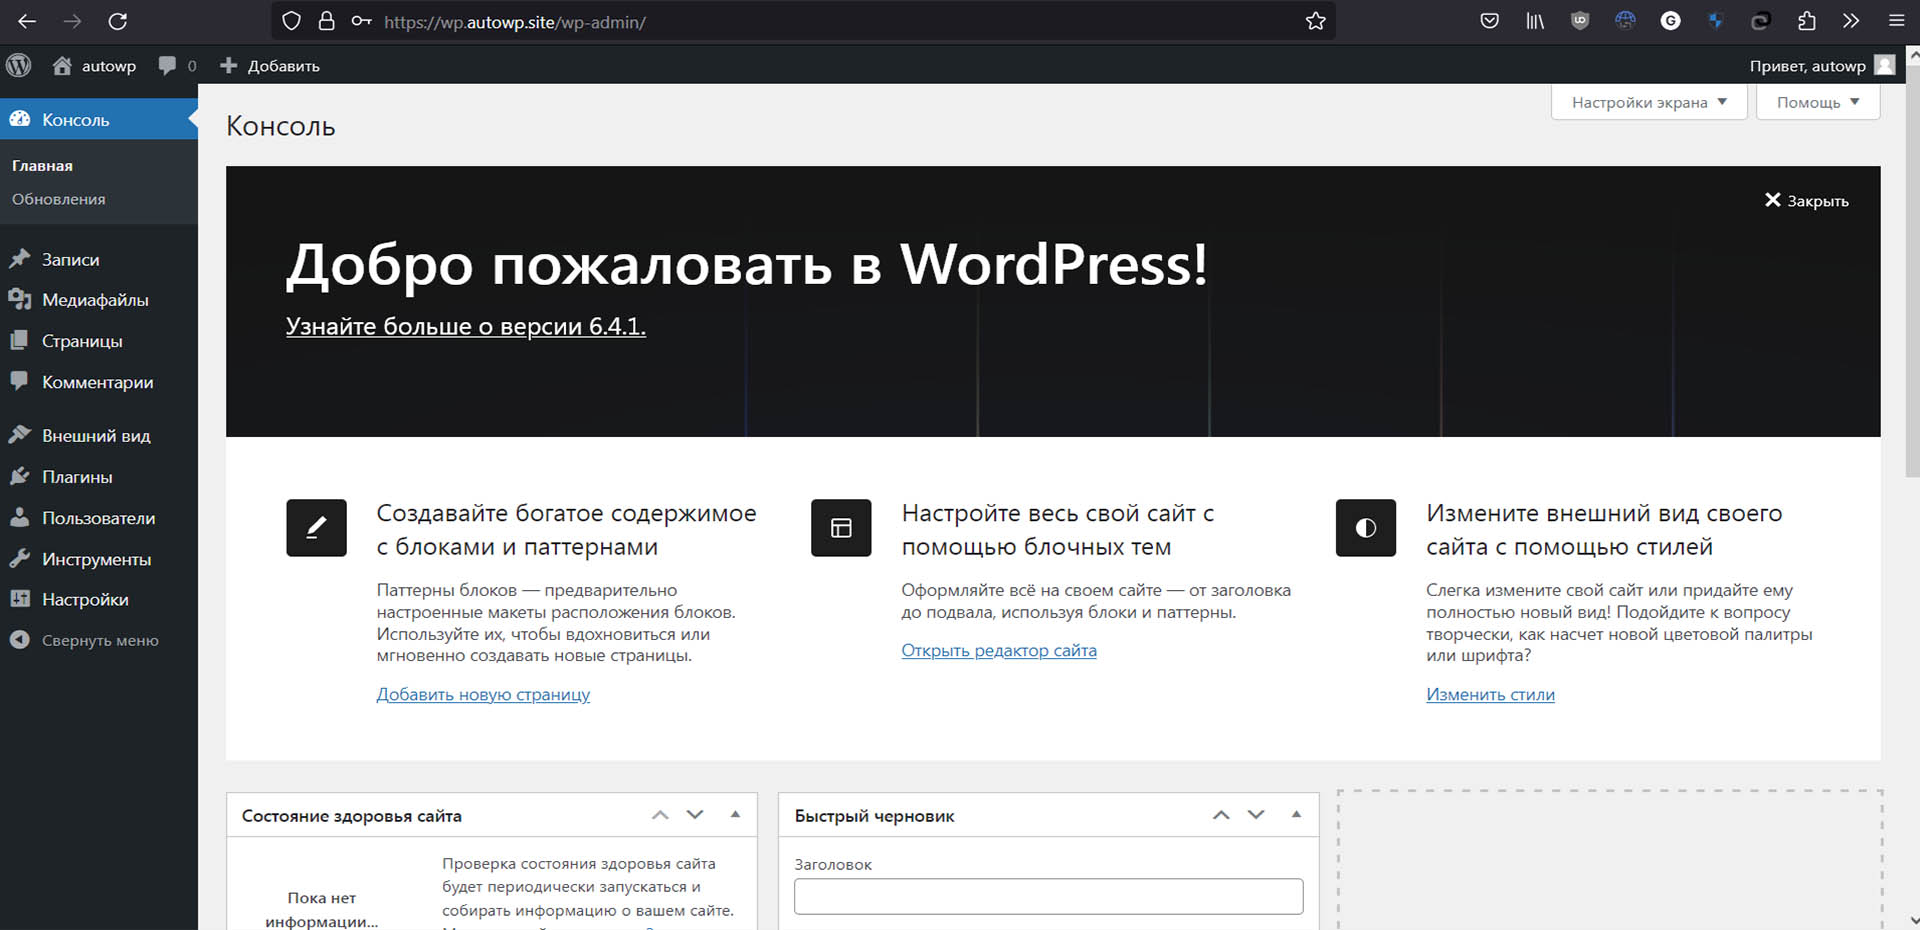
And we get to the WordPress start page:
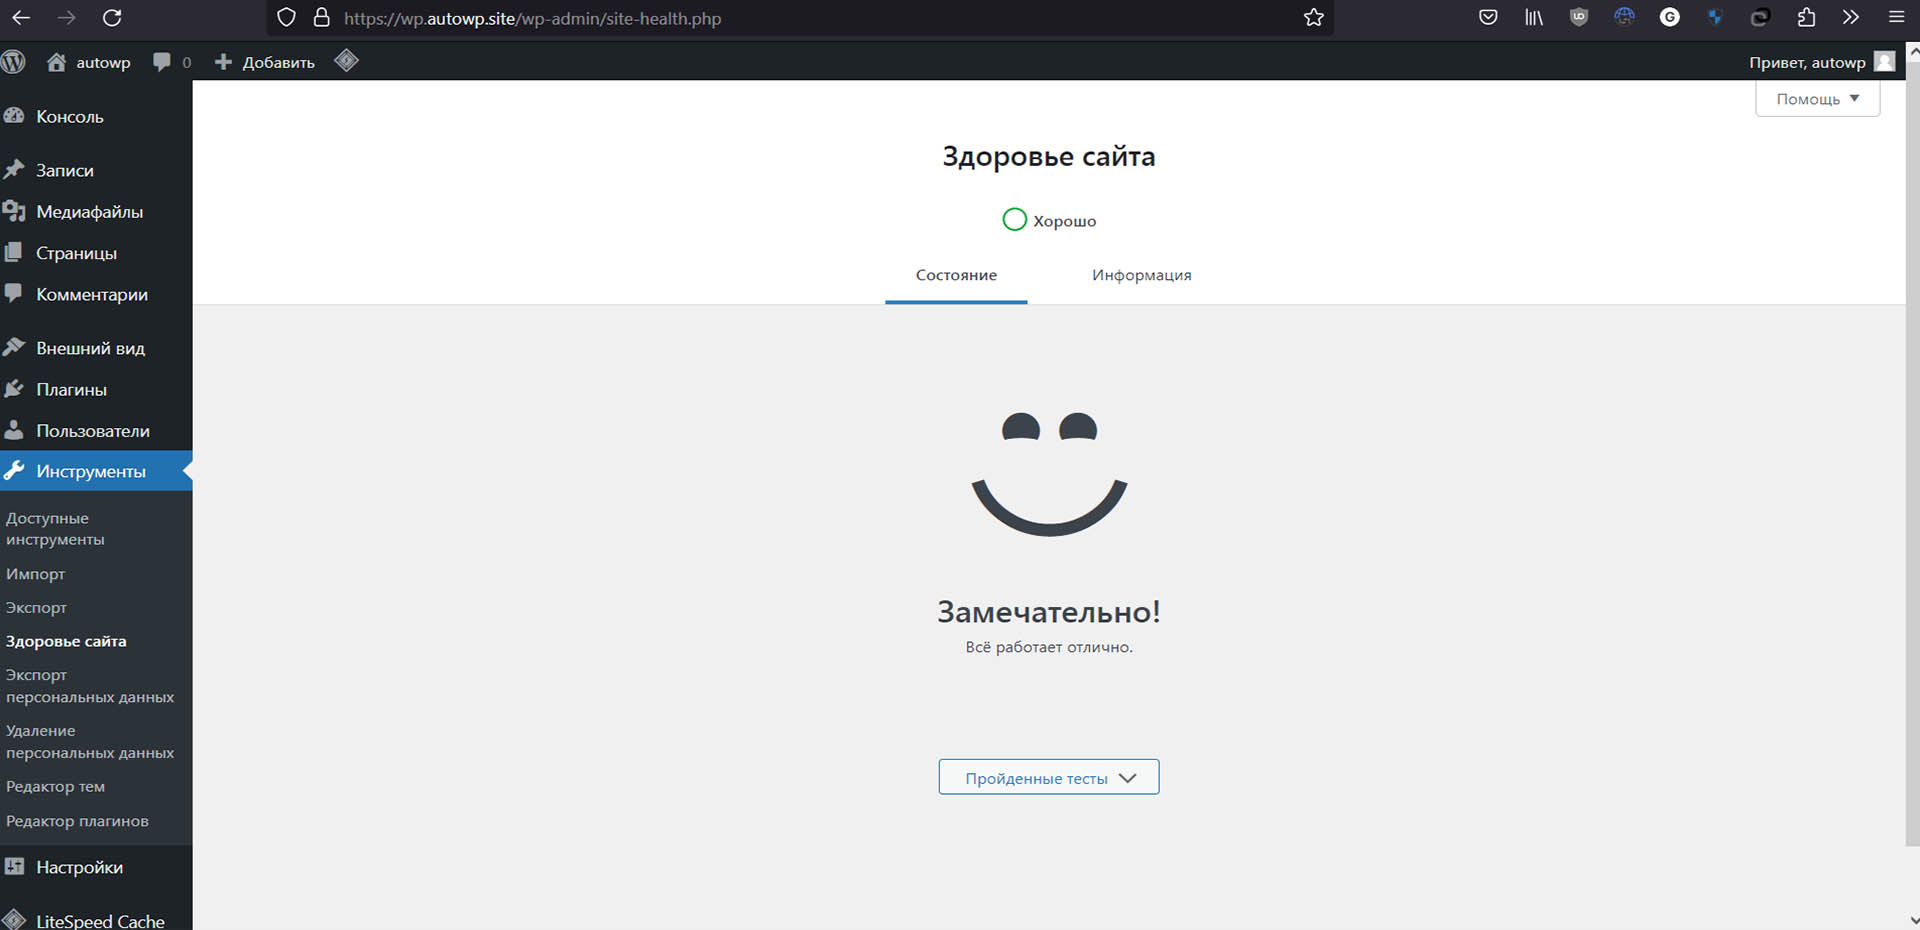
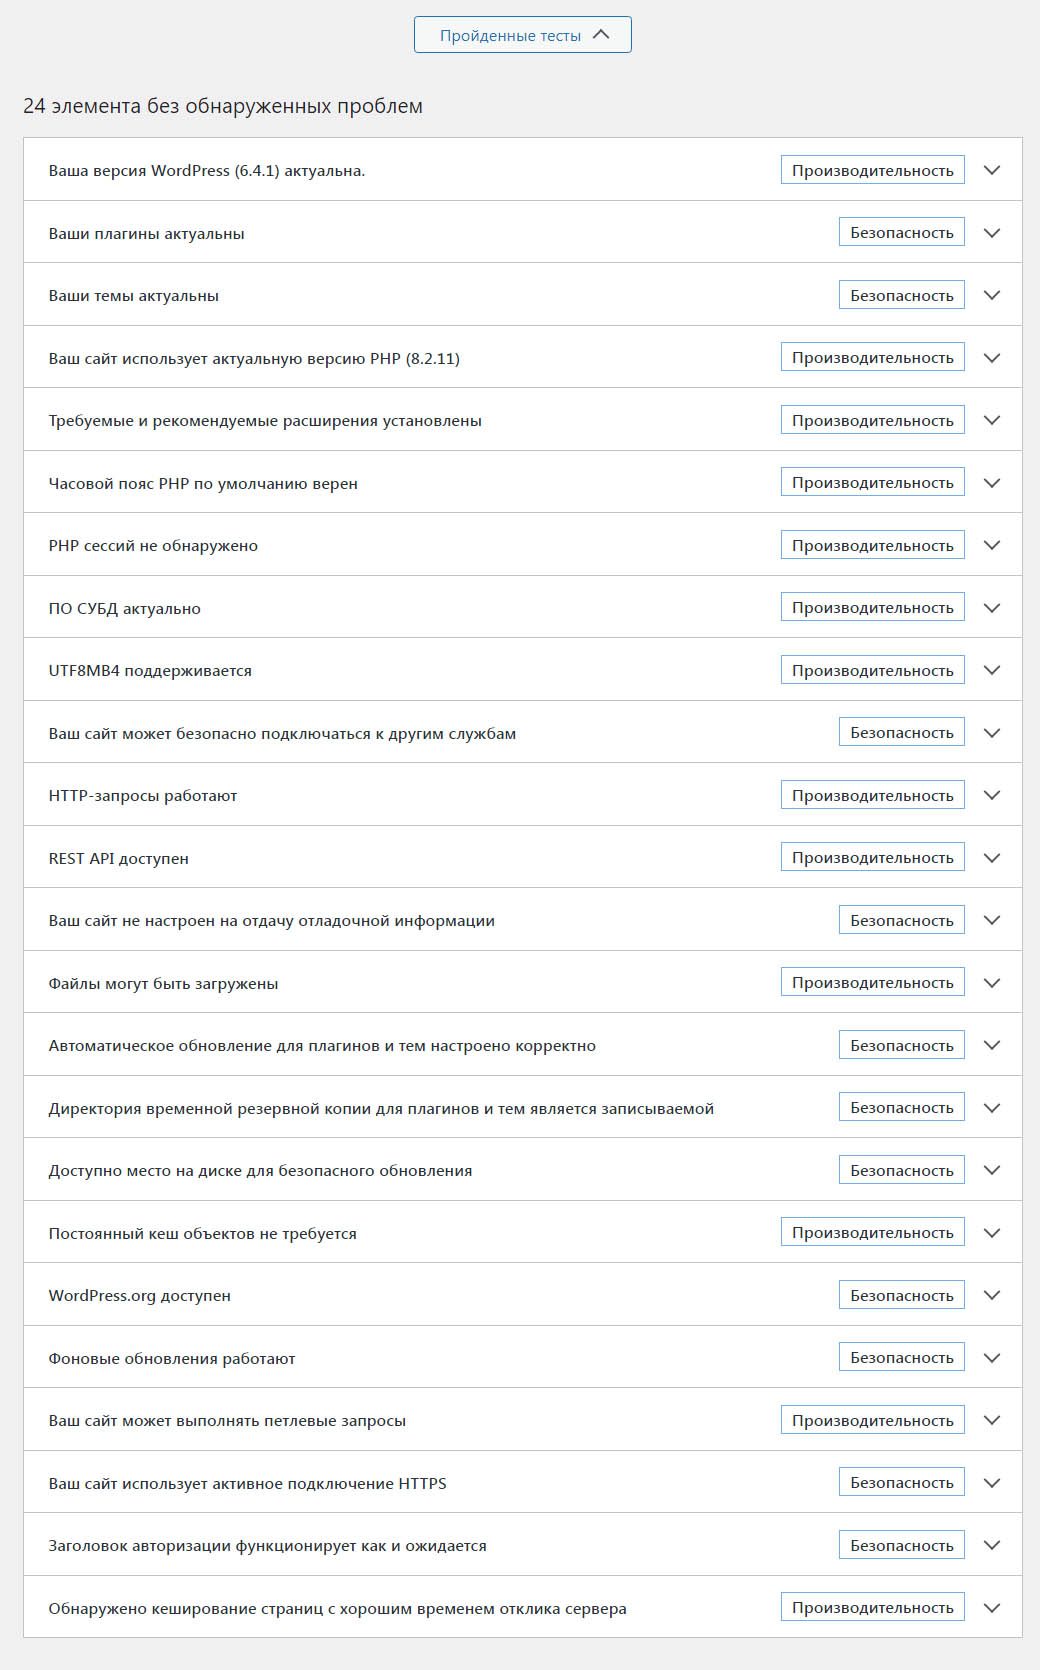
After removing inactive plugins and themes, as well as installing the LiteSpeed Cache caching plugin, we get the desired result:




Leave A Comment